
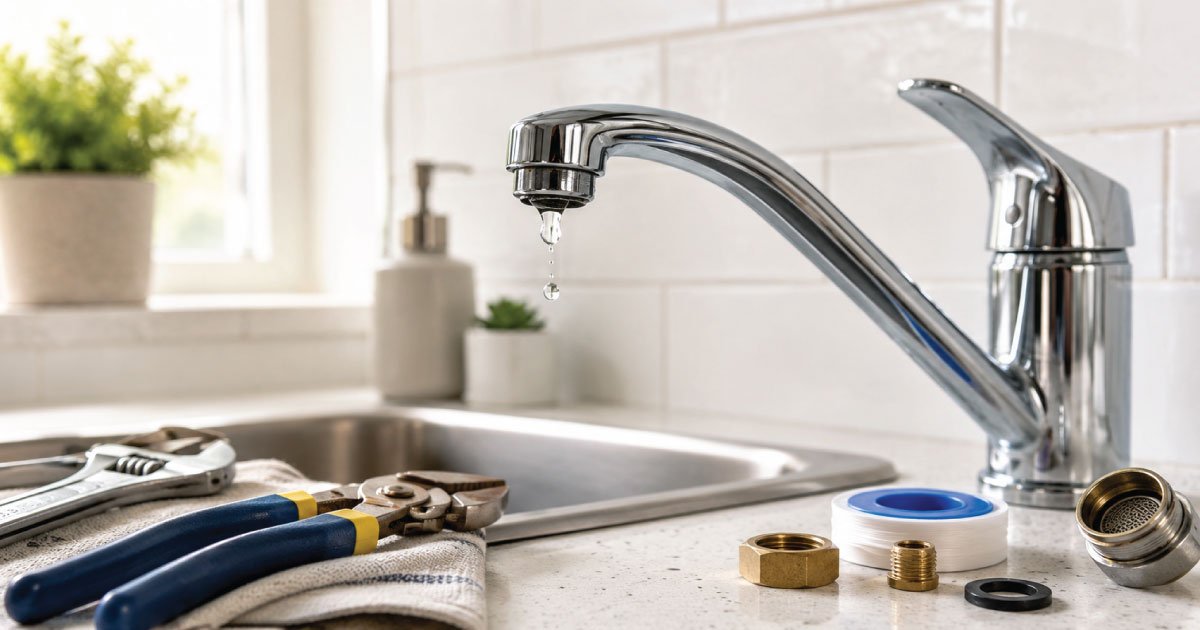
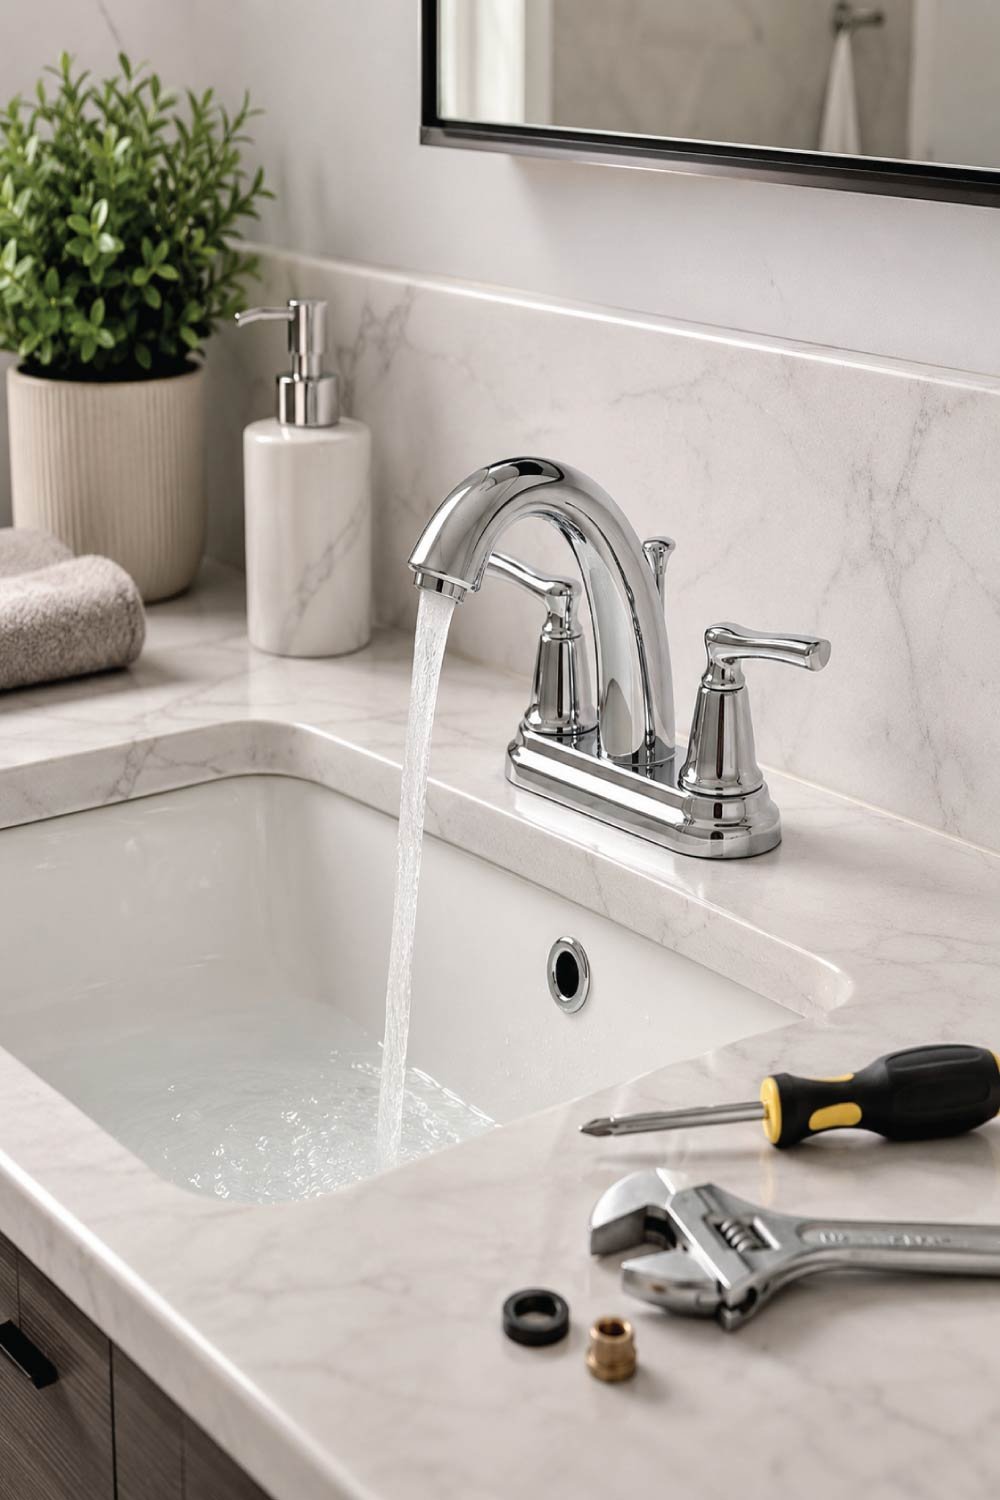
A leaky faucet may seem like a minor inconvenience, but over time it can waste a surprising amount of water, increase your utility bills, and cause unnecessary wear on your plumbing fixtures. That slow drip, drip, drip is not only annoying it is a sign that something inside your faucet needs attention.
The good news? Fixing a leaky faucet is one of the most approachable DIY home repairs. With basic tools, a little patience, and the right guidance, most homeowners can complete this task in under an hour. This guide will walk you through everything you need to know, from understanding why faucets leak to fixing different faucet types safely and effectively.
Table of Contents
ToggleWhy Faucets Leak in the First Place
Faucet leaks usually develop gradually over time as internal components experience constant friction, pressure changes, and repeated use. Even small daily wear eventually weakens seals and moving parts. Hard water minerals can also accelerate deterioration. Understanding these common causes helps you diagnose problems accurately and prevents unnecessary replacement or repeated future leakage issues.
Common causes of a leaky faucet include:
- Worn-out washers or seals
- Corroded valve seats
- Loose or damaged O-rings
- Mineral buildup from hard water
- Faulty cartridges or internal valves
Identifying the root cause makes the repair easier and ensures the leak doesn’t return.
Types of Faucets and Why It Matters
Different faucet designs use different internal mechanisms, so the repair method depends heavily on the faucet type. Each style has unique components, wear patterns, and replacement parts. Knowing your faucet type before starting repairs helps avoid mistakes, saves time, and ensures you purchase the correct parts for a successful and long-lasting fix.
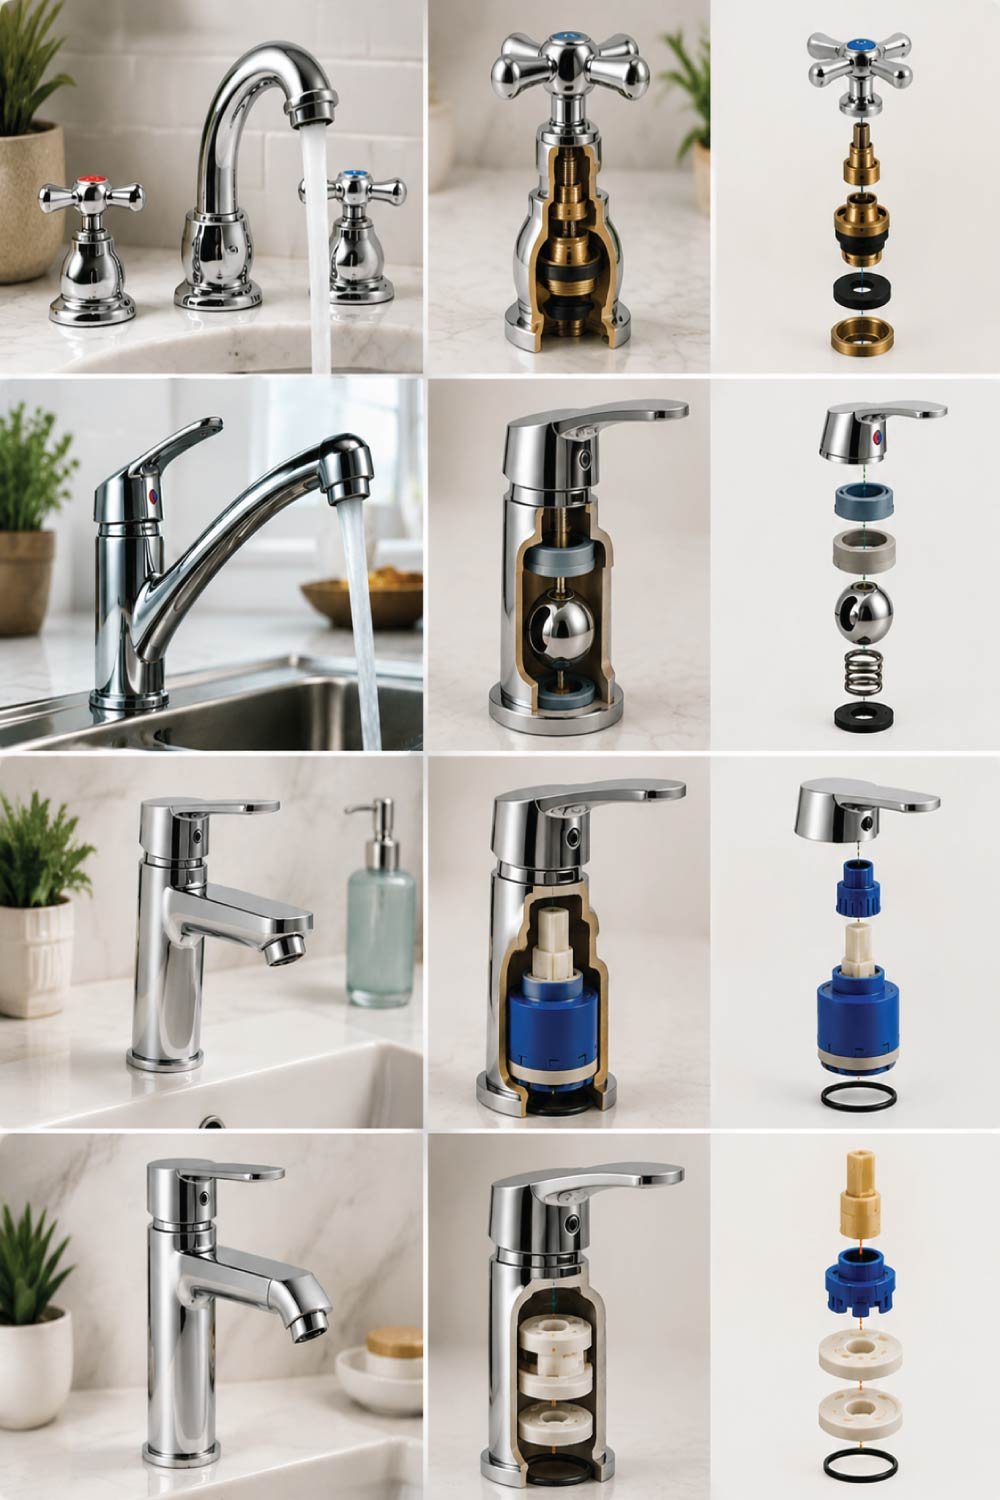
Compression faucets Typically have two handles and rely on rubber washers.
Compression faucets are one of the oldest faucet designs and rely on tightening rubber washers against a valve seat to stop water flow. Over time, these washers wear out due to repeated pressure and friction, making them a common source of dripping and requiring periodic replacement to maintain proper sealing performance.
Ball faucets Common in kitchens; use a rotating ball mechanism.
Ball faucets use a single handle that controls water flow and temperature through a rotating metal or plastic ball. Inside, small springs and rubber seats work together, but they wear down over time. This design has more moving parts, which can lead to leaks developing in multiple internal areas simultaneously.
Cartridge faucets Use a movable cartridge to control water flow.
Cartridge faucets operate using a replaceable cartridge that moves up and down or side to side to regulate water flow and temperature. When internal seals wear out or the cartridge cracks, leaks occur. Replacing the entire cartridge is often the simplest and most effective solution for restoring proper function.
Ceramic disk faucets Feature durable ceramic disks inside a cartridge.
Ceramic disk faucets use two highly durable ceramic plates that slide against each other to control water flow. While long-lasting, mineral buildup or damaged seals around the cartridge can still cause leaks. These faucets are generally more reliable, but repairs may involve cleaning or replacing internal sealing components.
Tools and Materials You’ll Need
Basic faucet repair usually requires only simple household tools that are easy to find and use. Having the right equipment ready before starting helps prevent delays and ensures smoother disassembly and reassembly. Proper preparation also reduces the risk of damaging small parts during the repair process.
- Adjustable wrench
- Phillips and flathead screwdrivers
- Allen wrench (for set screws)
- Replacement washers, O-rings, or cartridges
- Plumber’s grease
- Towel or rag
- Small container (to hold screws)
Optional but helpful items include needle-nose pliers and penetrating oil for stuck parts.
Step 1: Shut Off the Water Supply
Before starting any repair work, it is essential to completely shut off the water supply to avoid flooding or accidental water spray. This step ensures safety and prevents damage while working on internal faucet components. Taking a few extra moments here helps make the entire repair process controlled and stress-free.
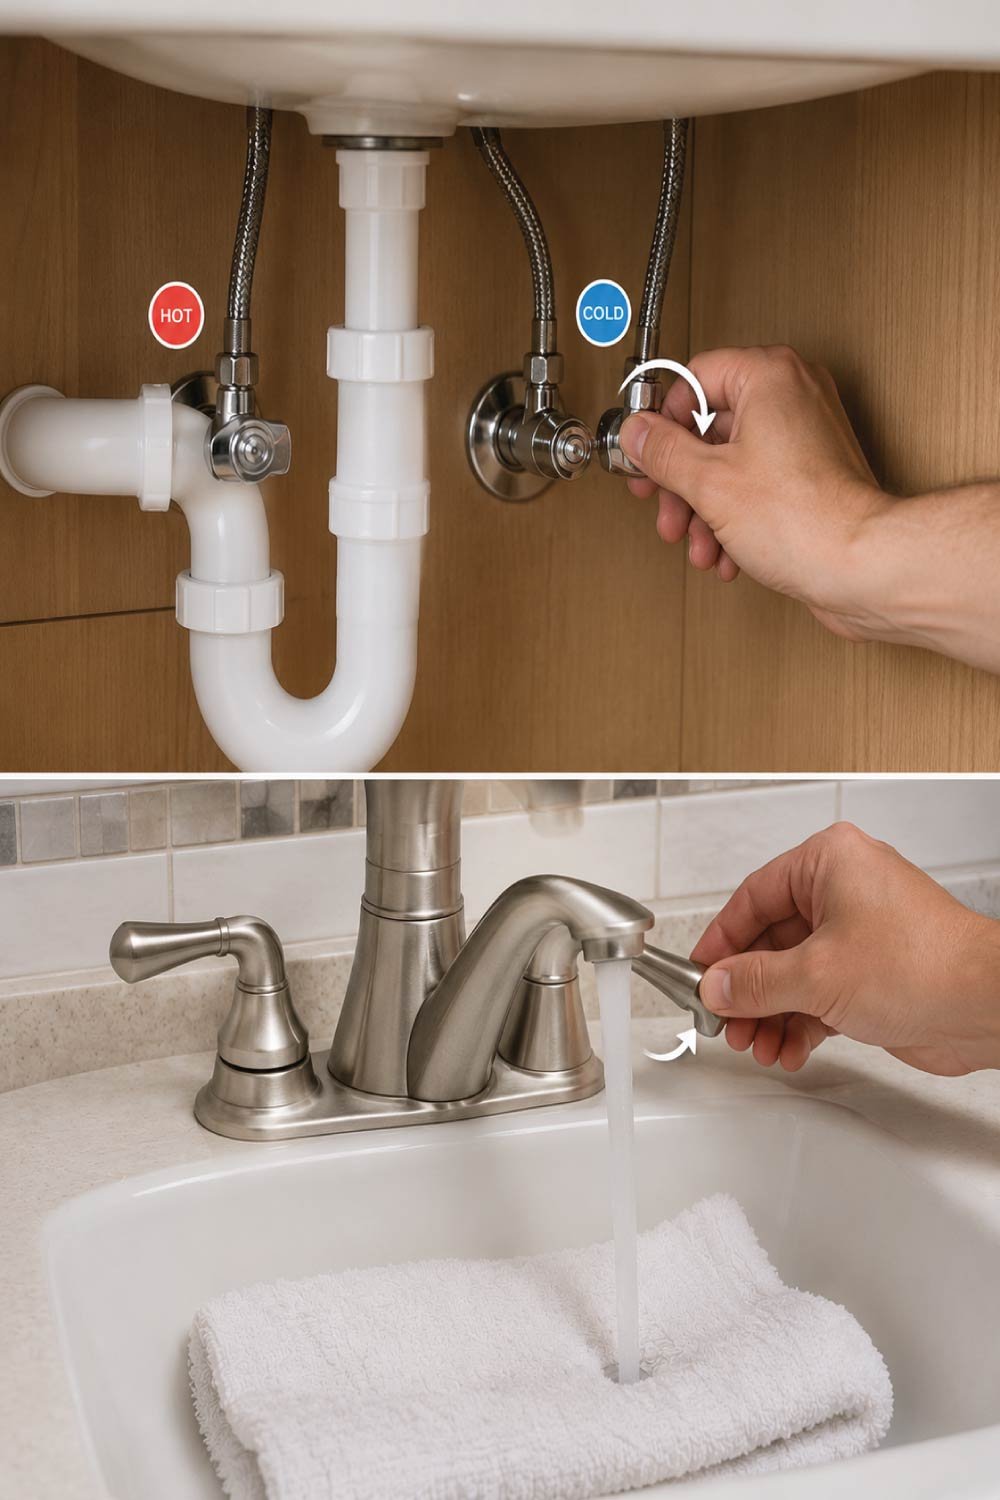
Look under the sink for two shut-off valves one for hot water and one for cold. Turn both clockwise until they stop.After shutting off the valves, turn the faucet on to release any remaining water and pressure. Place a towel over the drain to prevent small parts from falling in.
Step 2: Disassemble the Faucet
Carefully disassembling the faucet allows you to access internal components without damaging delicate parts. This step requires patience and attention, as small screws and fittings can be easily misplaced. Keeping everything organized during removal ensures smoother reassembly and reduces the chance of incorrect fitting later in the repair process.
Start by removing the faucet handle:
- Look for a decorative cap or button on the handle.
- Pry it off gently with a flathead screwdriver.
- Remove the screw underneath and lift off the handle.
Take your time and keep parts organized in the order you remove them. This makes reassembly much easier.
Also Read:
Step 3: Inspect Internal Components
Once the faucet is opened, inspecting internal components helps you identify exactly what is causing the leak. Different faucet types have different weak points, so careful examination is necessary. This step ensures you only replace damaged parts instead of unnecessarily changing entire assemblies, saving both time and repair costs.
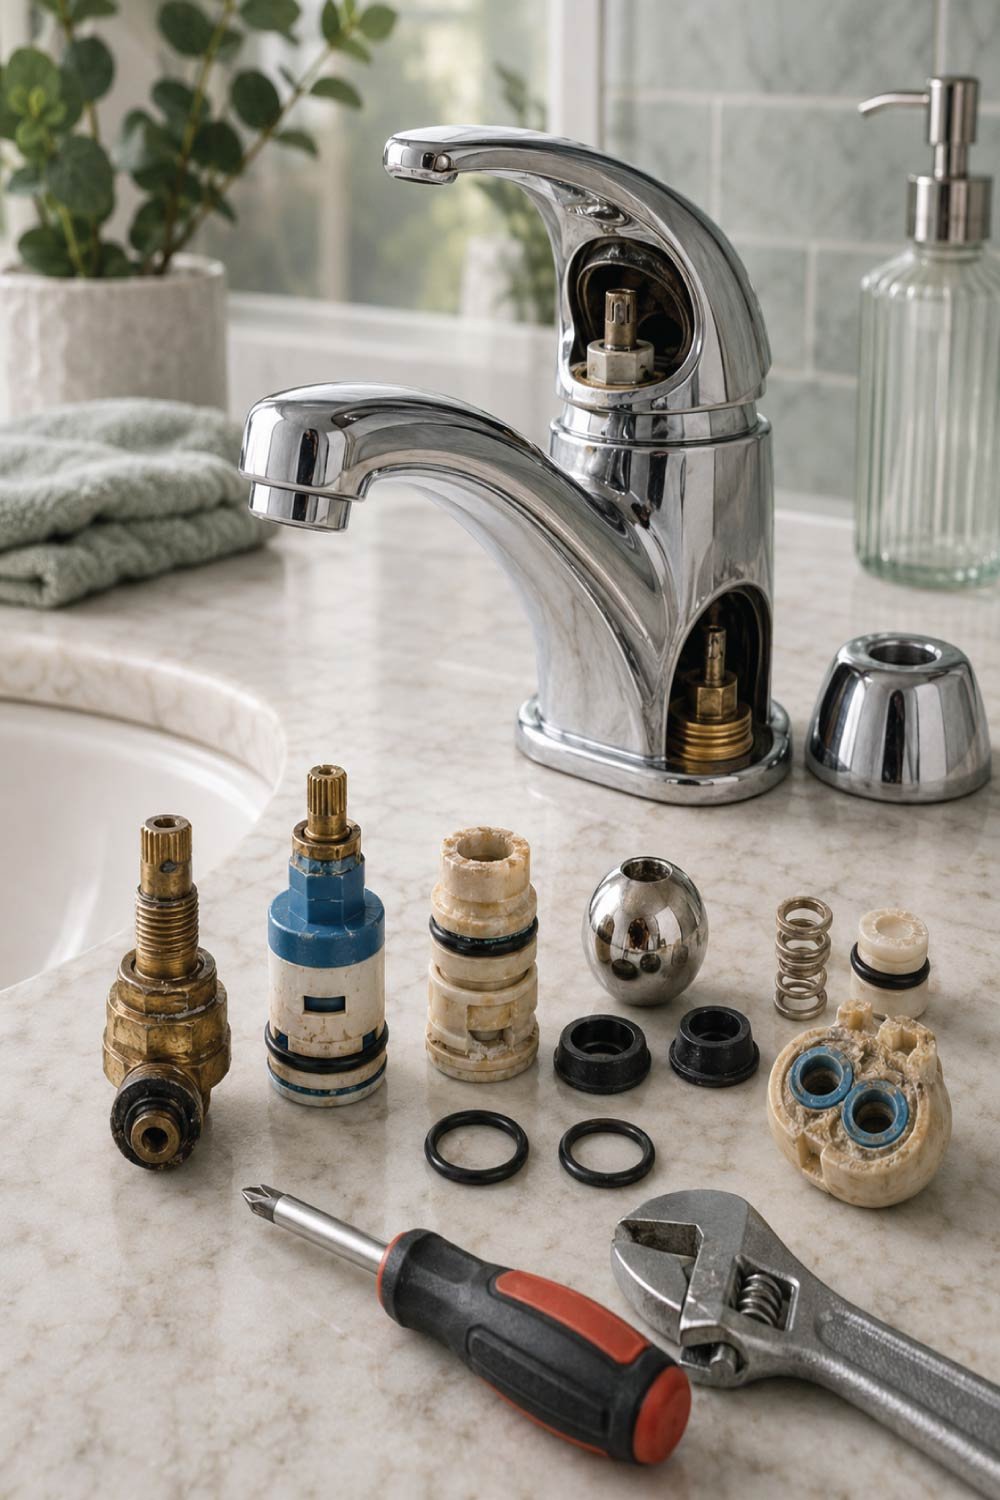
For Compression Faucets
Check the rubber washer at the bottom of the valve stem. If it’s cracked, flattened, or hardened, it needs replacement.
For Cartridge Faucets
Remove the cartridge and look for worn seals or cracks. Often, replacing the entire cartridge is the simplest solution.
For Ball Faucets
Inspect the ball, springs, and rubber seats. These components commonly wear out together.
For Ceramic Disk Faucets
Check the seals at the bottom of the cartridge and look for mineral buildup.
Step 4: Replace Worn or Damaged Parts
Replacing faulty components is the most important step in restoring proper faucet function. Using exact replacement parts ensures compatibility and long-term durability. Applying plumber’s grease improves sealing and movement, while careful installation prevents damage. Proper handling at this stage directly determines whether the faucet will remain leak-free after repair.
Once you identify the faulty component, replace it with an identical part. Take the old piece to a hardware store to ensure an exact match.Apply a thin layer of plumber’s grease to rubber parts before reinstalling them. This improves movement and extends the life of the repair.Avoid overtightening screws or nuts this can damage threads or crack internal parts.
Also Read:
Step 5: Clean Mineral Buildup
Mineral deposits from hard water can restrict water flow and contribute to leaks by preventing proper sealing of internal components. Cleaning these deposits carefully restores smooth operation. Using mild solutions like vinegar helps dissolve buildup without damaging metal or ceramic parts, ensuring the faucet functions efficiently after reassembly.
If you see white or greenish deposits, mineral buildup may be contributing to the leak. Use a cloth soaked in vinegar to clean valve seats, cartridges, and internal surfaces.For stubborn deposits, let the vinegar sit for several minutes before wiping clean. Avoid abrasive tools that could scratch metal or ceramic parts.
Step 6: Reassemble the Faucet
Reassembling the faucet correctly is essential to ensure everything functions as intended without leaks. Each part must be placed in the correct order and aligned properly. After reassembly, restoring water flow gradually allows you to check for issues and confirm whether the repair was successful or needs adjustment.
Reassemble the faucet in the reverse order of disassembly. Make sure everything sits flush and aligned properly.Once reassembled, turn the water supply back on slowly. Open the faucet and check for leaks. Test both hot and cold water to confirm smooth operation.If you see dripping or uneven water flow, turn the water off again and recheck your work
Common Mistakes to Avoid
Even straightforward faucet repairs can fail if small details are overlooked or rushed during the process. Careless handling of parts or skipping essential steps often leads to repeated leaks or damaged components. Paying attention to each stage and working methodically helps ensure a successful and long-lasting repair outcome without unnecessary complications or rework.
- Forgetting to shut off the water
- Mixing up hot and cold components
- Using the wrong replacement part
- Overtightening components
- Skipping lubrication
Taking your time and following each step carefully will prevent most issues.
Also Read:
When a Leak Is not the Faucet
Not every visible water leak originates from the faucet itself, and misdiagnosis can lead to wasted effort and incorrect repairs. Sometimes the true issue lies in nearby plumbing connections or supply lines. Carefully checking surrounding components helps identify whether the faucet is actually responsible or if another part of the plumbing system is failing.
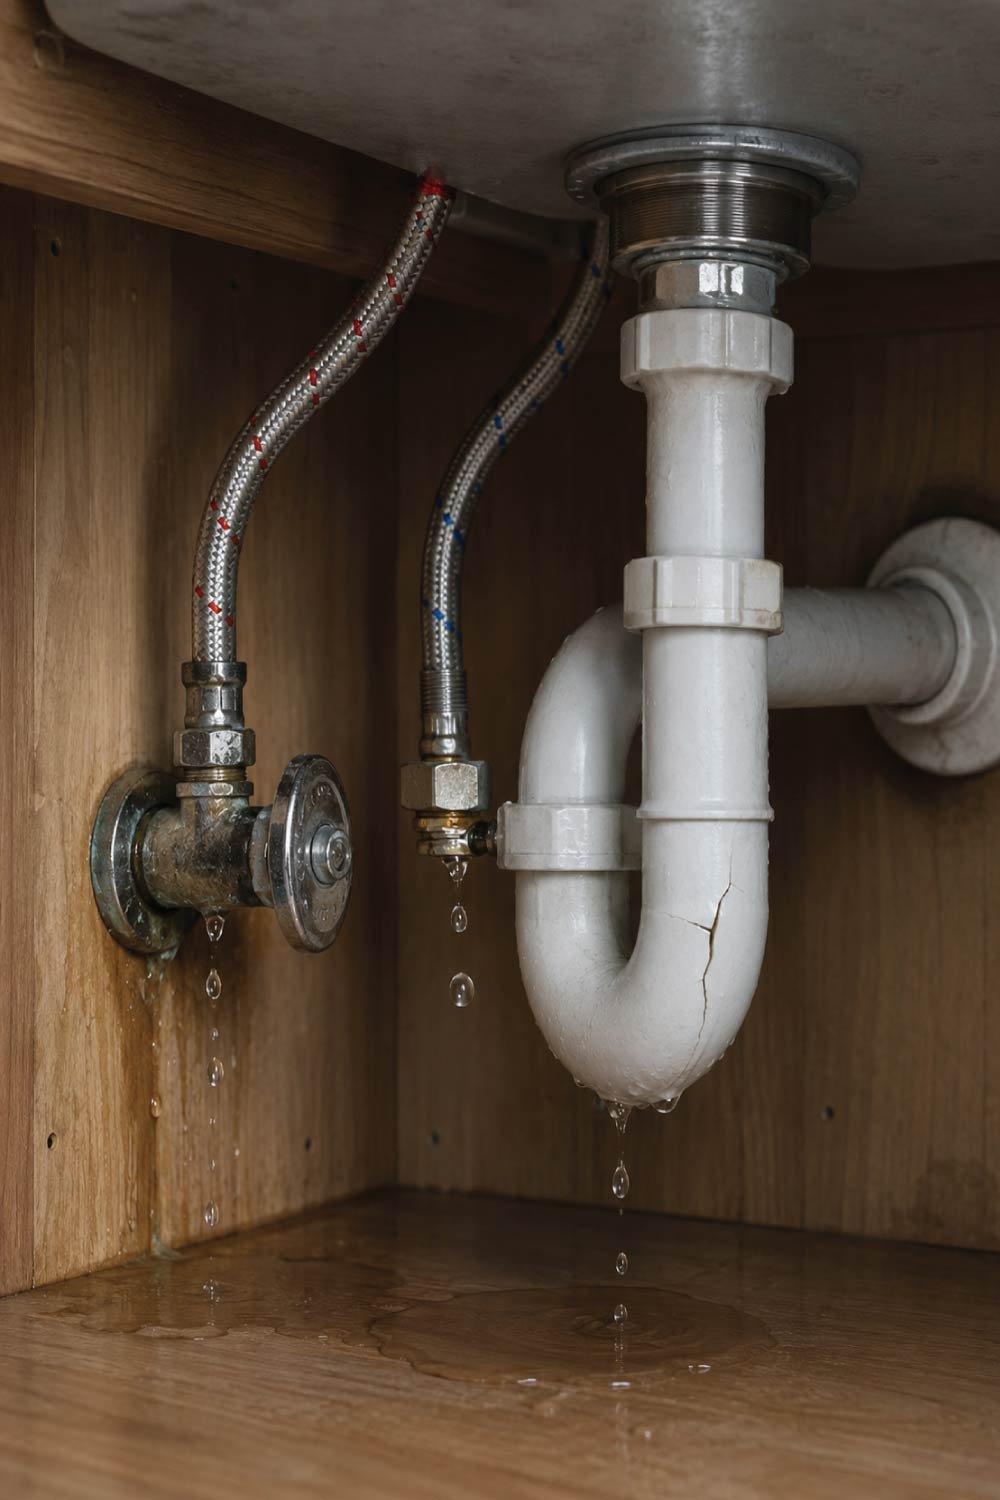
- Loose supply lines
- A cracked pipe
- A failing shut-off valve
In these cases, tightening fittings or replacing supply hoses may solve the problem. Persistent leaks may require professional help.
When to Call a Plumber
While many faucet issues can be resolved with basic tools and patience, some situations require professional expertise. Attempting complex plumbing repairs without experience may worsen the problem or cause water damage. Knowing when to stop DIY efforts ensures safety and protects your home from unnecessary repair costs and structural issues.
- The faucet continues leaking after repair
- Pipes are corroded or damaged
- Water pressure is unusually high
- You notice leaks inside walls or cabinets
Knowing when to stop can save money and prevent water damage.
How Much Water (and Money) You Save
A leaking faucet may seem minor, but over time it can waste a significant amount of water and increase utility bills. Even slow drips accumulate into large losses annually. Fixing leaks promptly not only saves money but also helps reduce environmental impact and improves overall household plumbing efficiency.
- Lowers water bills
- Reduces strain on plumbing
- Prevents mold and water damage
- Supports water conservation
It’s a small repair with a big impact.
Also Read:
Preventing Future Faucet Leaks
Preventing faucet leaks is easier and more cost-effective than repairing them repeatedly. Regular maintenance and mindful usage help extend the lifespan of internal components. Small habits, such as gentle handling and routine cleaning, significantly reduce wear and keep the plumbing system functioning smoothly over time.
- Turn handles gently don’t force them
- Clean aerators regularly
- Address leaks early
- Replace worn parts before failure
- Install a water softener if you have hard water
Routine care keeps your plumbing running smoothly.
Helpful Step-by-Step References
Reliable external guides can help you better understand faucet repair techniques and provide additional visual instructions. These resources are useful for comparing methods, learning proper procedures, and gaining confidence before attempting repairs on your own plumbing system.
- U.S. Environmental Protection Agency – Fixing Household Leaks
- The Home Depot – Faucet Repair Guide
Final Thoughts
Fixing a leaky faucet is a practical skill that every homeowner can benefit from learning. It saves money, conserves water, and gives you confidence in handling basic home repairs. With the right tools and a methodical approach, what once seemed like an annoying problem becomes a satisfying DIY success.
The next time you hear that persistent drip, you’ll know exactly what to do and how to fix it for good.