
Bathroom paint peeling is one of those problems that starts small but quickly becomes frustrating. At first, it might look like a tiny bubble or a faint crack in the paint. But over time, it spreads—leaving ugly patches, exposed plaster, and a damp, neglected appearance. If you’ve noticed paint lifting off your bathroom walls or ceiling, you’re not alone. Bathrooms are one of the toughest environments for painted surfaces because of constant moisture, steam, and poor ventilation.
The good news is that peeling paint can be fixed properly—and if done the right way, it won’t come back for years. This guide walks you through why it happens, how to repair it step by step, and how to make your bathroom walls stronger than before.
Why Bathroom Paint Starts Peeling

Bathroom paint peeling is a very common issue in homes where moisture control is not properly managed. It usually doesn’t happen overnight but develops slowly due to constant exposure to steam, humidity, and poor surface preparation. Understanding the main causes helps you fix the problem permanently instead of just covering it temporarily.
1. Excess Moisture and Humidity
Bathrooms naturally produce a high level of moisture due to hot showers, baths, and steam buildup. When this humidity repeatedly settles on walls and ceilings, it weakens the paint film over time. This trapped moisture gradually leads to swelling, bubbling, and eventual peeling of the painted surface.
- Steam from hot showers increases wall moisture
- Constant dampness weakens paint bonding
- Leads to bubbling and flaking over time
2.Poor Ventilation
If your bathroom doesn’t have a proper ventilation system, moisture has no way to escape. This trapped humidity keeps the walls constantly damp, which slowly breaks down the paint layer and reduces its lifespan significantly.
- No airflow traps humidity inside
- Walls stay damp for longer periods
- Paint loses adhesion and starts peeling
3. Low-Quality Paint
Using regular interior paint in bathrooms is a major mistake. These paints are not designed to withstand moisture and steam. As a result, they absorb humidity, lose strength, and begin to peel or discolor much faster than moisture-resistant paints.
- Regular paint absorbs bathroom humidity
- Not designed for wet environments
- Breaks down and peels quickly
4.Improper Surface Preparation
If the wall surface is not properly cleaned, dried, or primed before painting, the paint cannot form a strong bond. Dirt, dust, or leftover moisture underneath the paint layer often causes early peeling and patchy failure.
- Dust or grease weakens paint grip
- No primer reduces durability
- Moisture trapped under paint causes failure
5.Mold and Mildew Growth
Bathrooms are highly prone to mold and mildew due to constant moisture. When mold grows beneath the paint layer, it damages adhesion and pushes the paint outward, causing visible flaking, discoloration, and surface deterioration.
- Mold grows in damp bathroom areas
- Breaks paint bond from underneath
- Causes flaking and dark stains
Step 1: Identify the Damaged Areas Properly
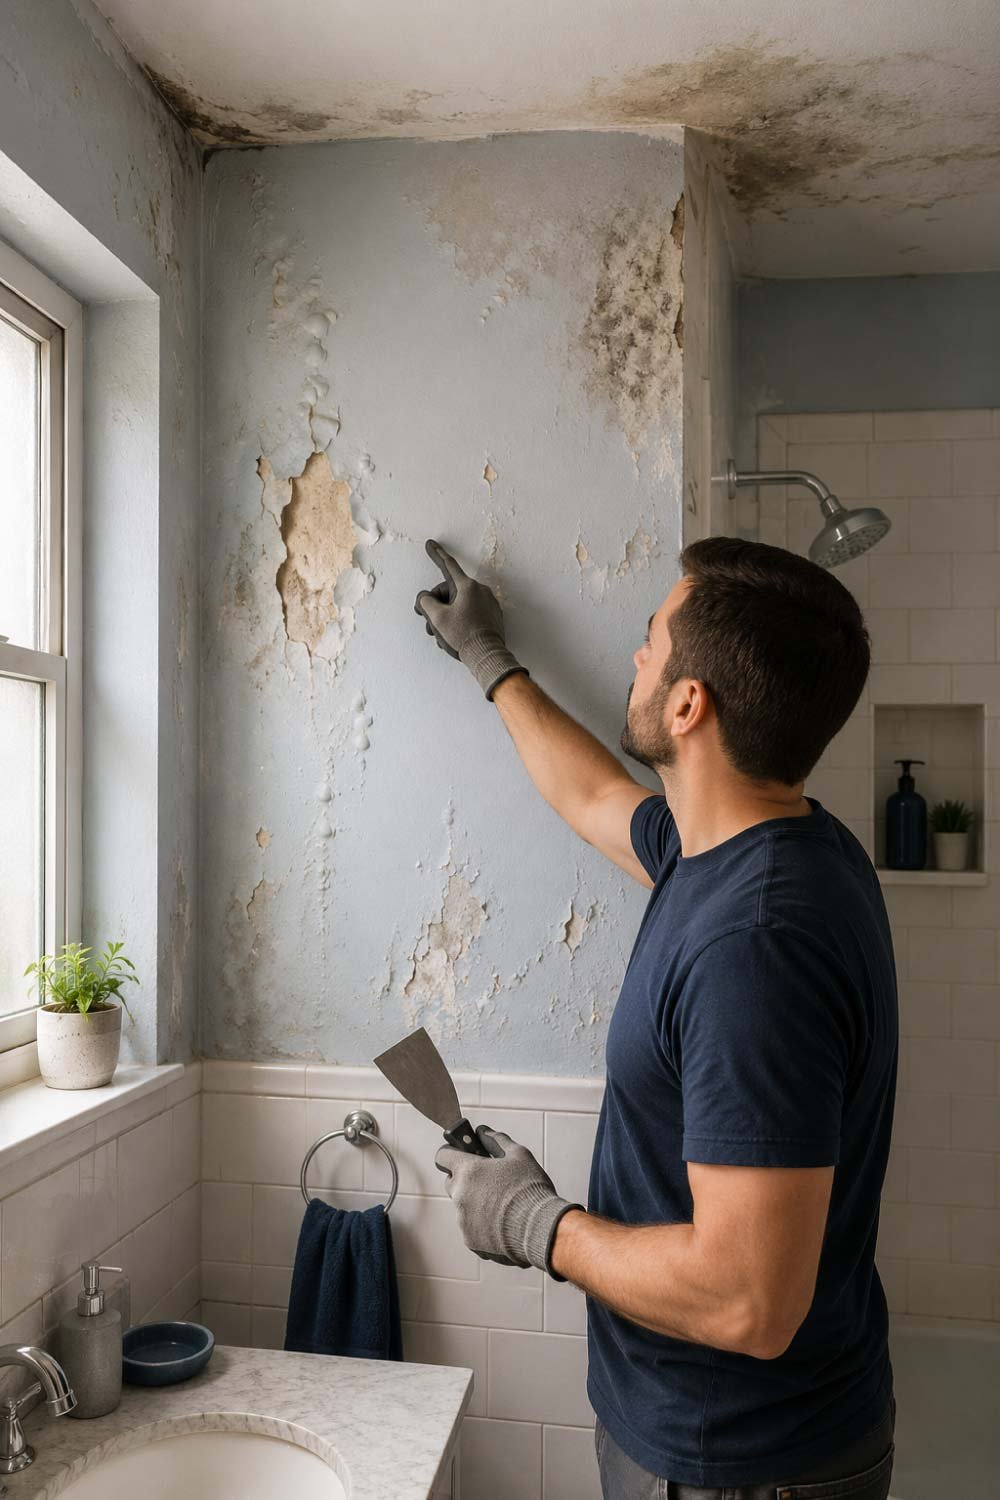
Before starting any repair work, it’s essential to locate all affected areas clearly. Many bathroom paint problems spread beyond what is visible on the surface. A proper inspection ensures you treat the root cause instead of just fixing small patches temporarily.
- Check all walls and ceiling corners carefully
- Look for bubbling, peeling, or discoloration
- Tap surface to detect hollow spots
Start by carefully inspecting your bathroom walls and ceiling. Look for:
Peeling or curling paint edges
Bubbling or blistered areas
Dark patches or mold spots
Soft or damp wall sections
Use a putty knife or scraper to gently tap the surface. If the paint sounds hollow or flakes easily, it needs to be removed.
It’s important not to ignore small patches. Even minor peeling is usually a sign of deeper moisture damage.
Step 2: Remove All Loose and Damaged Paint
Proper removal of damaged paint is one of the most important steps in ensuring a long-lasting repair. Any weak or loose paint left behind will prevent new layers from bonding correctly, leading to repeated peeling issues in the future.
- Scrape all loose paint completely
- Extend slightly beyond damaged area
- Ensure a clean and stable surface
How to do it:
Use a paint scraper or putty knife
Gently scrape off all loose paint
Extend slightly beyond the damaged area to ensure stability
Be careful not to damage the wall surface underneath
If the peeling area is large, it may take some time, but don’t rush. A clean base is the foundation of a long-lasting repair.
Step 3: Treat Mold and Moisture Issues
Mold and hidden moisture are often the main reasons bathroom paint fails repeatedly. If these issues are not treated properly, even a fresh paint job will not last. This step ensures the surface is safe, clean, and ready for repair work.
- Kill mold before repainting
- Clean surface thoroughly with solution
- Ensure proper drying afterward
If you see black, green, or brown spots, mold is likely present. Simply painting over it will not solve the problem.
Cleaning method:
Mix one part bleach with three parts water
Apply using a sponge or cloth
Let it sit for 10 minutes
Wipe thoroughly with clean water
Allow the wall to dry completely
Make sure the bathroom is well ventilated during this process. Wear gloves for safety.
If moisture is coming from leaks (pipes or ceiling), fix those before continuing.
Step 4: Dry the Surface Completely
Proper drying is a crucial step that should never be rushed. Even a slightly damp surface can cause new paint or filler to fail quickly. Ensuring complete dryness helps the repair last longer and prevents future peeling problems.
- Use fans or ventilation for airflow
- Allow enough drying time
- Check for hidden damp spots
To dry properly:
Open windows if available
Use an exhaust fan or electric fan
Allow 24–48 hours drying time if needed
Check for hidden damp spots by touching the wall
The wall should feel completely dry and cool before moving forward.
Step 5: Repair the Wall Surface
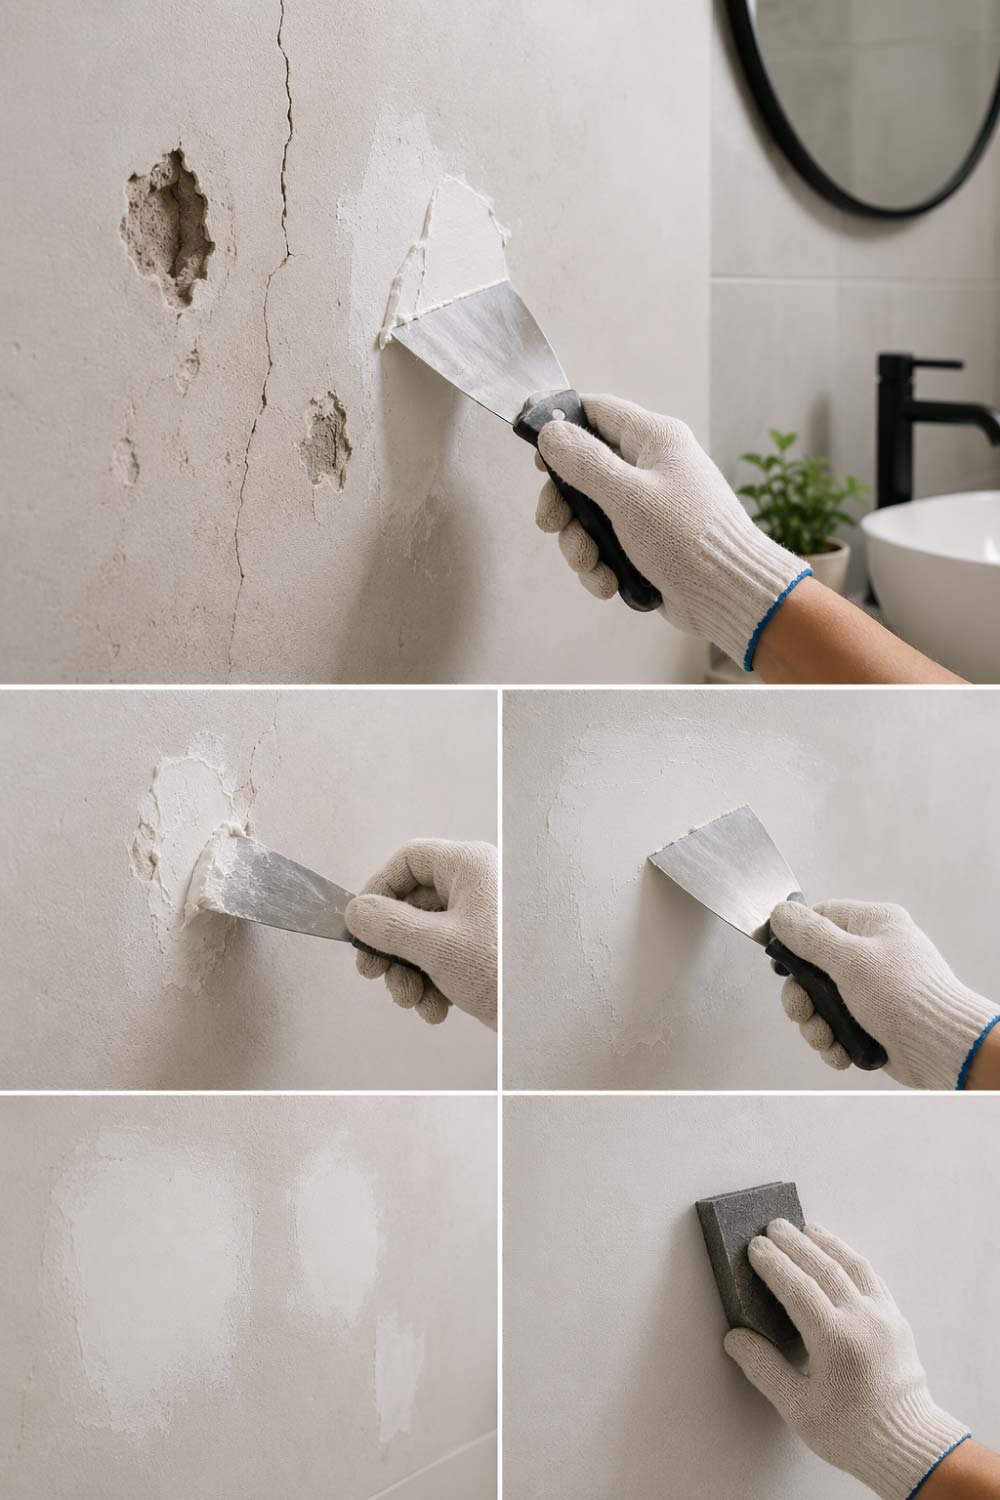
After cleaning, drying, and removing damaged paint, the wall often has cracks, holes, or uneven patches. This step focuses on rebuilding a smooth, stable surface so the new paint can bond properly. A well-repaired wall is essential for achieving a clean, professional finish that lasts longer in humid bathroom conditions.
- Use proper filler for damaged areas
- Smooth surface for even paint application
- Sand for a flawless finish
Once everything is clean and dry, it’s time to restore the damaged surface.
What to use:
Wall filler or joint compound
Putty knife
How to apply:
Press filler into damaged areas firmly
Smooth it evenly across the surface
Apply in thin layers for deeper damage
Let each layer dry before adding another
After drying, lightly sand the area until smooth and level with the wall.
A smooth surface ensures the new paint looks uniform and professional.
Step 6: Apply a High-Quality Moisture-Resistant Primer
Primer is often ignored, but in bathrooms it plays a critical role in preventing future paint failure. It acts as a protective layer that seals the wall and improves paint adhesion, especially in moisture-heavy environments where regular paint alone cannot perform well.
- Strengthens paint bonding to wall
- Blocks moisture and damp penetration
- Reduces risk of mold growth
Why primer matters:
Improves paint adhesion
Blocks moisture penetration
Prevents mold growth
Extends paint life significantly
Application tips:
Use a moisture-resistant or anti-mold primer
Apply a thin, even coat
Cover all repaired and surrounding areas
Allow full drying time before painting
Skipping this step often leads to repeat peeling within months.
Step 7: Choose the Right Bathroom Paint
Selecting the correct type of paint is essential for long-term durability in bathrooms. Standard interior paints are not designed to handle constant humidity, so choosing a moisture-resistant option ensures your walls stay protected and look fresh for years.
- Use paint designed for humid areas
- Prefer washable and mold-resistant finishes
- Avoid absorbent paint types
Not all paints are suitable for humid environments. For bathrooms, always choose:
Moisture-resistant paint
Anti-fungal or anti-mold paint
Satin or semi-gloss finish (better for cleaning and moisture resistance)
Flat or matte paints are not ideal because they absorb moisture more easily.
Step 8: Apply Paint the Right Way
Even high-quality paint will fail if it is applied incorrectly. Proper application ensures even coverage, strong adhesion, and long-lasting results. Taking your time during this stage makes a big difference in how well the paint performs in a bathroom environment.
- Apply thin coats for durability
- Avoid thick layers that trap moisture
- Allow proper drying between coats
Now comes the final and most satisfying step.
Painting method:
Use a high-quality roller or brush
Apply thin, even coats
Avoid thick layers (they trap moisture)
Let each coat dry before applying the next
Usually 2 coats are enough
Take your time. A rushed paint job will not last in a bathroom environment.
Step 9: Improve Bathroom Ventilation (Very Important)
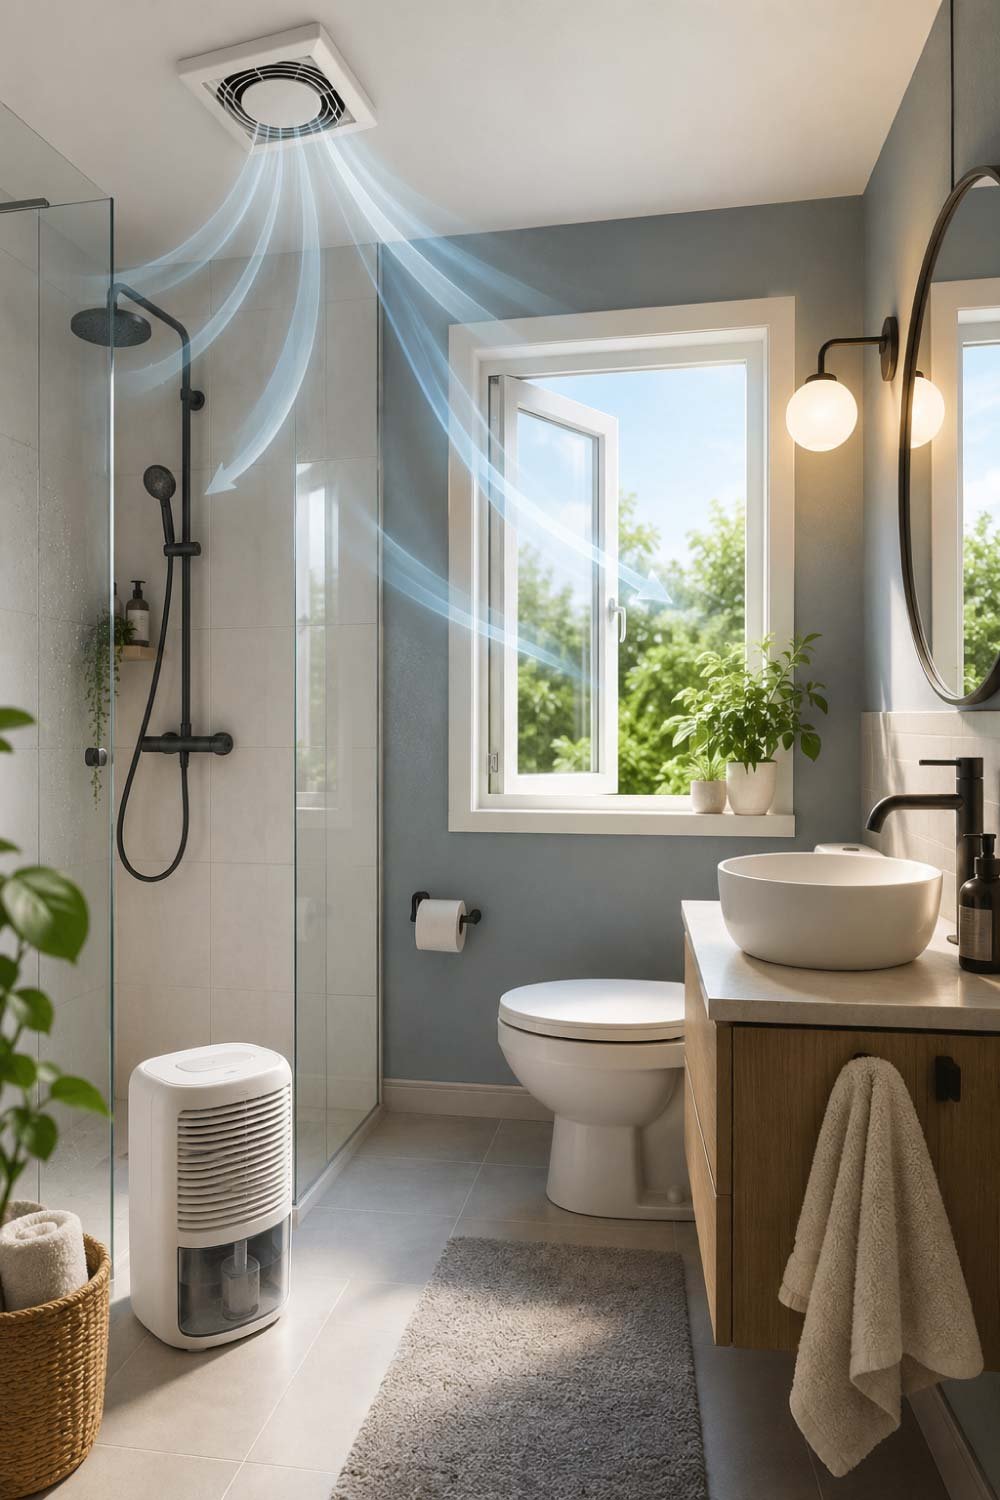
Ventilation is one of the most important factors in preventing paint peeling. Without proper airflow, moisture builds up again and gradually damages even the best paintwork. Improving ventilation helps maintain a dry environment and protects your repair work for years.
- Reduce humidity buildup after showers
- Prevent long-term moisture damage
- Extend paint life significantly
Simple improvements:
Install an exhaust fan
Keep windows open after showers
Use a small dehumidifier if needed
Wipe down wet surfaces regularly
Good airflow is the key to preventing future peeling.
Step 10: Long-Term Maintenance Tips
Maintaining your bathroom walls after repair is just as important as the repair itself. Regular care helps you avoid recurring issues and keeps your paint looking fresh, clean, and damage-free for a long time.
- Regular inspection prevents major damage
- Quick cleaning avoids mold buildup
- Moisture control ensures durability
To keep your bathroom walls in perfect condition:
Check for leaks regularly
Clean mold spots immediately
Avoid long, hot showers without ventilation
Repaint every few years if needed
Keep humidity under control
Small habits make a big difference in paint longevity.
Common Mistakes to Avoid
Many paint repair attempts fail because of simple but critical mistakes. Avoiding these errors ensures your bathroom paint job stays strong and does not peel again within a short time.
- Never paint over damp surfaces
- Always use primer before painting
- Remove all loose paint completely
- Use moisture-resistant materials only
- Do not ignore ventilation issues
Many people repair peeling paint but see it return quickly because of these mistakes:
Painting over damp walls
Skipping primer
Not removing all loose paint
Using cheap interior paint
Ignoring ventilation problems
Avoiding these errors ensures your repair lasts much longer.
Don’t miss out on this helpful guide!
Bathroom Mold Problem? Remove It Fast and Stop It Coming Back
Don’t miss out on this helpful guide!
Final Thoughts
Bathroom paint peeling is not just a cosmetic issue—it’s a sign of moisture imbalance and surface damage. The key to fixing it properly is not just repainting, but preparing the surface correctly, treating moisture problems, and using the right materials.
When done step by step—cleaning, repairing, priming, and repainting—you don’t just fix the peeling paint; you prevent it from coming back.
A well-maintained bathroom not only looks clean and fresh but also protects your home from long-term structural damage.
Don’t miss out on this helpful guide!