
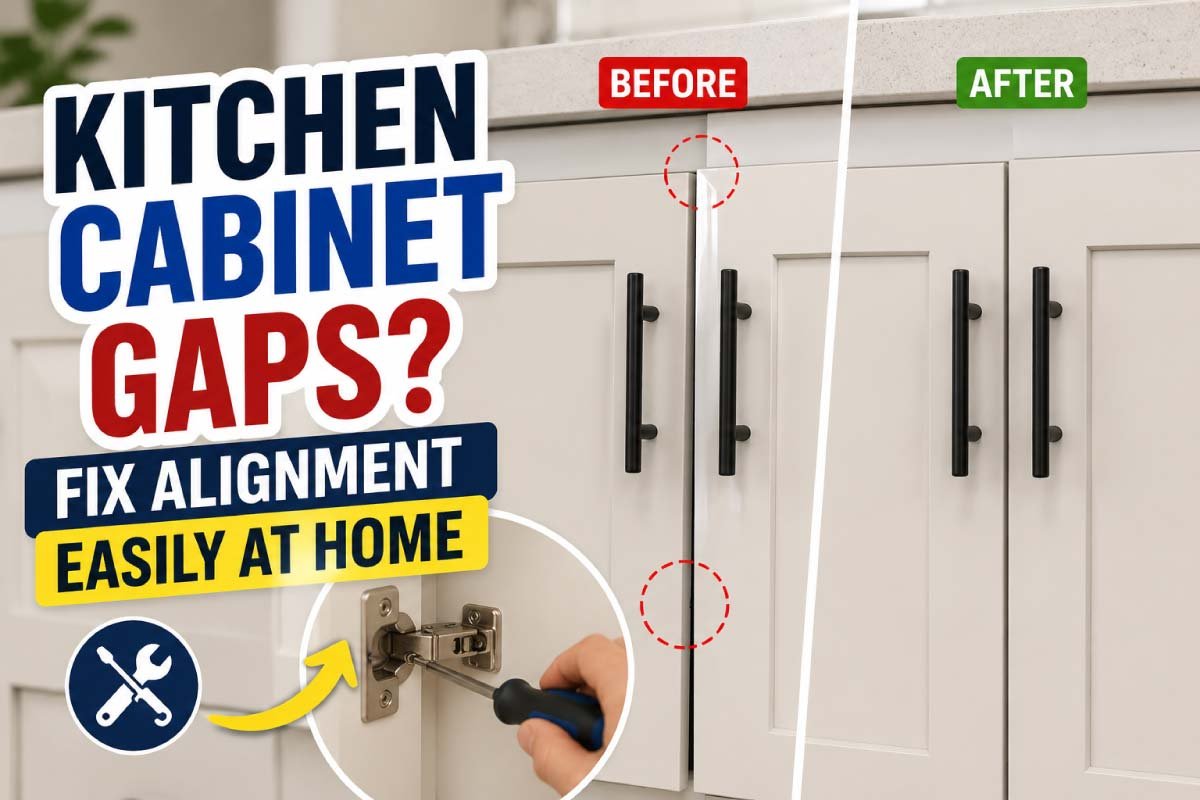
Kitchen cabinets are one of the most used parts of any home. Over time, you may start noticing uneven gaps between cabinet doors, misaligned edges, or doors that don’t close properly. These small issues might seem harmless at first, but they can quickly affect the overall look and functionality of your kitchen.
The good news is that you don’t need to replace your cabinets or call a professional right away. In most cases, cabinet alignment issues can be fixed at home using simple tools and a bit of patience. This guide walks you through why these gaps happen and how to fix them step by step.
Table of Contents
ToggleWhy Kitchen Cabinet Gaps Happen in the First Place
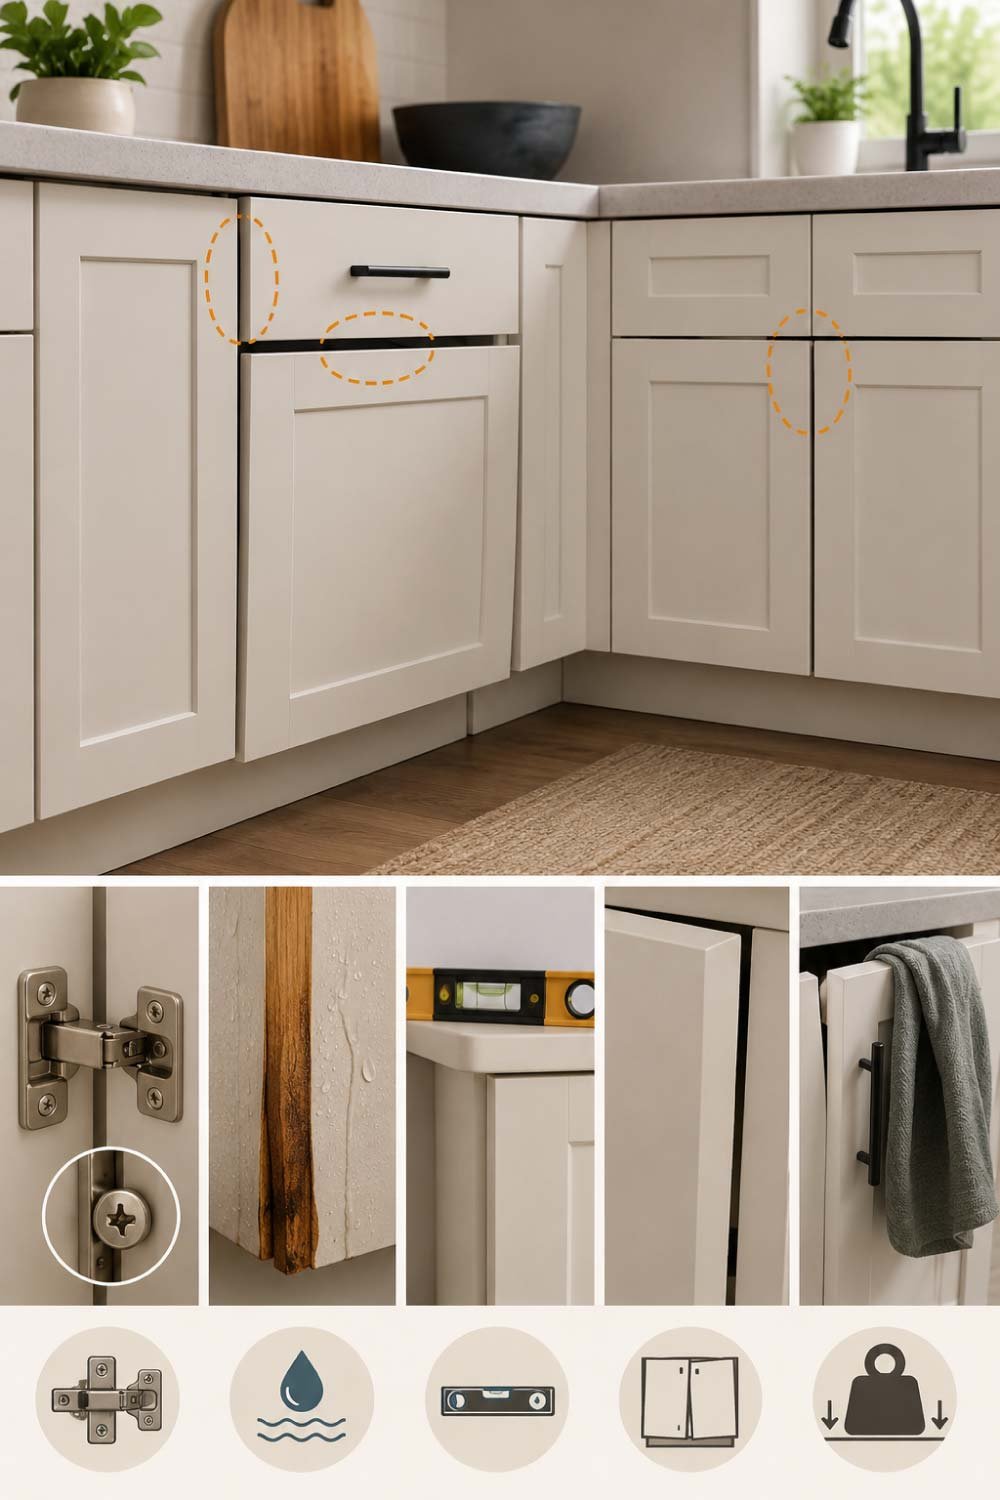
Before jumping into repairs, it’s important to understand what causes cabinet misalignment. Cabinets don’t usually shift for no reason—there are common underlying issues.
One major reason is loose hinges. With daily use, cabinet doors are constantly opened and closed, which slowly loosens screws and causes doors to sag or shift out of position.
Another common cause is moisture and humidity. Kitchens are exposed to steam, heat, and water. Over time, wood expands and contracts, which leads to uneven gaps.
Poor installation is also a factor. If cabinets were not installed perfectly level in the beginning, even small misalignments become more noticeable over time.
Finally, heavy usage or weight on doors (like hanging towels or placing pressure while opening) can gradually pull doors out of alignment.
Understanding the cause helps you choose the right fix instead of just guessing.
Tools You Will Need for the Fix
Before starting any cabinet adjustment work, it’s important to gather the right tools so the process becomes smooth and efficient. Most of these items are basic household tools that many homeowners already have stored in their toolbox. Having everything ready beforehand saves time and prevents interruptions during the repair process.
- Screwdriver (Phillips head)
- Measuring tape or ruler
- Spirit level (optional but helpful)
- Small drill (if tightening holes)
- Wood filler or toothpicks (for loose screw holes)
- Pencil for marking adjustments
These simple tools are enough to handle most cabinet alignment issues without needing professional help. A well-prepared setup ensures you can focus fully on fixing the alignment instead of searching for tools in between work.
Having these tools ready will make the process smooth and quick.
Also Read:
Step 1: Inspect the Cabinet Alignment Carefully
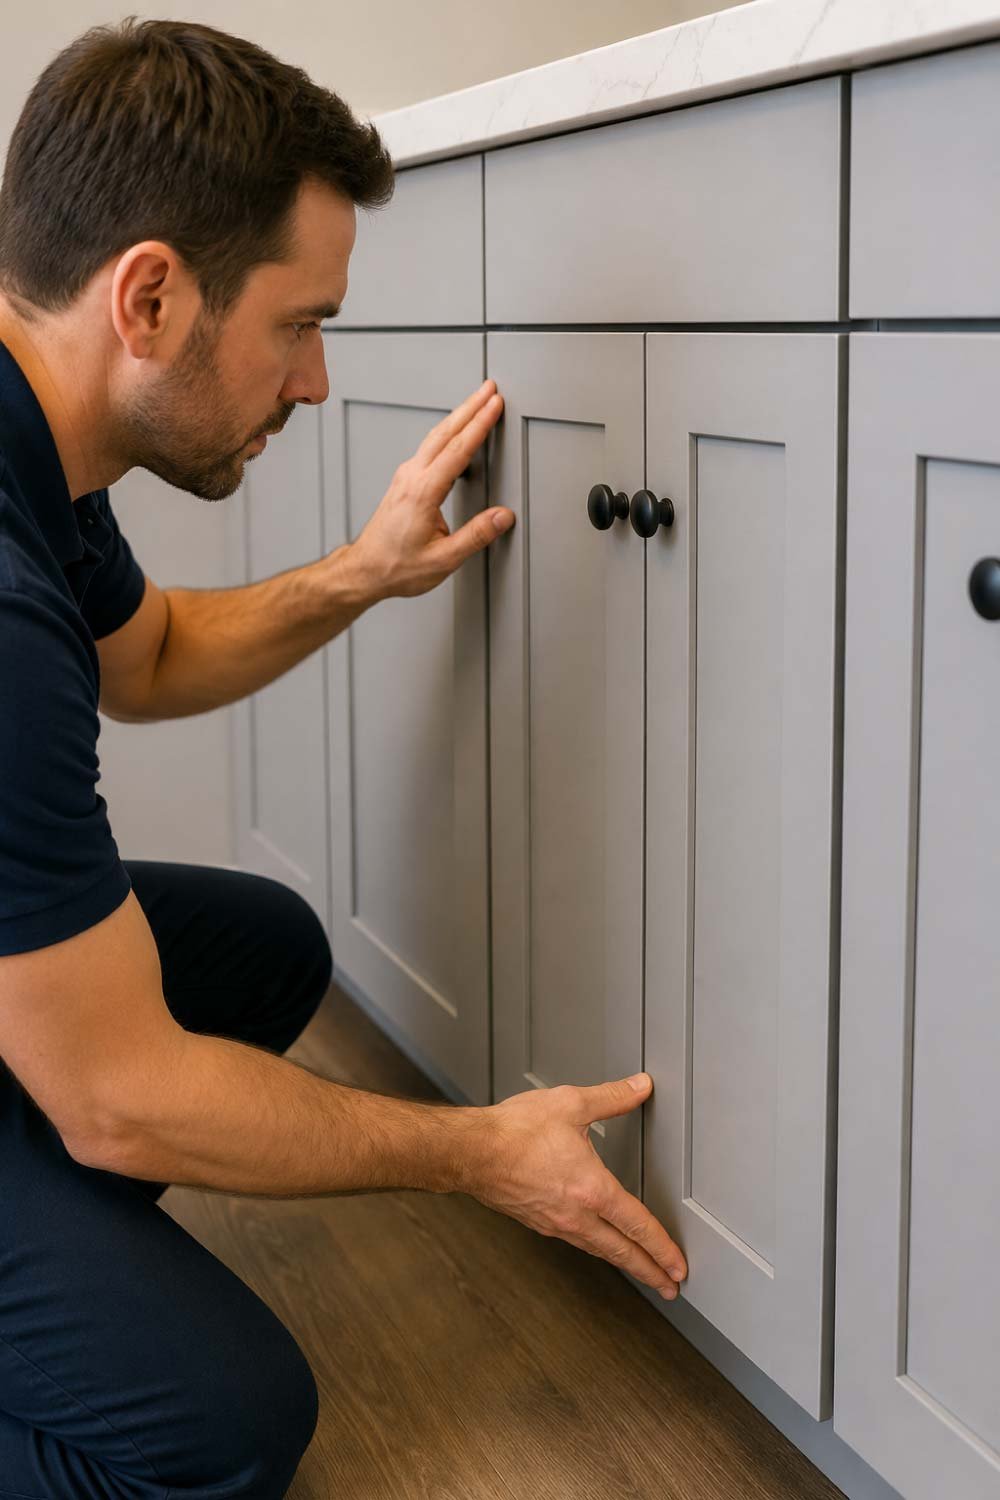
The first and most important step in fixing cabinet gaps is a careful inspection. This helps you understand the root cause of the problem instead of guessing. Open and close every cabinet door slowly and observe how they move and where the gaps appear.
Look closely for common alignment issues such as:
- Uneven spacing between cabinet doors
- Doors rubbing against each other while closing
- Visible gaps at the top or bottom edges
- Doors not sitting flush with the cabinet frame
Try to determine whether the issue is isolated to one door or affecting multiple doors in the same row. This observation will guide you toward the right fixing method, whether it’s a minor hinge adjustment or a more detailed repair.
Once you clearly identify the problem areas, you can move on to fixing them step by step.
Step 2: Tighten All Loose Hinges
Loose hinges are one of the most common reasons behind cabinet misalignment. Over time, constant opening and closing causes screws to loosen, which leads to shifting doors and uneven gaps. Thankfully, this is usually the easiest problem to fix.
Use a screwdriver to carefully tighten all hinge screws on both the cabinet doors and the frame. Make sure you apply steady pressure, but avoid overtightening as it can strip the wood and worsen the issue.
Check all key points carefully:
- Door-side hinge screws
- Frame-side mounting screws
- Hidden hinge plates or brackets
After tightening everything, gently close the cabinet doors and observe if the alignment improves. In many cases, this simple step significantly reduces or even completely fixes the gap issue.
Sometimes, this step alone solves the problem completely.
Step 3: Adjust Hinges for Perfect Alignment
If tightening screws doesn’t fully fix the issue, the next step is fine-tuning the hinge position. Most modern cabinet hinges come with built-in adjustment screws that allow you to move the door in multiple directions for precise alignment.
These adjustment screws typically control:
- Side-to-side movement: Fixes gaps between adjacent doors
- Depth adjustment: Moves the door closer or farther from the cabinet frame
- Height adjustment: Raises or lowers the door for proper leveling
Make small adjustments gradually instead of large changes. After each adjustment, close the door and check the alignment again. This helps you avoid overcorrecting the position.
A useful technique is to adjust one hinge at a time rather than all at once. This gives you better control and makes it easier to understand how each adjustment affects the door position.
Careful adjustments will help you achieve a clean, professional-looking alignment.
Step 4: Fix Stripped Screw Holes
Sometimes cabinet screws won’t stay tight because the wood around the screw hole has become worn or stripped. When this happens, hinges keep loosening no matter how often you tighten them. Fortunately, there are simple DIY solutions to restore grip.
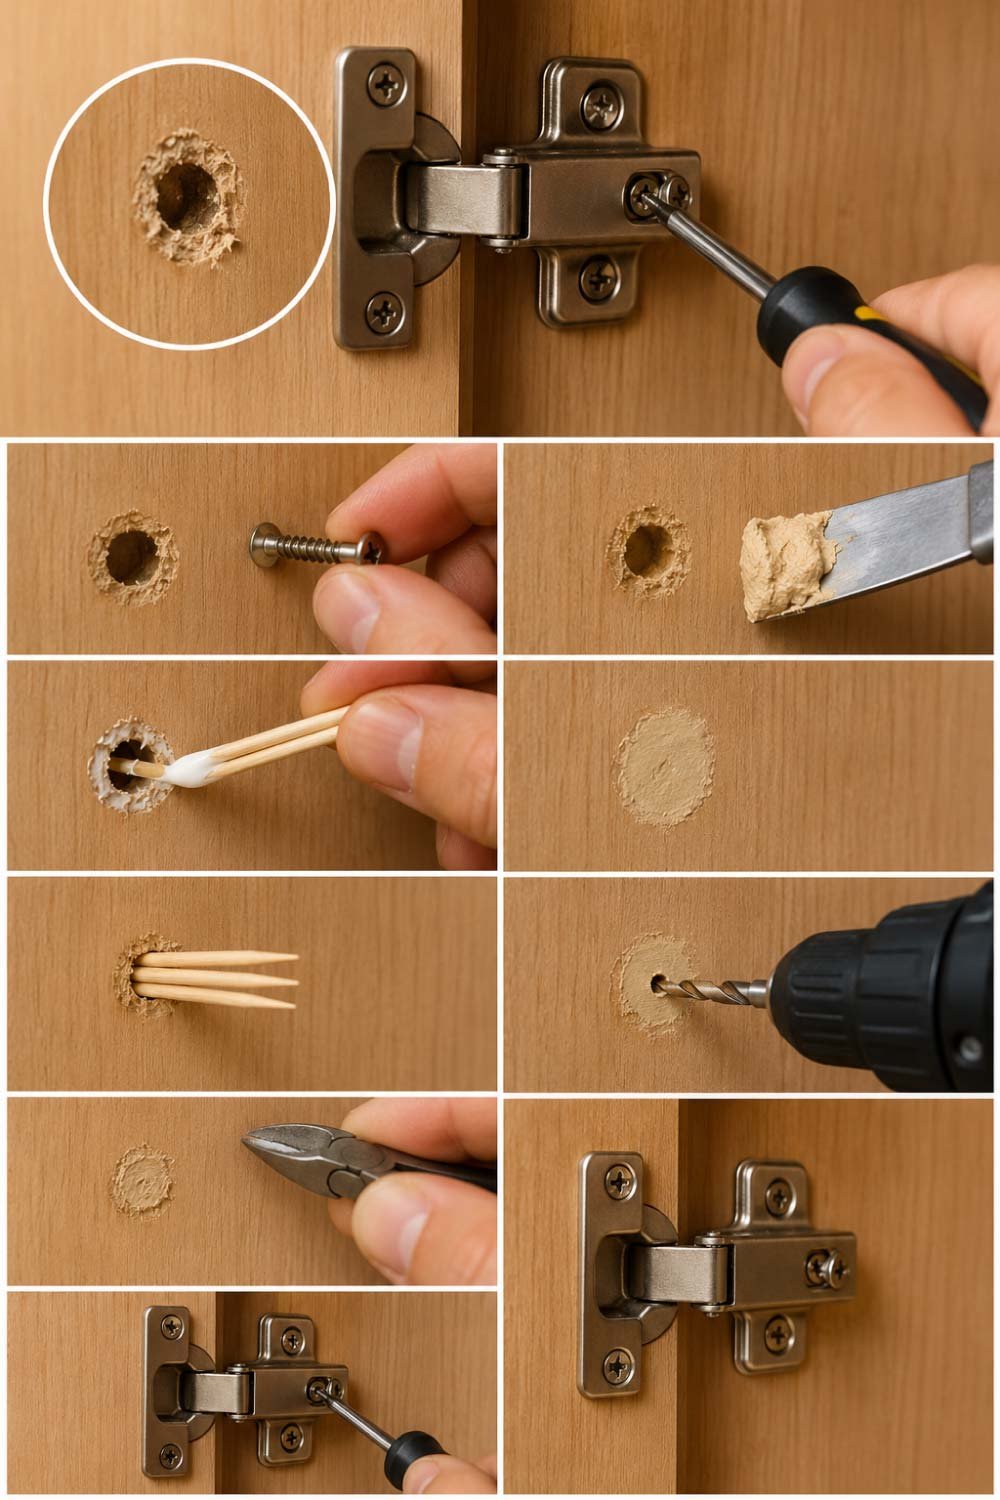
Option 1: Toothpick Method
This is a quick and effective fix for light damage:
- Remove the loose screw completely
- Insert wooden toothpicks dipped in wood glue into the hole
- Break off any excess sticking out
- Allow a few minutes for partial drying
- Reinsert the screw and tighten firmly
This method fills the gap inside the hole and gives the screw a fresh surface to grip.
Option 2: Wood Filler Method
For stronger and more permanent repair:
- Fill the damaged hole with wood filler
- Allow it to dry completely
- Drill a small pilot hole for accuracy
- Reattach the hinge securely
Both methods help restore structural strength and prevent future loosening issues.
Also Read:
Step 5: Level the Cabinet Doors
Even after fixing hinges and screws, cabinet doors may still appear uneven if they are not properly leveled. This step ensures a clean and balanced appearance across all doors, especially in multi-door cabinets.
Use a spirit level to check whether each door is hanging straight. If one side is higher or lower, make small adjustments using the hinge height screws or slightly reposition the mounting plate.
Even minor differences of a few millimeters can noticeably affect the overall look of the cabinet. That’s why careful adjustments are important.
If you don’t have a spirit level, you can compare the door alignment visually with nearby cabinet doors. This simple comparison often helps you spot inconsistencies quickly.
Proper leveling gives your cabinets a neat, professional finish.
Step 6: Adjust Cabinet Frame Alignment (If Needed)
If multiple doors are misaligned, the entire cabinet frame might be slightly off.
Check if the cabinet box is level against the wall. If it’s tilted, you may need to adjust the mounting screws that hold the cabinet to the wall.
Loosen slightly, realign, and retighten while holding the cabinet steady. This step is more advanced but very effective for older installations.
Step 7: Check for Swelling or Warped Wood
Moisture can cause cabinet doors to swell, especially in kitchens near sinks or stoves.
Signs include:
- Doors sticking when opening
- Uneven edges even after hinge adjustment
- Visible swelling on corners
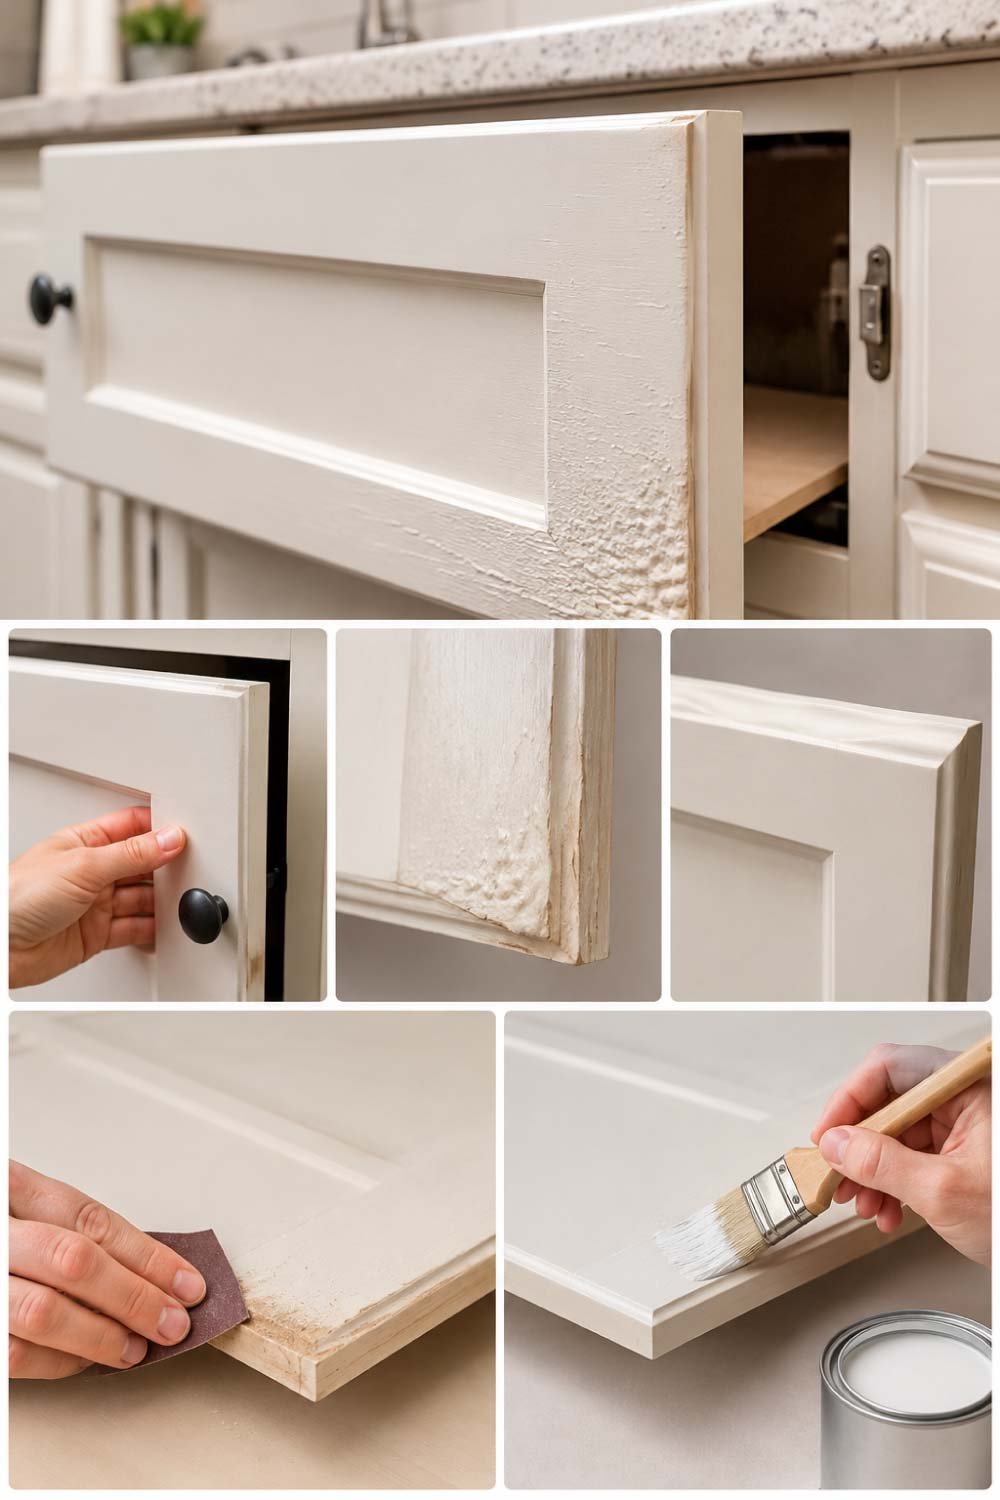
If swelling is minor:
- Sand down the affected edge gently
- Apply a protective sealant or paint
If warping is severe, replacing the door may be the only long-term solution.
Step 8: Recheck and Fine-Tune Alignment
Once all adjustments are done, close all cabinet doors and step back.
Look at:
- Even spacing between doors
- Smooth closing action
- Proper alignment with cabinet frame
Make small final adjustments as needed. The goal is a clean, symmetrical look where all gaps are consistent.
Preventing Kitchen Cabinet Gaps in the Future
Once you’ve fixed the issue, it’s important to keep cabinets in good condition to avoid recurring problems.
Here are some simple prevention tips:
- Tighten hinges every few months
- Avoid slamming cabinet doors
- Keep kitchen humidity under control
- Don’t overload cabinet doors with heavy items
- Clean and inspect hinges regularly
Small maintenance steps can significantly extend the life of your cabinets.
When You Should Call a Professional
While most cabinet alignment issues can be fixed at home, there are situations where professional help is better:
- Cabinet structure is damaged or broken
- Severe warping of wood panels
- Wall-mounted cabinets are unstable
- Multiple doors cannot be aligned even after adjustment
In such cases, forcing repairs may cause more damage.
Also Read:
Final Thoughts
Kitchen cabinet gaps and misalignment are common problems in almost every home. The good news is that they are usually easy to fix with basic tools and a bit of patience.
By tightening hinges, adjusting alignment screws, fixing stripped holes, and checking for moisture damage, you can restore your cabinets to a clean and perfectly aligned condition.
A well-aligned kitchen doesn’t just look better—it also improves daily convenience and extends the life of your cabinets. With regular care and small adjustments, you can keep your kitchen looking neat and functional for years.