
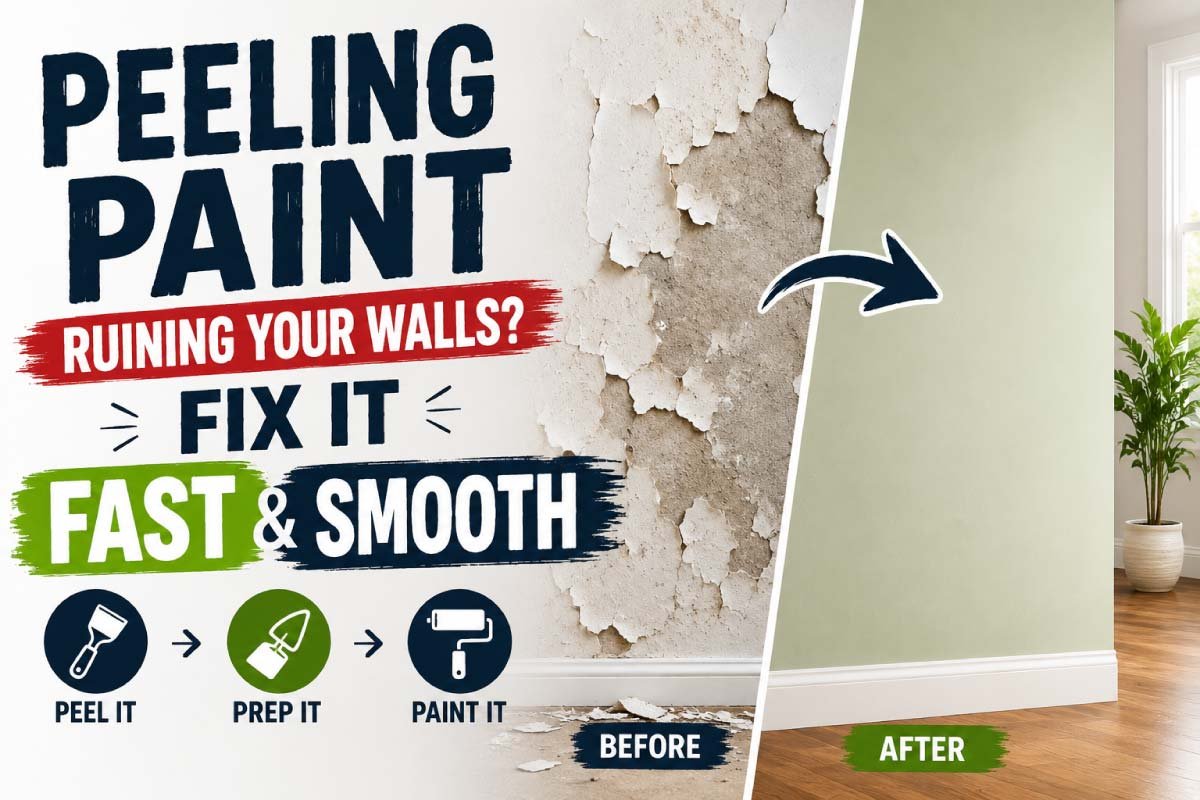
Peeling paint is one of those problems that slowly gets worse before you even notice it. At first, it might look like a tiny bubble or a slightly rough patch on the wall. But over time, it spreads, flakes start falling, and suddenly your clean, beautiful wall looks old, damaged, and neglected. The good news is—you don’t always need to repaint the entire room. With the right approach, you can fix peeling paint quickly and restore a smooth, fresh finish that looks almost brand new.
This guide walks you through everything you need to know: why paint peels, how to repair it properly, and how to prevent it from coming back.
Why Paint Starts Peeling in the First Place
Peeling paint is not just a cosmetic issue—it usually signals underlying wall or environmental problems. Before jumping into repairs, it’s important to understand the root causes. Identifying why paint fails helps you apply the right fix and prevent the problem from coming back again in the future.
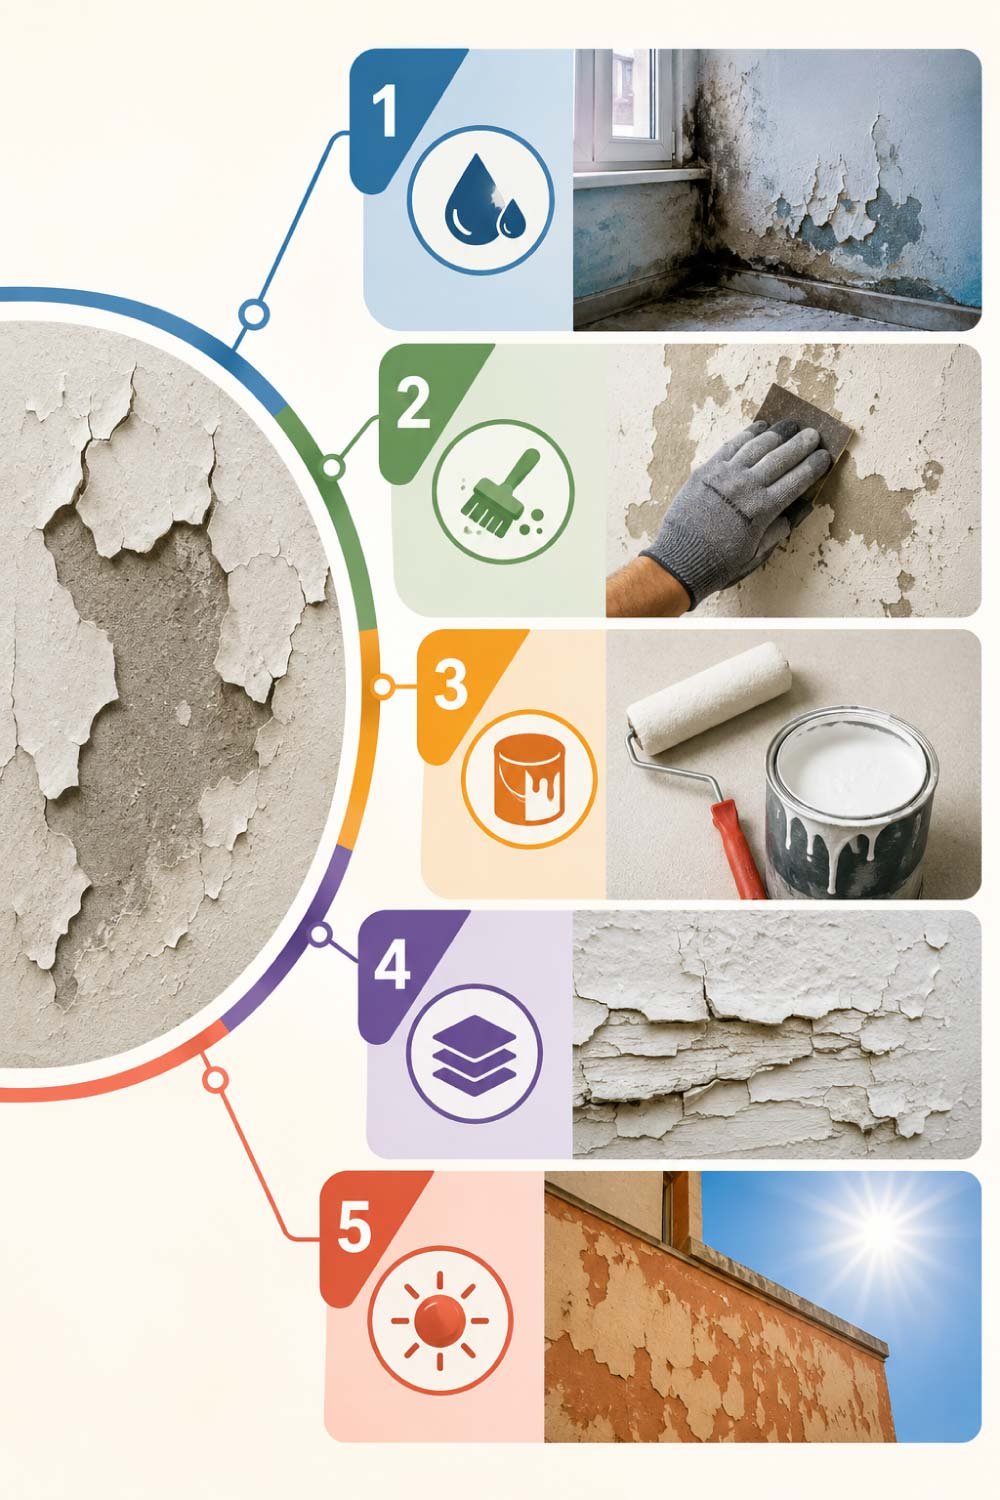
1. Moisture Problems
Moisture is one of the most common reasons paint starts peeling off walls. Water entering through leaks, damp surfaces, or high humidity slowly weakens the bond between paint and wall. Over time, this trapped moisture pushes the paint outward, causing bubbling, flaking, and eventual peeling.
- Moisture from hidden pipe leaks
- Dampness in bathrooms and kitchens
- High humidity in closed spaces
- Water seepage from exterior walls
2. Poor Surface Preparation
A strong paint job always depends on proper surface preparation. If the wall was not cleaned, sanded, or primed correctly before painting, the paint cannot adhere properly. Dust, grease, or uneven patches create weak points that cause early peeling and reduce the overall durability of the finish.
- Dust or dirt left on wall before painting
- No sanding of rough surfaces
- Missing or low-quality primer use
- Grease or oil contamination on walls
3. Low-Quality Paint
Using cheap or low-quality paint might save money initially, but it often leads to long-term problems. Such paints lack strong binding agents and durability, making them unable to withstand heat, moisture, or daily wear. As a result, the paint film breaks down and starts peeling much sooner than expected.
- Weak adhesion to wall surface
- Poor resistance to moisture
- Fades quickly under sunlight
- Cracks under temperature changes
4. Excessive Layers of Paint
Applying too many layers of paint without allowing proper drying time can create heavy buildup on the wall. This extra weight prevents proper bonding with the surface. Over time, these thick layers lose stability, leading to separation, cracking, and visible peeling in different areas of the wall.
- Thick paint buildup on walls
- Insufficient drying time between coats
- Uneven layered application
- Weak bonding between paint layers
5. Heat and Sun Exposure
Direct sunlight and extreme heat can significantly affect painted walls. Continuous exposure causes expansion and contraction of the surface, which weakens the paint layer. Over time, this movement creates cracks, fading, and peeling, especially on exterior walls or rooms exposed to strong sunlight throughout the day.
- Constant exposure to direct sunlight
- Temperature expansion and contraction
- Fading of paint color over time
- Cracking due to heat stress
Step 1: Identify the Affected Area
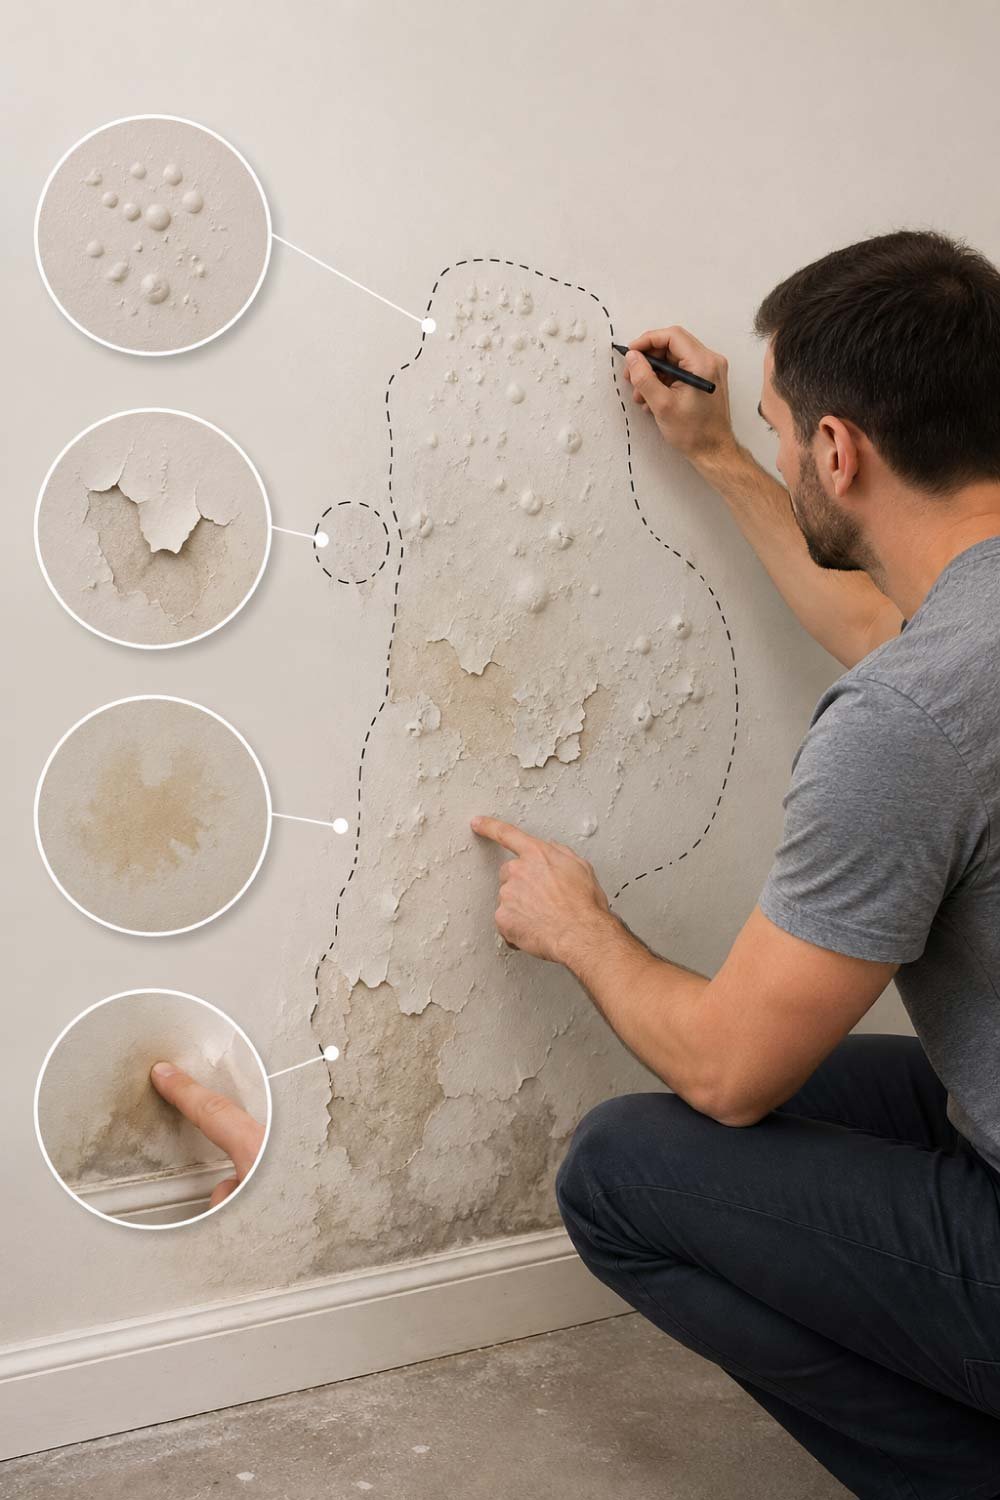
Start by carefully inspecting your wall. Look for a clear understanding of where the paint is failing before beginning any repair work. This step helps you avoid missing hidden damage and ensures a complete and long-lasting fix that restores both appearance and strength of the wall surface.
- Bubbling or blistering paint
- Flaking or curling edges
- Discolored patches
- Soft or damp areas
Tap lightly on suspicious spots. If the paint sounds hollow, it’s likely detached from the wall underneath. Mark all affected areas so you don’t miss any during repair.
Also Read:
Step 2: Remove the Loose Paint
This is a crucial step. You must remove all unstable paint before applying anything new.
Tools you may need:
- Paint scraper or putty knife
- Sandpaper (medium and fine grit)
- Dust mask
- Dry cloth
How to do it:
Gently scrape off all loose and peeling paint. Don’t rush—press firmly but carefully so you don’t damage the wall surface underneath. Once the loose paint is removed, sand the edges of the remaining paint to create a smooth transition.
This step ensures the new paint will stick properly without visible bumps or ridges.
Step 3: Clean the Wall Surface Properly
After scraping, the wall will have dust and debris. Cleaning is essential for strong paint adhesion. A properly cleaned surface ensures that no particles interfere with bonding, allowing the new paint to stick evenly and last longer without peeling or uneven patches developing later.
Wipe the area with a dry cloth first. Then, if needed, use a mild soap solution to remove grease or dirt. Let the wall dry completely before moving to the next step.
Never paint over a damp surface—it will undo your repair work quickly.
Step 4: Repair Any Wall Damage
Peeling paint often reveals small cracks, holes, or uneven patches underneath. Fixing these issues is essential because paint alone cannot hide structural imperfections. A properly repaired wall ensures a smooth finish and helps the new paint layer bond evenly without future peeling or visible surface defects.
Use wall filler or spackling paste to repair these imperfections.
How to apply:
- Use a putty knife to fill cracks
- Press the filler firmly into gaps
- Smooth the surface evenly
- Let it dry completely
- Sand it lightly for a flat finish
A smooth base is essential for a flawless paint finish later.
Step 5: Apply a High-Quality Primer
Primer is often overlooked, but it plays a critical role in ensuring that your repair work lasts. It creates a strong bonding layer between the wall and the new paint, sealing repaired areas and improving adhesion. Without primer, even good paint can fail and start peeling again over time.
Choose a primer suitable for your wall type (especially moisture-resistant if you have damp issues).
Application tips:
- Apply a thin, even coat
- Cover all repaired areas completely
- Let it dry fully before painting
Primer acts like a foundation—it ensures durability and a professional finish.
Also Read:
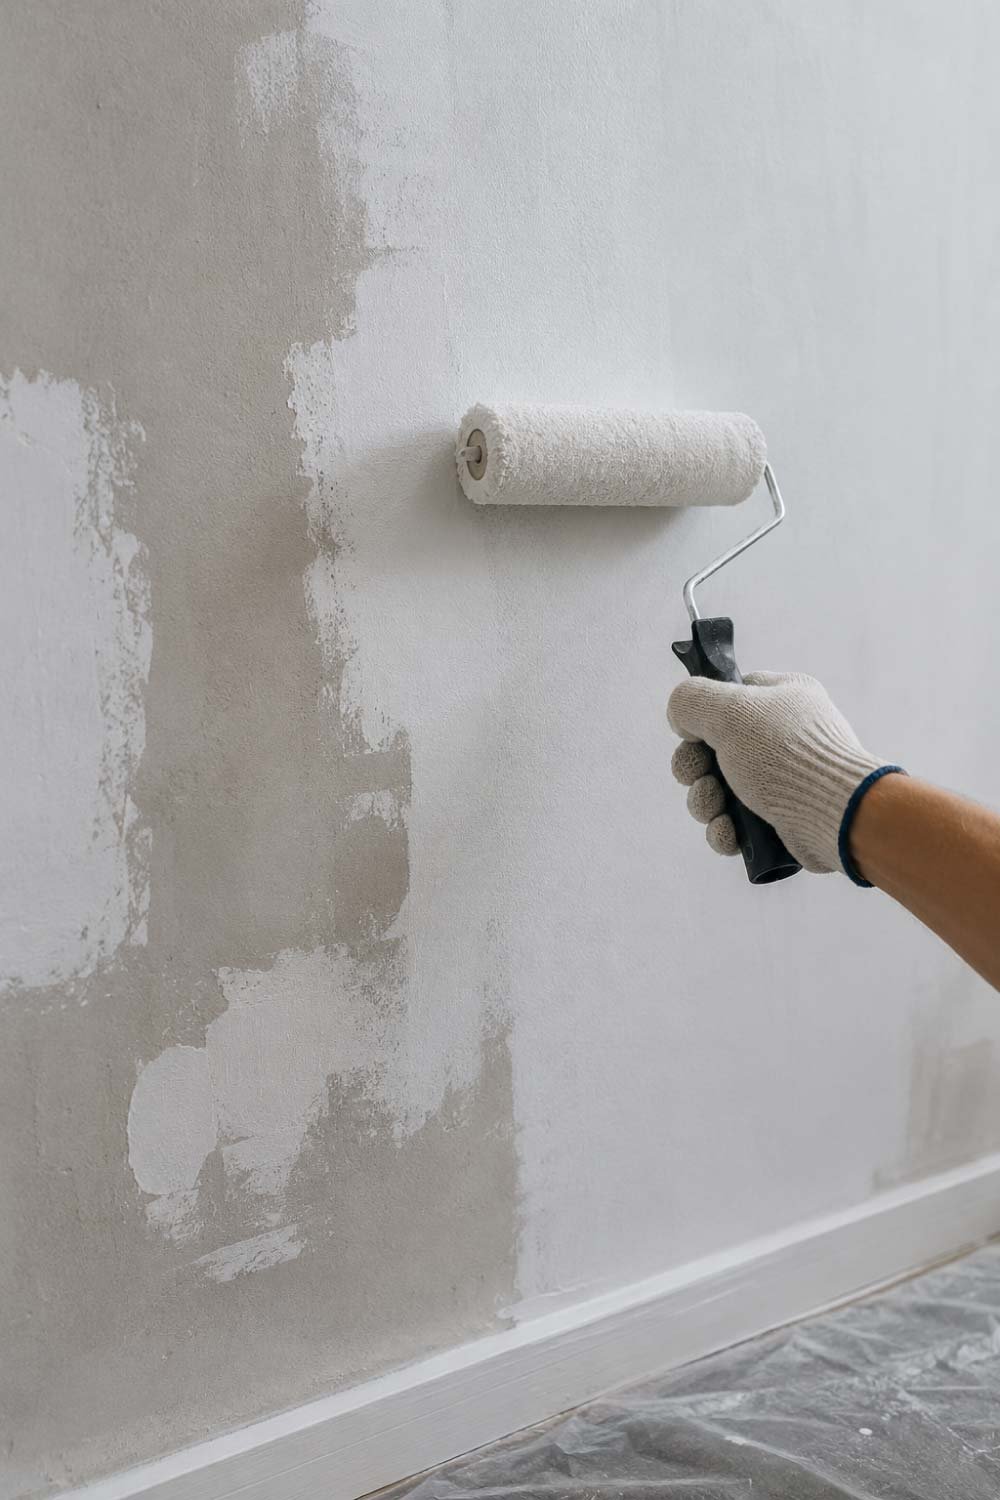
Step 6: Repaint the Area Carefully
Once the primer is fully dry, you can begin repainting. This step restores the wall’s appearance and brings everything back to a clean, fresh finish. Careful application is important here because rushed painting can undo all the previous repair work and lead to uneven texture or visible patches.
Best practices:
- Use high-quality interior paint
- Apply in thin, even layers
- Avoid thick coats (they peel more easily)
- Let each layer dry before applying the next
Usually, two coats are enough for a smooth and consistent finish.
Match the color carefully with the surrounding wall so the repaired area blends seamlessly.
Step 7: Blend the Edges for a Smooth Finish
After repainting, one common issue is visible patch lines where old and new paint meet. Blending the edges properly ensures the repaired area looks natural and uniform, without drawing attention. This step is key for achieving a professional-looking finish that matches the rest of the wall perfectly.
- Feather the edges of your paint slightly outward
- Use a roller instead of a brush for large areas
- Blend gently into surrounding paint
This technique helps the repaired section merge naturally with the rest of the wall.
Step 8: Let the Wall Cure Properly
Even after the paint feels dry, the wall still needs time to fully cure and strengthen. During this period, the paint hardens and bonds completely with the surface. Rushing this step can reduce durability and increase the chances of future peeling or surface damage.
- Avoid touching freshly painted walls
- Keep furniture away from walls for a few days
- Ensure good airflow in the room
- Do not wash or scrub the surface early
Good airflow helps the paint settle properly and strengthens its durability.
How to Prevent Peeling Paint in the Future
Fixing peeling paint is helpful, but preventing it saves you even more time and effort. With a few simple maintenance habits and proper painting techniques, you can keep your walls strong, smooth, and long-lasting without frequent repairs.
1. Control Moisture
Moisture is the biggest cause of paint failure, so controlling it is essential. Fixing leaks quickly and improving airflow reduces dampness and protects the paint layer from weakening over time.
- Fix pipe or roof leaks immediately
- Use exhaust fans in bathrooms and kitchens
- Improve ventilation in closed rooms
2. Use Quality Paint and Primer
High-quality materials make a huge difference in durability. Good paint and primer create a stronger bond with the wall and resist moisture, heat, and daily wear much better than cheap alternatives.
- Invest in trusted paint brands
- Always use primer before painting
- Choose moisture-resistant options if needed
3. Prepare Walls Properly Before Painting
Proper preparation is the foundation of long-lasting paint. Skipping cleaning or sanding may save time initially but leads to early peeling and patchy finishes later.
- Clean walls before painting
- Sand rough or uneven areas
- Apply primer consistently
4. Avoid Painting in Humid Conditions
Humidity slows down drying and weakens paint adhesion. Painting in such conditions often results in bubbling, cracking, or peeling shortly after application.
- Avoid painting during rainy seasons
- Choose dry weather for best results
- Ensure room is well-ventilated
5. Inspect Walls Regularly
Regular inspection helps you catch small issues before they become serious. Early repairs are easier, cheaper, and prevent widespread paint damage.
- Check for early signs of peeling
- Look for damp patches or cracks
- Fix minor issues immediately
Also Read:
Common Mistakes to Avoid
Many paint failures happen due to simple mistakes that can easily be avoided. Being careful during preparation and application ensures long-lasting results and saves you from repeating the same repair work again and again.
- Painting over peeling areas without scraping
- Skipping primer application
- Using low-quality paint
- Applying thick paint coats
- Ignoring moisture problems
Each of these can cause the paint to fail again quickly.
Final Thoughts
Peeling paint may look like a big problem, but it’s actually very manageable when handled step by step. The key is not just covering the damage but fixing the root cause underneath it. With proper preparation, the right materials, and a little patience, you can restore your walls to a smooth, clean, and professional-looking finish.
A well-repaired wall doesn’t just improve appearance—it also protects your home structure and saves you money in the long run. So the next time you notice peeling paint, don’t panic. Fix it fast, fix it right, and your walls will look fresh again for years to come.