
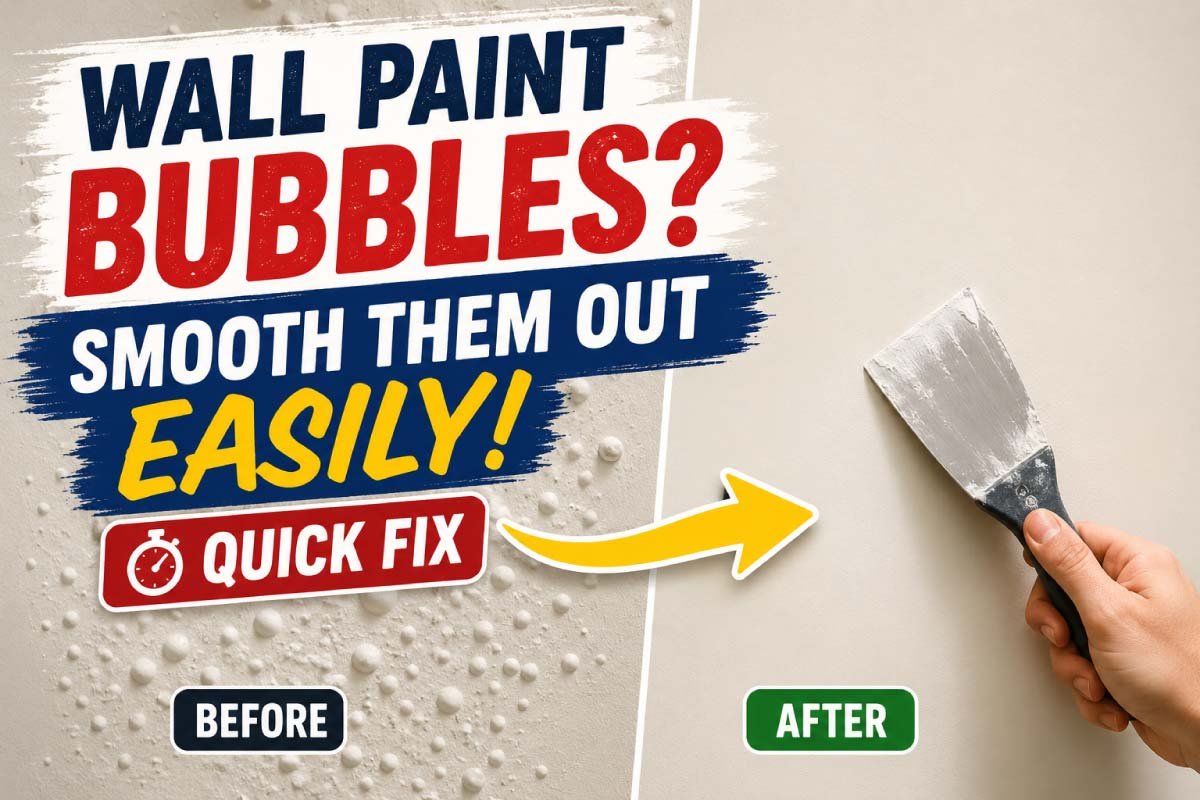
Wall paint bubbles are one of those annoying home problems that can instantly ruin the look of a freshly painted room. At first glance, they might seem like a minor issue, but if ignored, they can grow, crack, peel, and eventually damage the entire paint surface. The good news is that fixing paint bubbles is not as complicated as it looks. With the right approach, tools, and a little patience, you can restore your walls to a smooth, clean finish without hiring a professional.
In this guide, we will break down what causes paint bubbles, how to fix them step-by-step, and how to prevent them from coming back in the future.
Table of Contents
ToggleWhat Are Wall Paint Bubbles?
Wall paint bubbles, also known as paint blisters, are raised sections that form when air, moisture, or contamination gets trapped beneath the paint layer. They appear as uneven bumps that break the smooth finish of a painted wall. These bubbles can vary in size and often signal deeper surface or application problems.
They usually start small but can grow over time if the underlying issue is not fixed. In many cases, they eventually burst, leading to peeling paint and rough, damaged patches on the wall surface.
- Raised, air-filled pockets under paint layers
- Also called blisters or paint bubbles
- Can appear small or large across walls
- Often caused by hidden wall or application issues
- May lead to peeling or surface damage over time
While they may look like a painting mistake, they are usually caused by underlying issues in preparation, moisture, or application technique.
Common Causes of Paint Bubbles
Paint bubbles do not appear without reason; they are usually a result of improper preparation, moisture issues, or incorrect painting techniques. Understanding the root cause is essential before attempting any repair. Identifying what went wrong helps prevent the same problem from returning after repainting.
These causes are often related to hidden moisture, surface contamination, or environmental conditions that affect how paint bonds to the wall.
- Poor surface cleaning before painting
- Moisture trapped inside walls
- Incorrect painting conditions or timing
- Low-quality or unsuitable paint products
- Weak bonding between paint layers
Before fixing the problem, it’s important to understand why it happens in the first place. Paint bubbles don’t appear randomly—they are usually a sign that something went wrong beneath the surface.
1. Moisture Trapped in the Wall
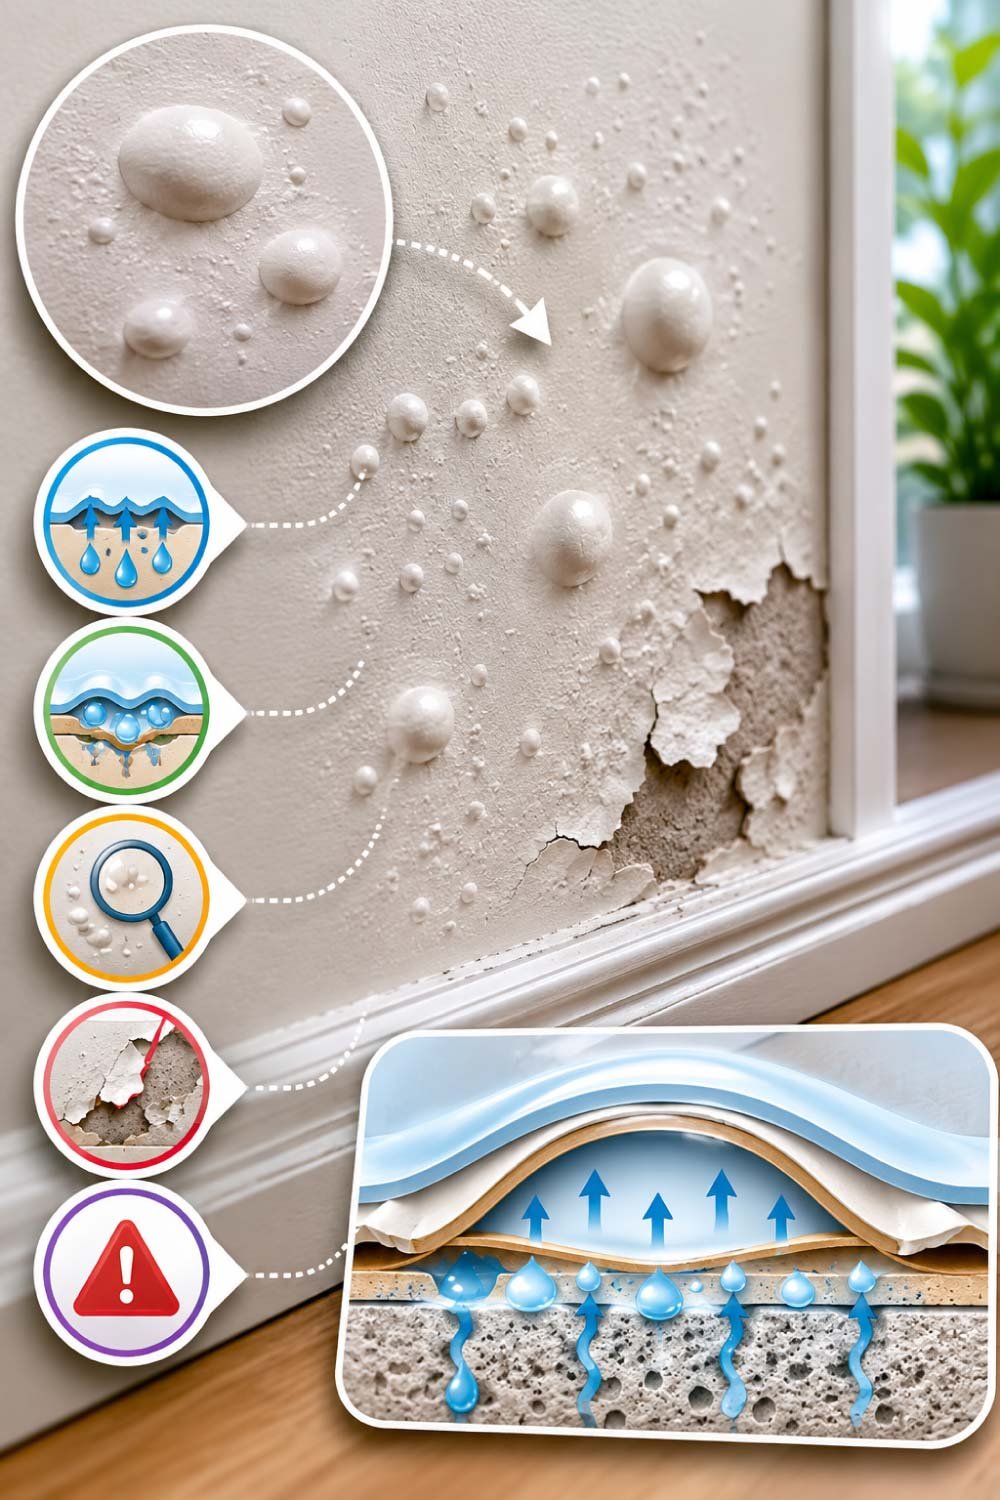
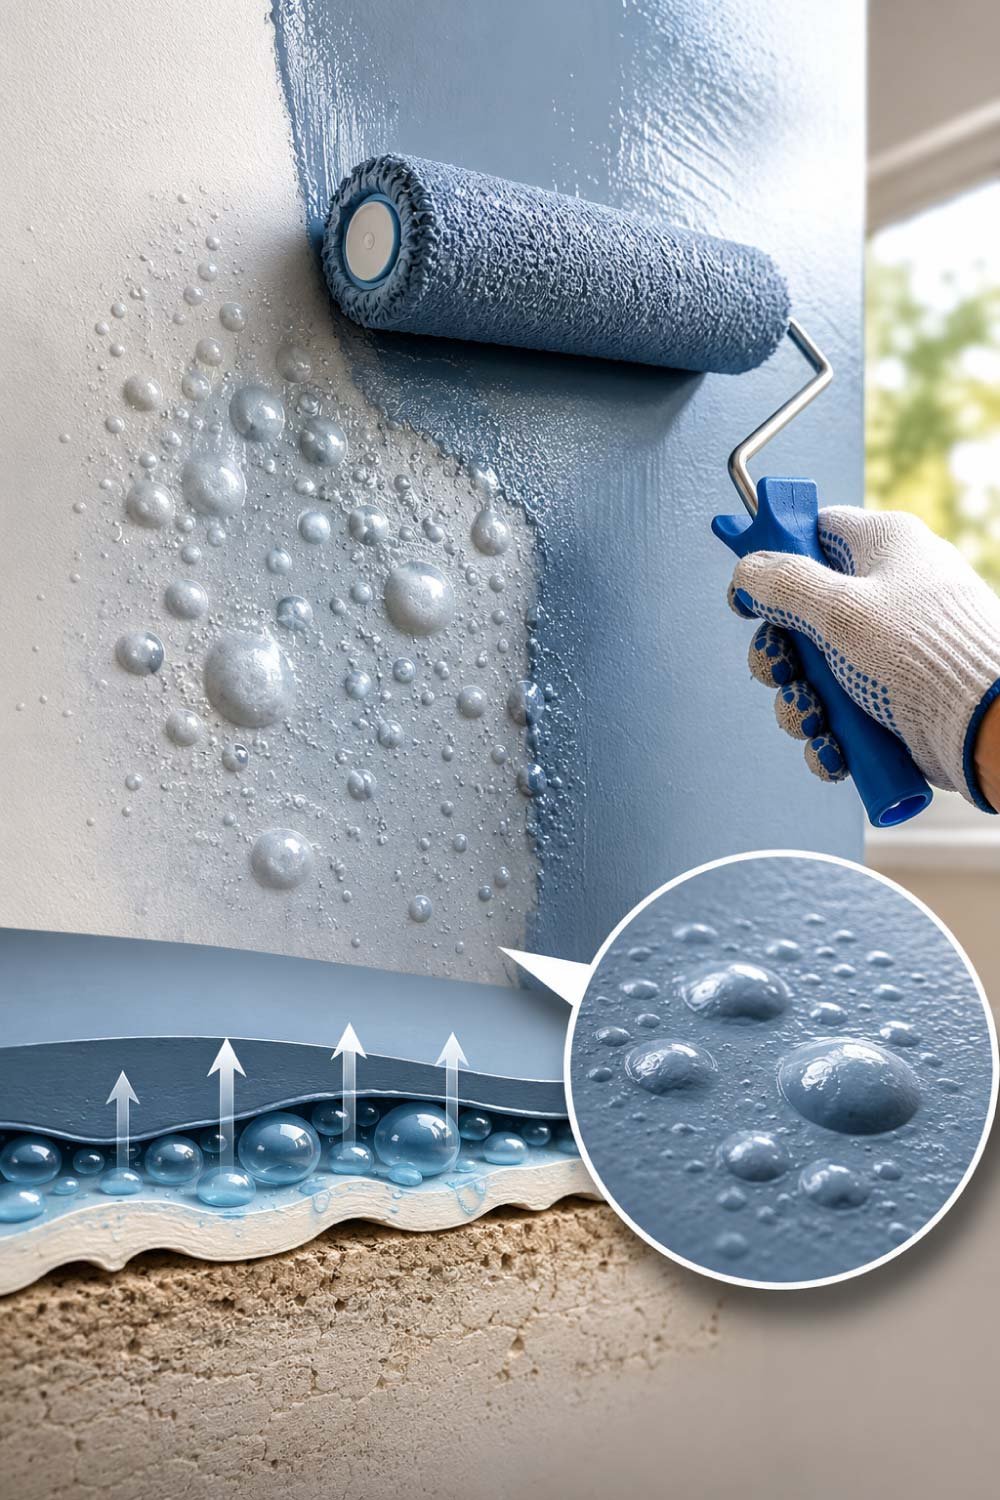
Moisture is one of the most common reasons behind paint bubbling. When water is trapped inside the wall due to leaks, humidity, or damp conditions, it pushes outward against the paint layer. This pressure causes the paint to lift and form visible bubbles on the surface.
- Common in bathrooms, kitchens, and exterior walls
- Caused by leaks, humidity, or water seepage
- Creates pressure beneath the paint layer
- Leads to bubbling and long-term peeling
Moisture is the number one enemy of smooth paint. When water gets trapped inside walls, it pushes the paint outward, forming bubbles. This often happens in bathrooms, kitchens, or exterior walls exposed to rain.
2. Painting on a Dirty Surface
Painting over dust, grease, or oil prevents the paint from sticking properly to the wall. Instead of bonding smoothly, the paint separates in certain areas, creating small air pockets. Over time, these weak spots turn into visible bubbles and uneven patches.
- Dust prevents proper paint adhesion
- Grease or oil weakens bonding strength
- Causes uneven paint surface and bubbles
- Often happens in kitchens or neglected walls
Before painting, surfaces must always be cleaned properly. Dust, grease, or oil prevents paint from bonding properly with the wall. Instead of sticking, the paint separates and forms air pockets.
3. Painting Over Damp Paint
Applying a new coat of paint before the previous layer is completely dry is a major mistake. The trapped moisture between layers has no way to escape, which leads to bubbling as the paint dries unevenly. This is especially common in rushed paint jobs.
- Happens when drying time is ignored
- Moisture gets trapped between layers
- Causes uneven drying and blister formation
- Common in rushed painting projects
If a new coat is applied before the previous layer is fully dry, moisture gets trapped between layers, leading to bubbling.
4. Poor Surface Preparation
Skipping proper wall preparation is another major reason for paint failure. Without sanding, cleaning, or priming, the surface remains uneven and weak. Paint needs a stable base to grip properly; otherwise, it starts lifting and forming bubbles over time.
- No sanding or cleaning before painting
- Lack of primer reduces adhesion
- Uneven wall surface weakens paint grip
- Leads to early bubbling and peeling
Skipping primer or not sanding the wall properly can cause uneven adhesion. Paint needs a stable, smooth base to stick correctly.
5. Heat or Sun Exposure
Painting walls in direct sunlight or high temperatures can cause the top layer of paint to dry too quickly. Meanwhile, the lower layer remains wet, creating trapped air and moisture. This imbalance often results in bubbling and surface distortion.
- Paint dries too fast on the surface
- Inner layers remain wet longer
- Common in outdoor or sun-exposed walls
- Leads to trapped air and bubbles
Painting in direct sunlight or high heat can cause the top layer of paint to dry too quickly while the underneath is still wet, creating bubbles.
6. Low-Quality Paint
Using cheap or expired paint often leads to poor wall coverage and weak adhesion. Such paints may lack proper binding agents, making them unstable after drying. As a result, bubbles, peeling, and uneven textures appear much faster than with high-quality products.
- Weak bonding agents in low-grade paint
- Poor durability and surface coverage
- Higher chance of bubbling and peeling
- May degrade quickly after application
Cheap or expired paint often lacks proper binding agents, making it more prone to bubbling and peeling.
Also Read:
How to Fix a Broken Door Handle: A Complete Step-by-Step Guide
How to Fix Wall Paint Bubbles (Step-by-Step)
Fixing paint bubbles requires careful surface repair and proper repainting technique. The goal is to remove damaged paint, smooth the surface, and ensure proper adhesion for the new coat. Following each step correctly helps restore a clean, even wall finish.
This process does not require advanced tools, but patience and attention to detail are important for long-lasting results.
- Identify and mark damaged areas
- Remove loose or bubbled paint
- Smooth surface with sanding
- Prepare wall before repainting
- Apply fresh, even paint layer
Now let’s get into the practical solution. Fixing paint bubbles is a simple process if you follow the right steps carefully.
Step 1: Identify the Problem Area
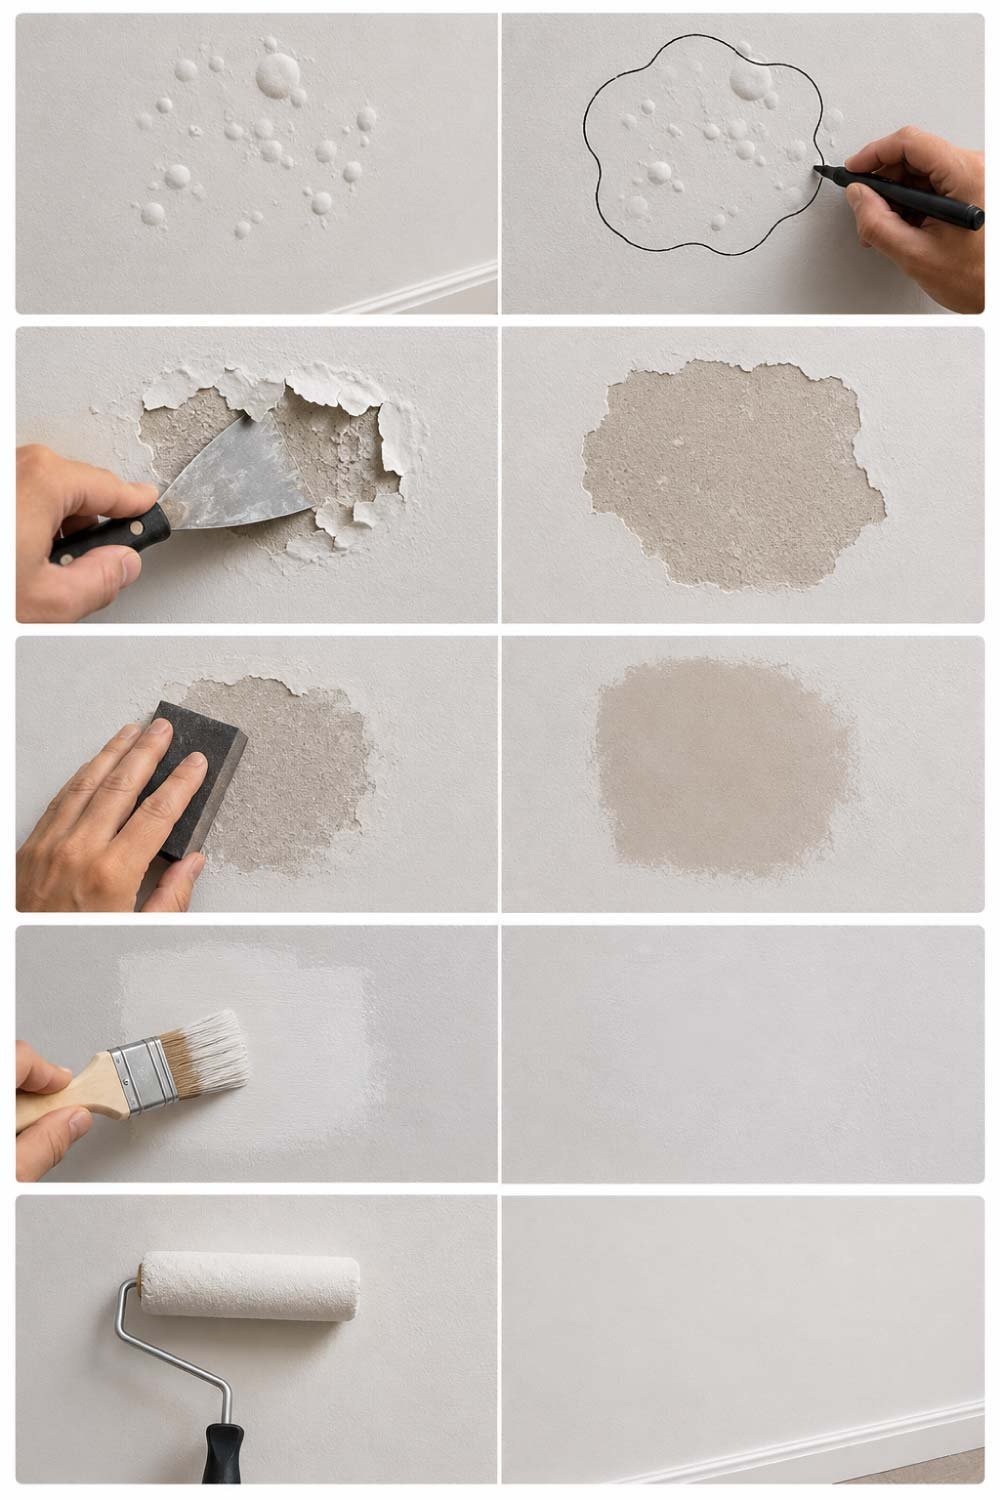
Start by carefully examining the wall under good lighting. Look for raised bumps, peeling edges, or soft hollow spots. These are clear signs of paint bubbling. Marking the affected areas helps ensure you don’t miss any spots during the repair process.
- Check walls under proper lighting
- Look for raised or hollow spots
- Identify peeling paint edges
- Mark damaged areas for repair
Start by inspecting your wall closely. Look for:
Also Read:
How to Fix a Water-Damaged Wall: A Complete Step-by-Step Guide
Step 2: Scrape Off the Bubbles
Use a scraper or putty knife to gently remove all bubbled and loose paint. Work carefully to avoid damaging the underlying wall surface. Make sure all weak or peeling sections are fully removed so the repaired area is stable and ready for sanding.
- Use scraper or putty knife
- Remove all loose paint completely
- Avoid damaging the wall surface
- Clear all weak areas
Using a putty knife or scraper, gently remove the bubbled paint.
Step 3: Sand the Surface Smooth
After scraping, use medium-grit sandpaper to smooth the repaired area. This helps remove rough edges and ensures better paint adhesion. Once finished, wipe the surface clean to remove dust so the new paint can bond properly.
- Smooth rough edges with sandpaper
- Improves paint adhesion strength
- Creates even surface for repainting
- Clean dust after sanding
Once the loose paint is removed, sand the area using medium-grit sandpaper.
This step is important because it:
- Smooths rough edges
- Helps new paint stick better
- Blends repaired area with surrounding wall
After sanding, wipe away dust with a dry cloth.
Step 4: Check for Moisture Issues
Before repainting, make sure the wall is completely dry.
If moisture is present, fixing the paint alone won’t solve the issue. You may need to:
- Improve ventilation
- Fix leaks or seepage
- Use a dehumidifier
- Allow the wall to dry fully for 24–48 hours
Skipping this step may cause bubbles to return.
Step 5: Apply Wall Primer
Primer is essential for long-lasting results. It seals the surface and helps paint adhere properly.
Apply a thin, even layer of primer over the repaired area and let it dry completely.
Primer also helps prevent future bubbling by creating a moisture-resistant barrier.
Step 6: Fill and Level (If Needed)
If the wall surface is uneven after scraping, use wall putty to fill gaps.
Smooth it out with a putty knife and allow it to dry. Once dry, sand again lightly for a flat finish.
Step 7: Repaint the Area
Now comes the final step—repainting.
Use high-quality paint and apply it in thin layers. Avoid applying too thick a coat, as this can trap air and create new bubbles.
Let the first coat dry completely before applying a second coat if needed.
Also Read:
How to Fix a Garage Door That Won’t Open: A Complete DIY Guide
Quick Fix for Small Paint Bubbles
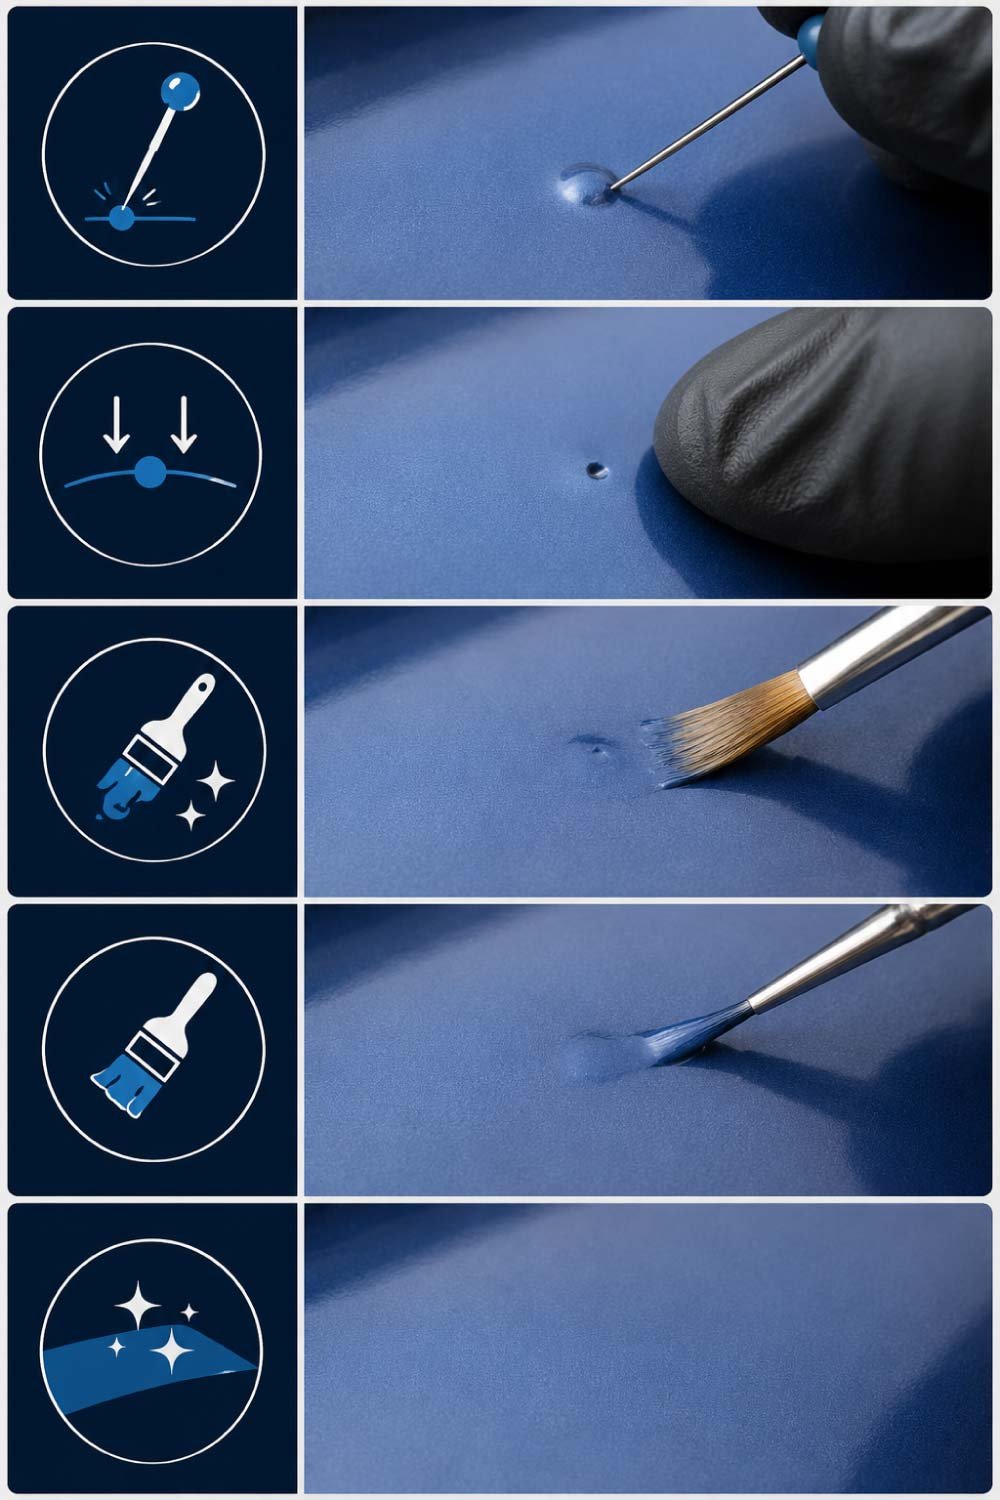
If the bubbling is minor and not widespread, you can use a faster method:
- Poke the bubble gently with a pin or blade
- Press the air out
- Smooth the surface with a small brush
- Apply a thin touch-up layer of paint
This works well for small, isolated bubbles that haven’t damaged the underlying paint.
How to Prevent Paint Bubbles in the Future
Fixing the problem is important, but preventing it is even better. Here’s how you can avoid paint bubbles in future painting projects.
1. Always Prepare the Surface Properly
Clean the wall thoroughly before painting. Remove dust, grease, and old peeling paint.
2. Use Quality Primer
Never skip primer. It acts as a base layer that improves paint adhesion.
3. Avoid Painting in Humid Conditions
High humidity traps moisture under paint layers. Try to paint in dry weather or use ventilation.
4. Let Each Layer Dry Completely
Patience is key. Rushing between coats increases the chance of bubbling.
5. Use High-Quality Paint
Investing in good paint saves time and effort in the long run. Quality paints have better bonding and durability.
6. Fix Wall Moisture Problems First
If your wall has seepage or leaks, fix them before painting. Otherwise, bubbles will keep coming back.
Also Read:
Common Mistakes to Avoid
Even experienced DIY painters make mistakes that lead to bubbling. Avoid these common errors:
- Painting over wet or damp walls
- Skipping surface cleaning
- Applying thick paint layers
- Not using primer
- Ignoring small bubbles (they grow over time)
When to Call a Professional
Sometimes paint bubbling is a symptom of a deeper issue like structural dampness or water leakage inside the wall. If:
- Bubbles keep returning after fixing
- Large areas are affected
- Walls feel constantly damp
Then it’s best to consult a professional painter or waterproofing expert.
Final Thoughts
Wall paint bubbles might look frustrating, but they are completely fixable with the right approach. Most of the time, the problem comes down to moisture, poor preparation, or rushed painting. By carefully removing damaged paint, preparing the surface properly, and repainting with quality materials, you can restore your walls to a smooth and fresh finish.
More importantly, taking preventive steps ensures that your walls stay clean, strong, and bubble-free for years. A little extra effort during preparation saves you from repeated repairs in the future.
So the next time you notice those annoying bubbles forming, don’t panic—just follow these simple steps and bring your walls back to life.
Also Read:
How to Tighten a Door Hinge: A Complete DIY Guide for Homeowners