
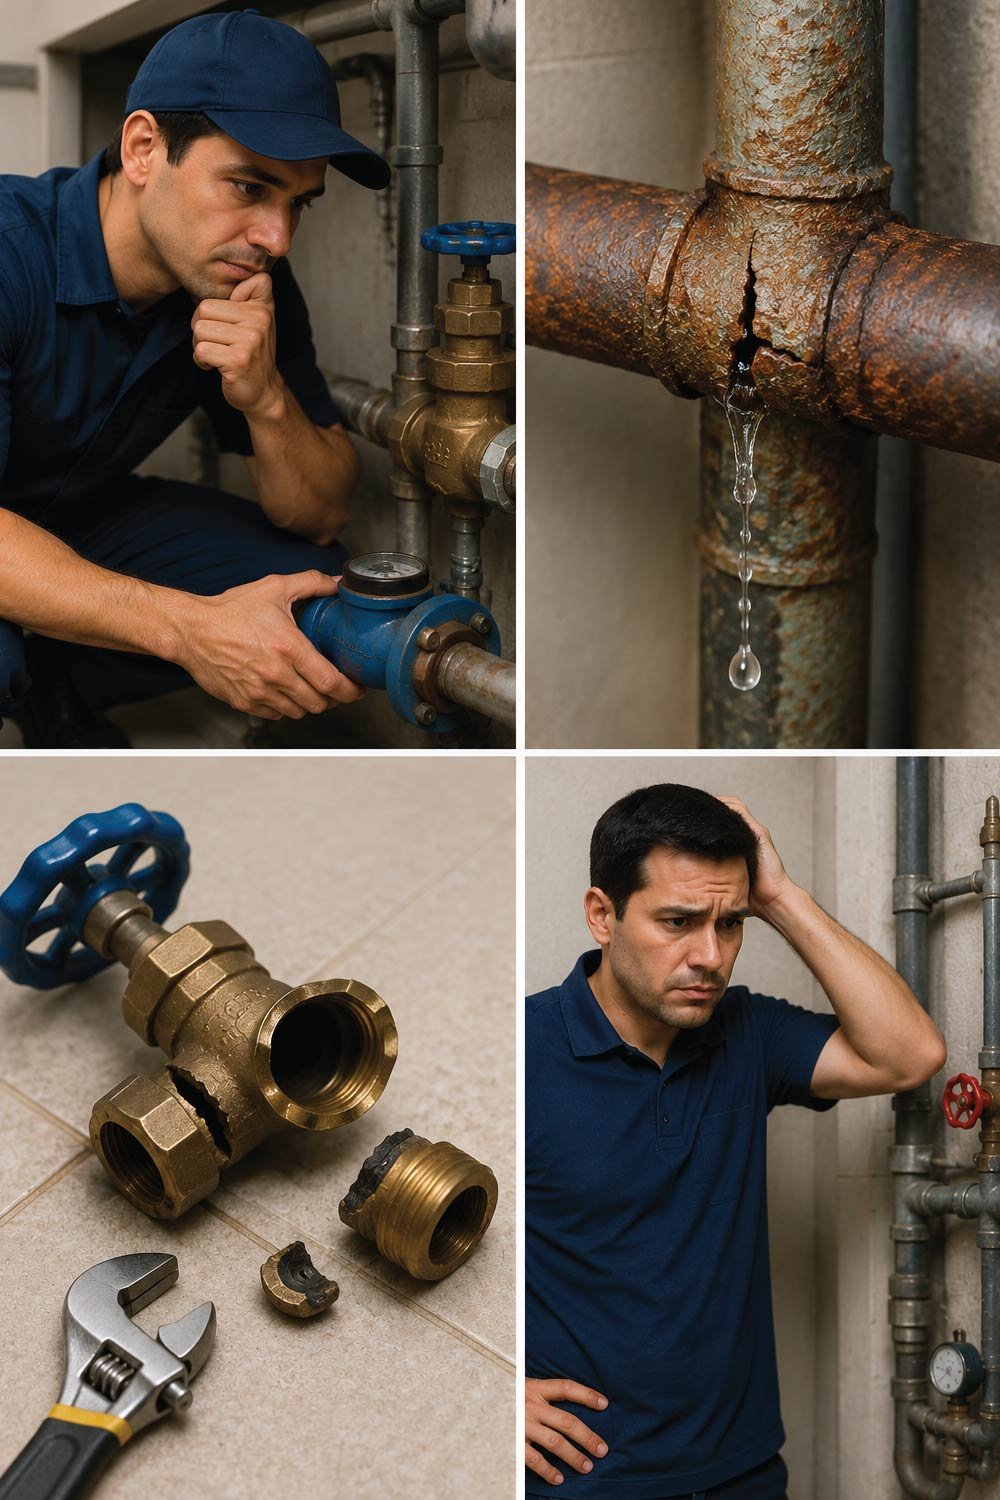
A faulty water valve can cause leaks, low water pressure, or make it impossible to shut off the water during an emergency. The good news is that many water valve problems are easy to repair with basic tools and a little care.This guide explains the most common water valve issues, what causes them, and how to fix them safely.
Common Types of Water Valves in Homes
This section explains the main types of water valves commonly found in household plumbing systems. Understanding these valve types helps you identify how water flow is controlled in different areas of the home, making repairs, replacements, and troubleshooting easier and safer during basic plumbing maintenance tasks.
- Compression valves – Older style, common under sinks
- Ball valves – Modern, quarter-turn valves
- Gate valves – Found on main water lines in older homes
- Angle stop valves – Used behind toilets and sinks
Most small household valve repairs follow the same basic process.
Tools and Supplies You’ll Need
This section outlines the essential tools required for basic water valve repair and maintenance. Having these items ready before starting ensures smoother repair work, reduces delays, and helps prevent damage to plumbing components during tightening, sealing, or replacement tasks.
- Adjustable wrench
- Screwdriver
- Plumber’s tape (Teflon tape)
- Replacement washer, packing nut, or valve (if needed)
- Bucket and towels
Always turn off the main water supply if you’re unsure the valve is working properly.
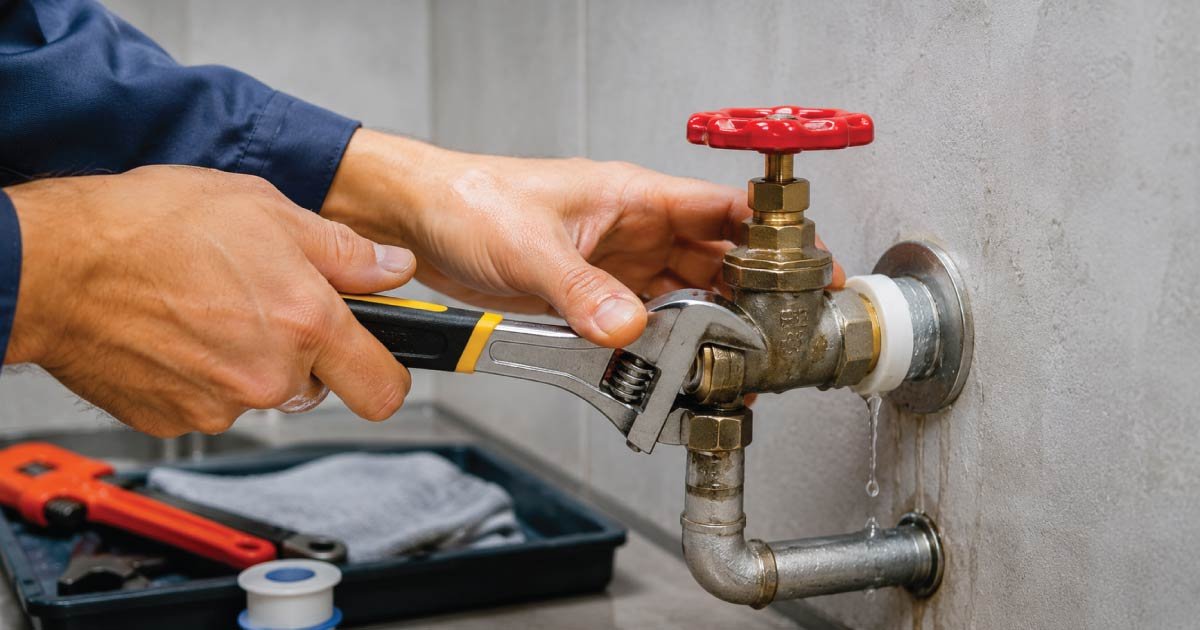
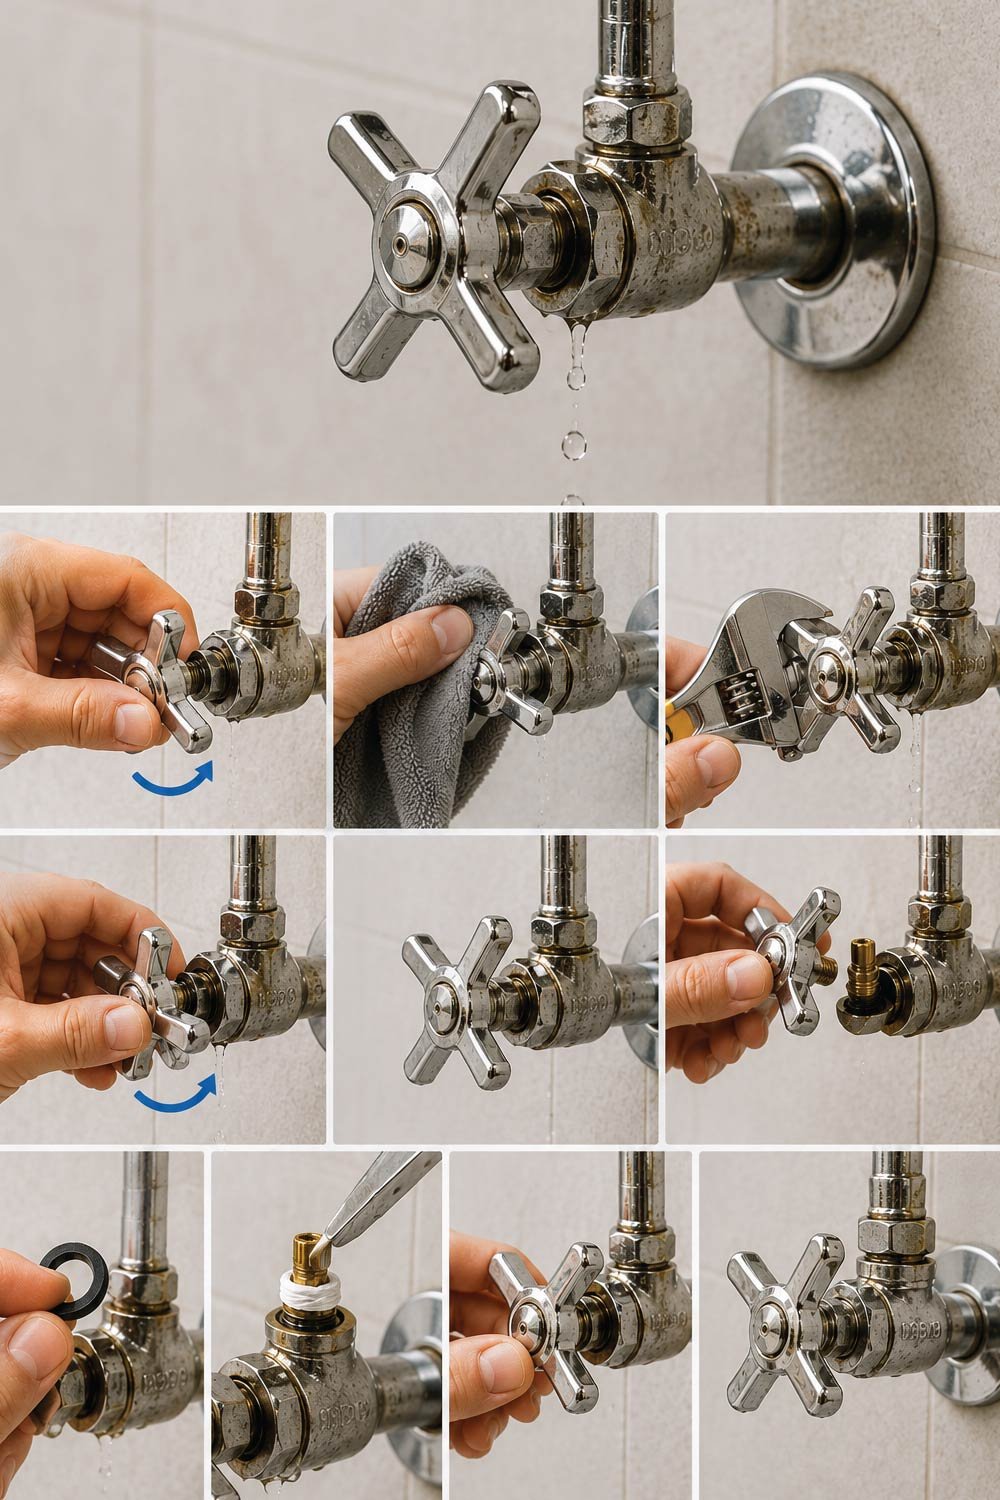
Problem 1: Water Valve Is Leaking From the Handle
This section explains how to handle leaks coming from the valve handle area, which are usually caused by worn internal packing materials or a loose packing nut. These issues are common and can often be fixed quickly without replacing the entire valve if addressed early.
Cause
This section describes the root cause of handle leaks, helping you understand why water escapes from the valve stem area and how internal wear or loosening leads to gradual leakage during normal water pressure operation.
This usually happens because the packing nut is loose or the packing material inside is worn.
How to Fix It
This section provides step-by-step instructions for tightening or repairing the valve handle area to stop leakage and restore proper sealing around the stem using basic tools and simple adjustments.
- Turn off the water supply.
- Dry the valve so you can clearly see the leak.
- Use a wrench to gently tighten the packing nut (located just below the handle).
- Turn the water back on and check for leaks.
If tightening doesn’t work:
- Turn off water again.
- Remove the handle.
- Replace the packing washer or apply new packing material.
- Reassemble and test.
This is one of the most common and easiest valve repairs.
Problem 2: Water Valve Won’t Turn or Is Stuck
This section explains why a water valve may become stuck and difficult to operate. It often happens due to corrosion or mineral buildup, and forcing it can cause serious damage, so careful loosening techniques or replacement may be required.
Cause
This section explains the main reasons valves become stuck over time, helping you understand how mineral deposits, rust, or long inactivity can prevent normal movement and proper water flow control.
Mineral buildup, corrosion, or long periods of not being used.
How to Fix It
This section describes a safe method for loosening a stuck valve using lubrication and gentle movement to avoid breaking internal components or causing leaks in the plumbing system.
- Do not force the valve—it may break.
- Spray a small amount of penetrating oil around the stem.
- Wait 10–15 minutes.
- Gently turn the valve back and forth.
- If it still won’t move, replacement is safer than forcing it.
Forcing a stuck valve can cause sudden leaks or pipe damage.
Problem 3: Water Valve Is Leaking From the Connection
This section explains leaks occurring at the valve connection point, which are often caused by loose fittings or worn internal washers. These leaks can usually be fixed by tightening or resealing the connection properly.
Cause
This section explains why leaks develop at valve connections, focusing on issues like loose compression fittings or degraded washers that fail to maintain a tight seal under water pressure.
Loose compression nut or worn washer.
How to Fix It
This section provides step-by-step instructions to repair connection leaks by tightening fittings or replacing damaged internal components to restore a secure and leak-free seal.
- Turn off the main water supply.
- Place a bucket under the valve.
- Use a wrench to slightly tighten the compression nut.
If the leak continues:
- Remove the nut completely.
- Replace the washer.
- Wrap plumber’s tape on threaded connections.
- Reinstall and test.
Also Read:
Problem 4: Water Valve Does Not Fully Shut Off
This section explains issues where a valve cannot completely stop water flow. This is usually caused by internal wear or buildup, and fixing it involves cleaning or replacing internal components to restore proper shut-off function.
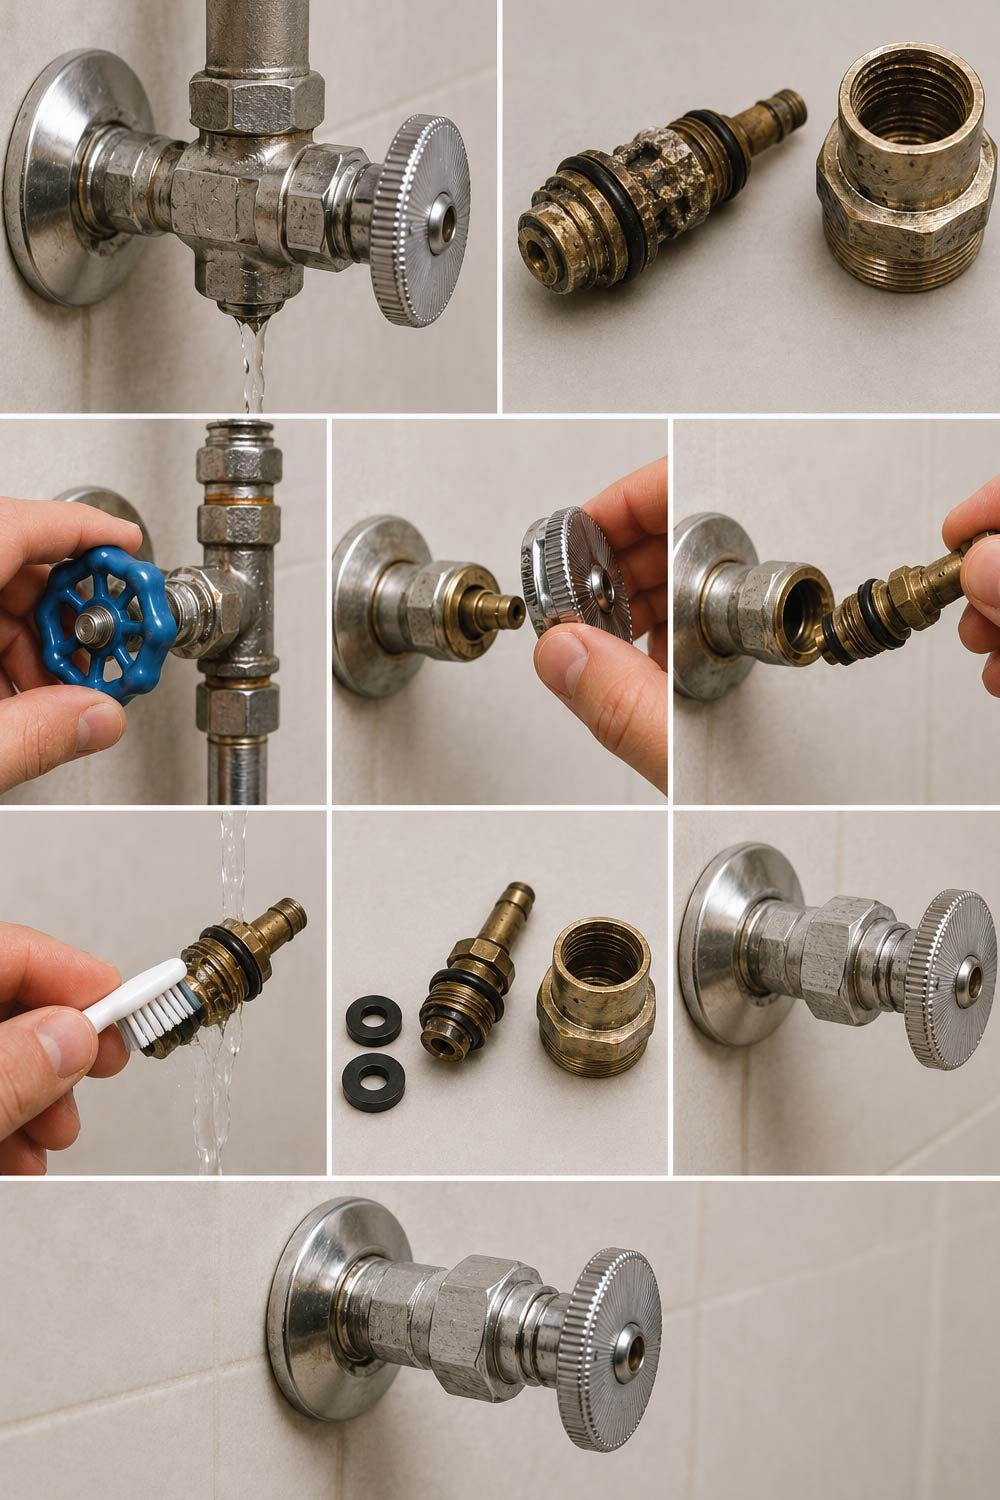
Cause
This section describes why valves fail to fully close, often due to worn seals or sediment buildup that prevents proper sealing inside the valve mechanism.
Worn internal parts or sediment buildup.
How to Fix It
This section explains how to disassemble and clean the valve interior or replace worn parts to restore full shut-off capability and prevent continuous water leakage.
- Turn off the main water supply.
- Remove the valve handle.
- Take out the internal stem.
- Clean debris or mineral buildup.
- Replace worn washers or seals.
- Reassemble and test.
If the valve still doesn’t shut off completely, replacement is recommended.
Problem 5: Replacing a Faulty Water Valve (Simple Replacement)
This section explains when a valve is beyond repair and needs full replacement. It outlines a safe process for removing the old valve and installing a new one to ensure proper water control and prevent future leakage or failure.
Basic Replacement Steps
This section provides a step-by-step guide for safely removing and installing a new water valve, ensuring proper sealing and preventing leaks after replacement.
- Turn off the main water supply.
- Drain remaining water from the pipes.
- Loosen the old valve using a wrench.
- Remove it carefully.
- Install the new valve:
- Use plumber’s tape on threaded joints.
- Tighten securely but do not overtighten.
- Turn the water back on slowly and check for leaks.
If pipes are soldered or hard to access, call a professional.
Also Read:
Safety Tips When Repairing Water Valves
This section explains essential safety practices to follow before and during water valve repairs. Proper safety precautions help prevent accidental flooding, pipe damage, and personal injury while ensuring repairs are carried out in a controlled and efficient manner. Taking a few minutes to prepare can significantly reduce risks and improve repair success.
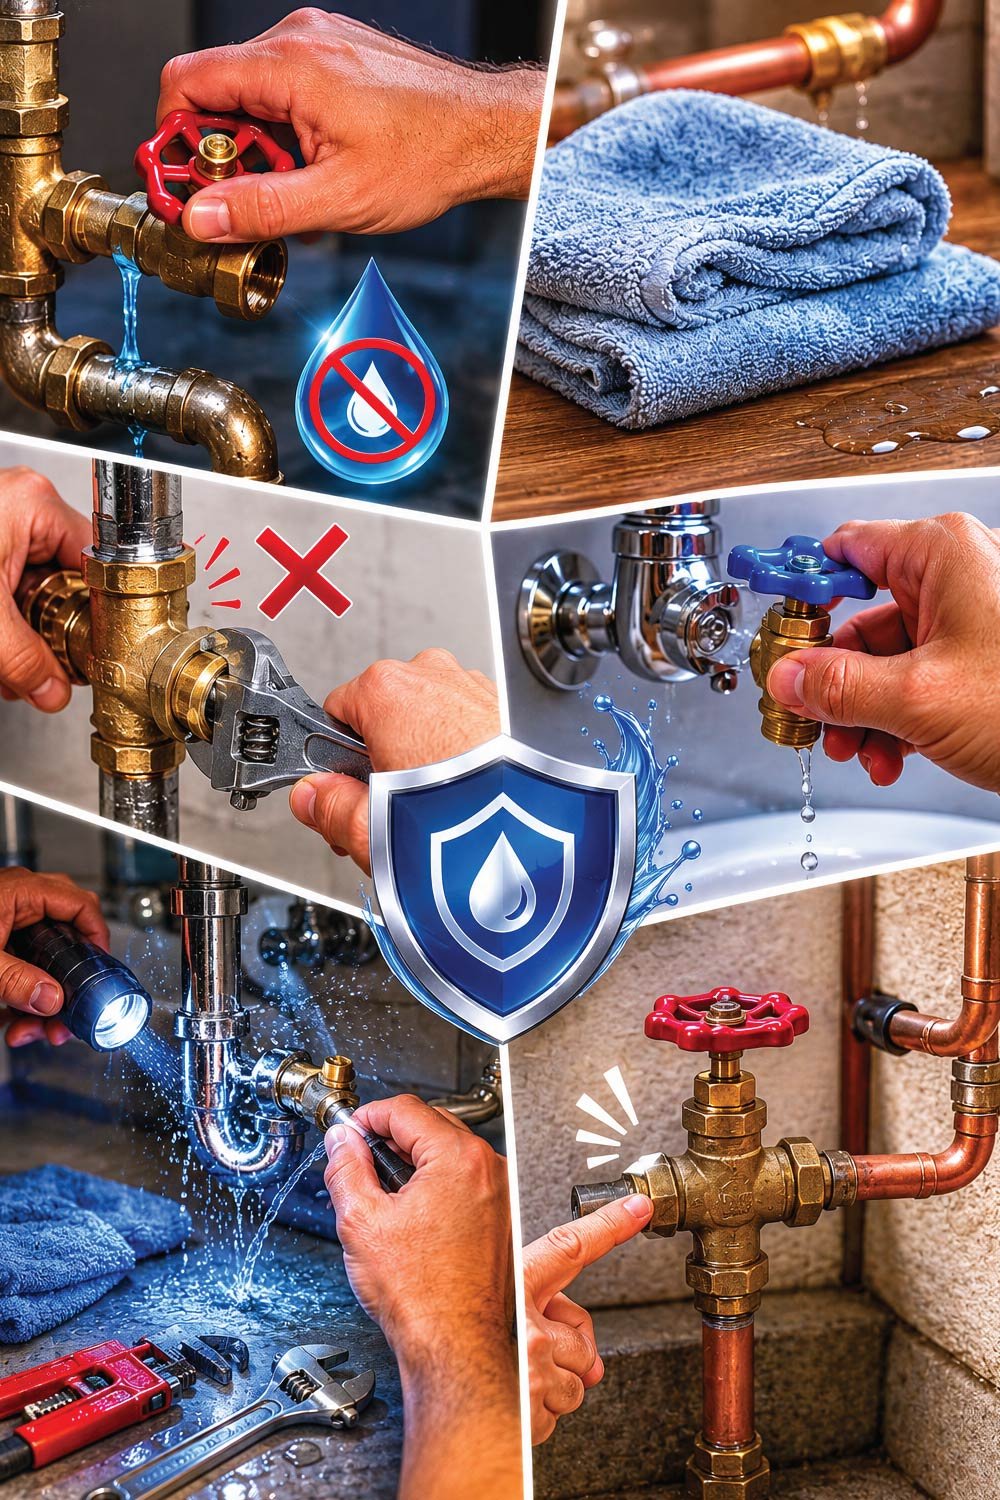
Always turn off water before starting
This step ensures that no pressurized water is flowing through the system while you work, reducing the risk of sudden leaks, spraying water, or uncontrolled flooding during valve repair or replacement tasks.
Always turn off water before starting
Keep towels nearby for small leaks
This helps manage minor spills or residual water inside pipes, allowing you to quickly absorb leaks and keep the workspace dry for safer handling of tools and fittings.
Keep towels nearby for small leaks
Never overtighten fittings
Overtightening can damage threads, crack valves, or weaken pipe connections, leading to more serious leaks or permanent plumbing damage instead of solving the original issue effectively.
Never overtighten fittings
Test repairs slowly
Gradually turning the water back on helps you monitor pressure changes and detect leaks early, preventing sudden bursts or unnoticed drips that could worsen over time.
Test repairs slowly
Know where your main shut-off valve is located
This is crucial in emergencies, as it allows you to quickly stop water flow throughout the entire home if a repair goes wrong or a major leak occurs.
Know where your main shut-off valve is located
When You Should Call a Plumber
This section explains situations where professional plumbing assistance is necessary. While minor valve repairs can often be handled at home, certain conditions require expert tools and experience to avoid worsening damage or creating safety hazards in the plumbing system.
Call a professional if:
- The valve is connected to the main water line
- Pipes are corroded or cracked
- The valve breaks while repairing
- You are unsure how to shut off the water
Also Read:
Final Thoughts
Repairing a water valve is often a simple DIY task that can prevent leaks, water damage, and costly repairs. Tightening a packing nut, replacing a washer, or installing a new valve usually takes less than an hour and requires minimal tools.
Learning how to fix a water valve gives you better control over your home’s plumbing and prepares you for emergencies.