
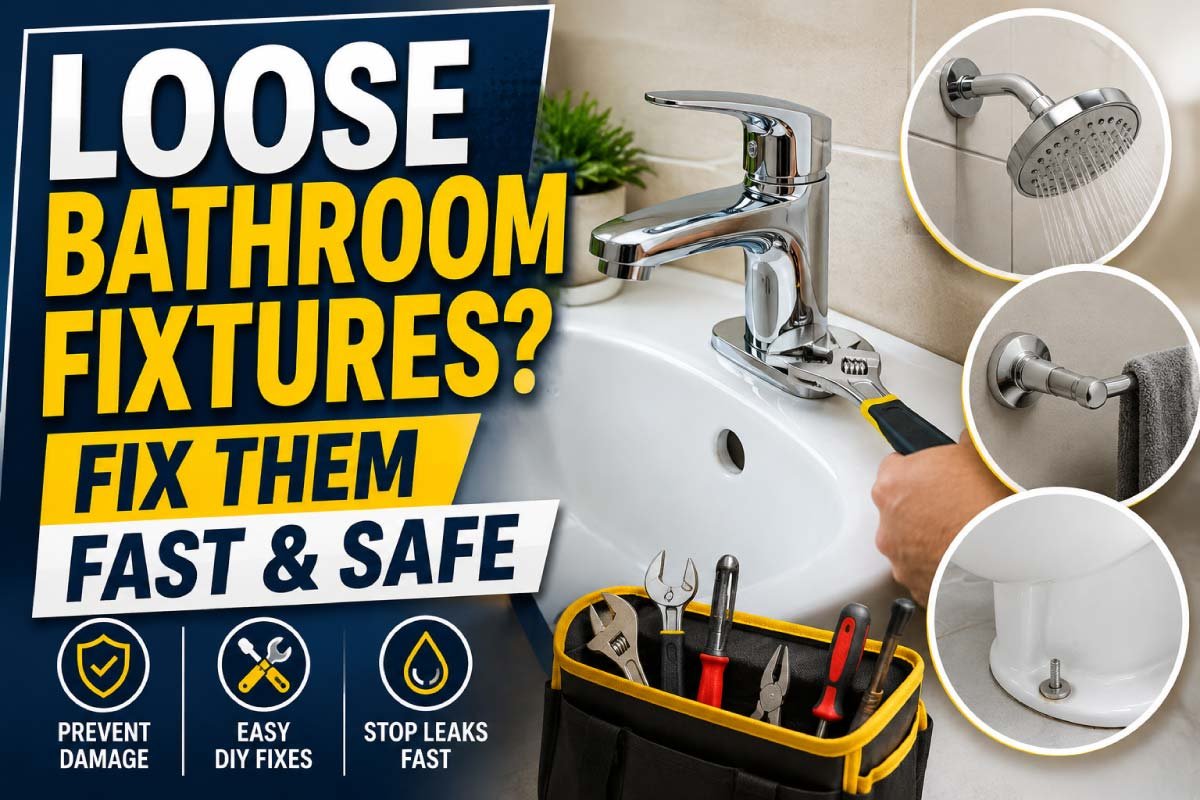
Bathroom fixtures are used every single day—sometimes dozens of times. From towel racks and toilet paper holders to sinks, faucets, and showerheads, these small fittings play a big role in daily comfort. But over time, many homeowners notice a common issue: fixtures start to feel loose, wobbly, or unstable.
At first, it may seem like a minor annoyance. A towel rack shifts slightly when you pull a towel, or a faucet wiggles when you turn it. But ignoring these early warning signs can lead to bigger problems like wall damage, water leaks, broken fittings, or even accidents.
The good news is that most loose bathroom fixtures can be fixed quickly, safely, and without professional help. With a few basic tools and the right approach, you can restore stability and extend the life of your bathroom fittings.
In this guide, we’ll explore why bathroom fixtures become loose, how to fix them step by step, and how to prevent the problem from coming back.
Table of Contents
ToggleWhy Bathroom Fixtures Become Loose Over Time
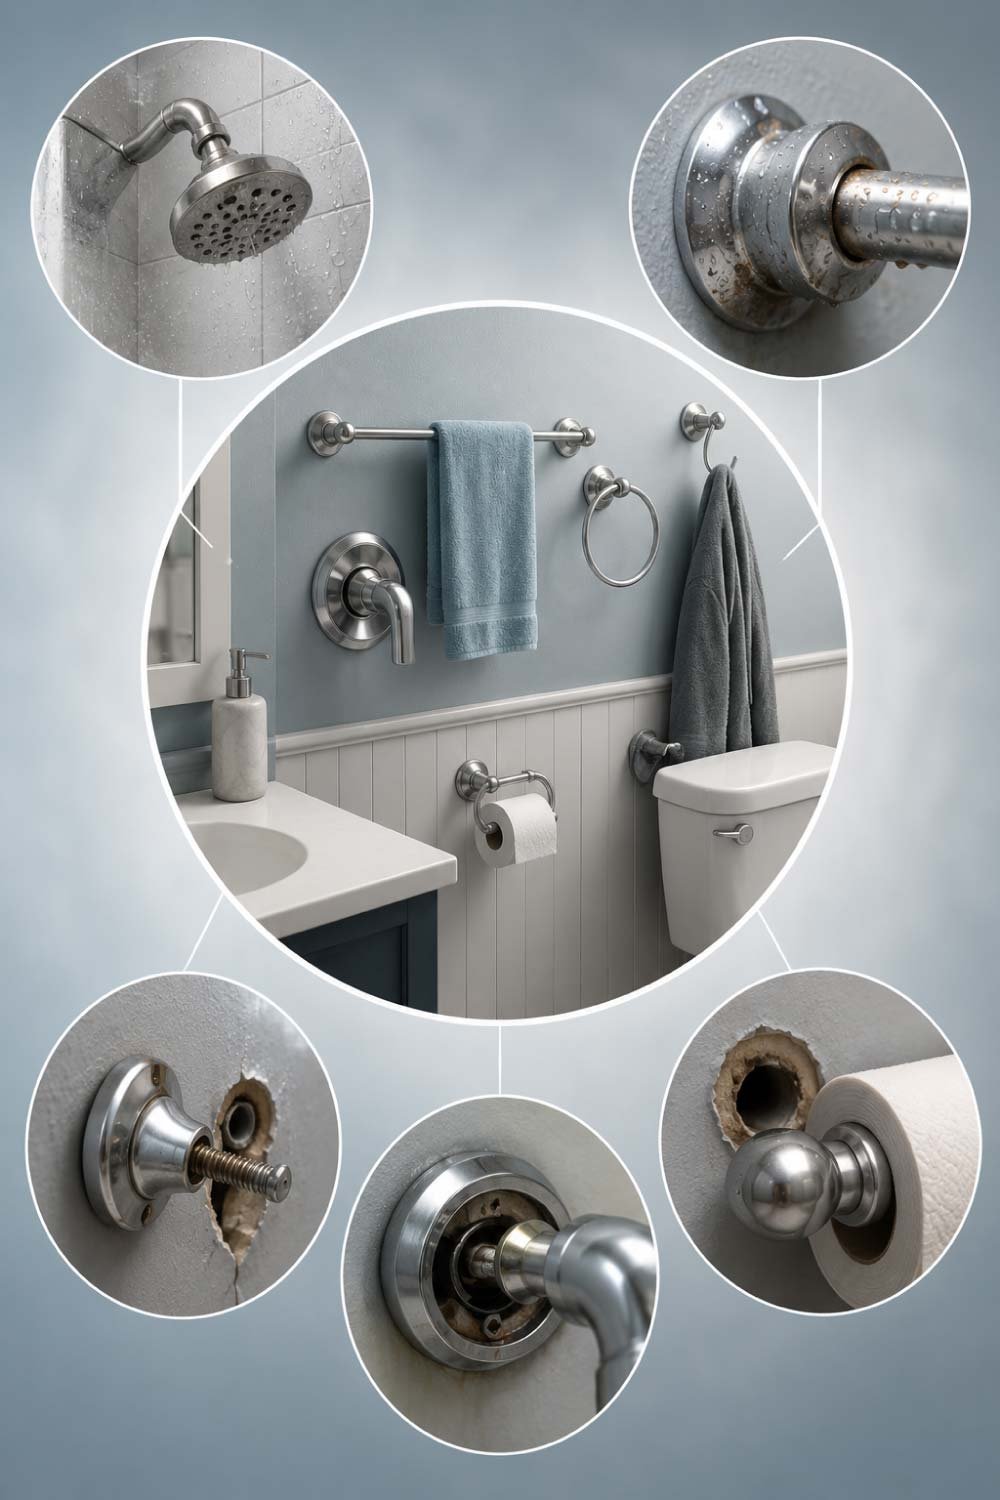
Bathroom fixtures don’t usually become loose overnight—it’s a gradual process caused by everyday conditions inside the bathroom. Constant exposure to moisture, repeated physical use, and the type of wall material all work together to weaken mounting points. Understanding these causes helps you prevent future damage and fix problems more effectively.
1. Constant Daily Use
Fixtures like towel bars, hooks, and toilet paper holders are used many times throughout the day. Each pull, push, or twist creates small pressure on screws and anchors. Over time, this repeated stress slowly loosens their grip inside the wall, especially if they were not installed with strong support.
- Frequent pulling or hanging adds continuous stress on screws
- Small movements gradually widen wall anchor holes
- Weak installation increases risk of early loosening
2. Moisture and Humidity
Bathrooms naturally contain high humidity due to showers and hot water usage. This moisture seeps into walls and fittings over time, weakening drywall and causing metal screws to rust. As materials degrade, fixtures lose their tight grip and start to feel unstable or wobbly.
- Steam weakens drywall structure over time
- Metal screws may rust and lose strength
- Moist conditions reduce adhesive effectiveness
3. Improper Installation
Poor installation is one of the most common reasons for loose fixtures. Using the wrong screw size, weak anchors, or skipping wall studs can lead to poor support. When fixtures are not properly secured during installation, they will inevitably loosen with regular use.
- Incorrect screw length reduces holding strength
- Weak anchors fail under pressure
- Missing wall studs lead to instability
4. Wall Material Issues
Different wall types respond differently to mounted fixtures. Drywall, tile, plaster, and concrete all require specific hardware. If the wrong fittings are used, the fixture will not grip properly and will loosen over time due to lack of proper structural support.
- Drywall needs anchors for proper grip
- Tile requires careful drilling and support
- Concrete demands strong masonry hardware
5. Weight Overload
Overloading fixtures is another major reason they become loose. Hanging heavy wet towels, bags, or placing extra pressure on hooks and bars increases stress on mounting points. Over time, this extra weight weakens anchors and causes screws to gradually pull out.
- Excess weight strains wall anchors
- Wet items add unexpected load
- Continuous overload damages mounting points
Also Read:
Tools You’ll Need for Quick Fixes
Before starting any repair work, it’s important to prepare the right tools. Having everything ready in advance saves time and ensures smoother repairs. Most of these tools are inexpensive and commonly available at home improvement stores or even in basic household toolkits.
- Screwdriver set (flathead and Phillips)
- Drill machine (optional but helpful)
- Wall anchors (plastic or metal)
- Screws of different sizes
- Measuring tape
- Pencil or marker
- Level tool (for alignment)
- Strong adhesive (for light fixtures if needed)
- Wall filler or putty (for damaged holes)
Having these ready will make the process smoother and faster.
Step-by-Step Guide to Fix Loose Bathroom Fixtures
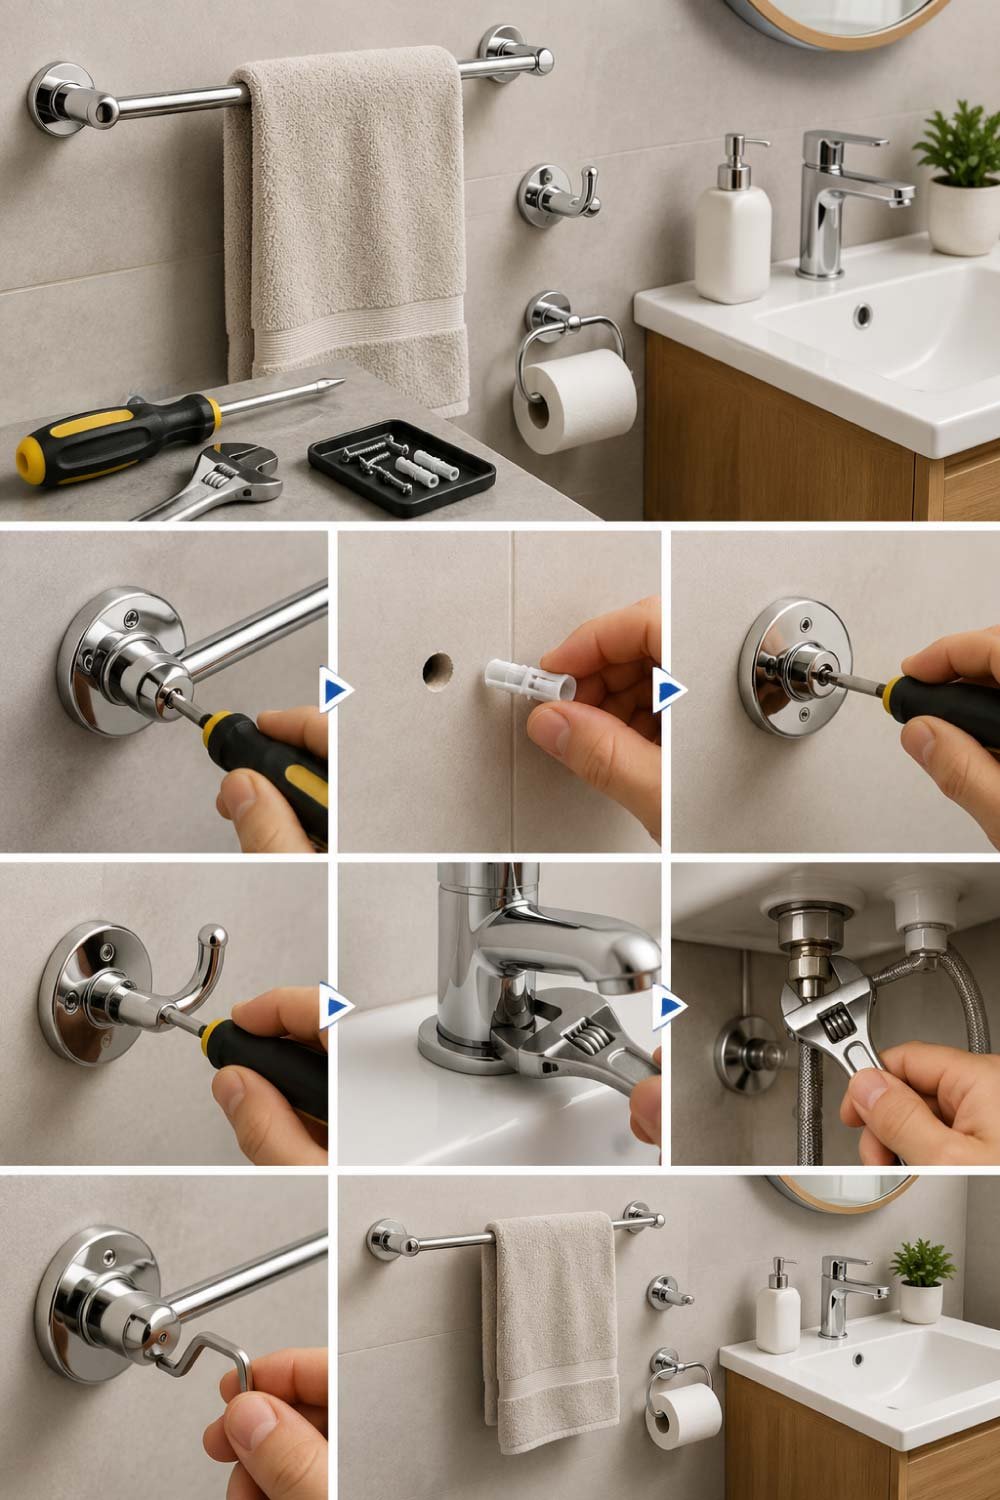
Fixing loose bathroom fixtures doesn’t always require professional help. With a few simple steps, you can restore stability to common items like towel bars, hooks, and faucets. This section explains practical repair methods that are easy to follow, even for beginners, while ensuring long-lasting results.
1. Fixing Loose Towel Bars and Hooks
Towel bars and hooks are among the most frequently used bathroom accessories, which makes them more likely to loosen over time. Fortunately, they can be repaired easily with the right tools and a careful approach to ensure a strong and secure reinstallation.
Step 1: Remove the Fixture
Carefully unscrew the towel bar or hook from the wall. Keep all screws and brackets in a safe place.
Step 2: Inspect the Wall Damage
Check if the screw holes are enlarged or broken. If the drywall is damaged, you’ll need to repair it before reinstalling.
Step 3: Fill or Reinforce Holes
For small damage, insert new wall anchors.
For larger holes, fill with wall putty or filler and let it dry completely.
Step 4: Reinstall with Strong Anchors
Use proper drywall anchors that match the weight of the towel bar. Plastic anchors work for light loads, while metal anchors are better for heavy use.
Step 5: Tighten Securely
Screw the fixture back into place and ensure it is firmly attached. Avoid over-tightening, which can crack drywall.
2. Fixing a Wobbly Faucet
A loose faucet should never be ignored because it can lead to leaks, water waste, and damage under the sink area. With a few careful adjustments and basic tools, you can stabilize it and restore proper function without replacing the entire unit.
Step 1: Turn Off Water Supply
Always start by shutting off the water valves under the sink.
Step 2: Check Mounting Nuts
Most faucets are held in place by mounting nuts under the sink. Tighten these using a wrench.
Step 3: Inspect Rubber Washers
If the faucet still wobbles, check the rubber washers. Replace them if they are worn out or cracked.
Step 4: Apply Sealant if Needed
If there is slight movement between faucet base and sink, a small amount of waterproof sealant can help stabilize it.
Step 5: Test Stability Turn the water back on and check for movement or leaks.
Also Read:
3. Fixing Loose Toilet Paper Holders
Toilet paper holders may look lightweight and simple, but they are used more often than expected. Constant pulling and twisting can slowly weaken wall anchors and screws. Over time, even a properly installed holder can start wobbling or coming out of the wall, making quick repair necessary for everyday convenience.
Step 1: Remove Holder
Unscrew the toilet paper holder carefully from its wall bracket. Take your time to avoid damaging the surrounding wall surface or cracking tiles, especially if it is tightly fixed or has been loose for a while.
Step 2: Check Screw Holes
Inspect the existing screw holes closely. If they are stripped or enlarged, the screws will not hold properly. Insert new plastic wall anchors to restore grip and ensure a stable base for reinstallation.
Step 3: Use Stronger Anchors if Needed
If the holder becomes loose again after repair, consider upgrading to metal anchors. These provide much stronger support than plastic ones and are especially useful in bathrooms with frequent use or slightly weaker wall material.
Step 4: Reattach Firmly
Align the holder with the repaired holes and screw it back securely into place. Ensure it sits tightly against the wall and does not move when gently pulled or pressed.
4. Fixing Loose Bathroom Mirrors
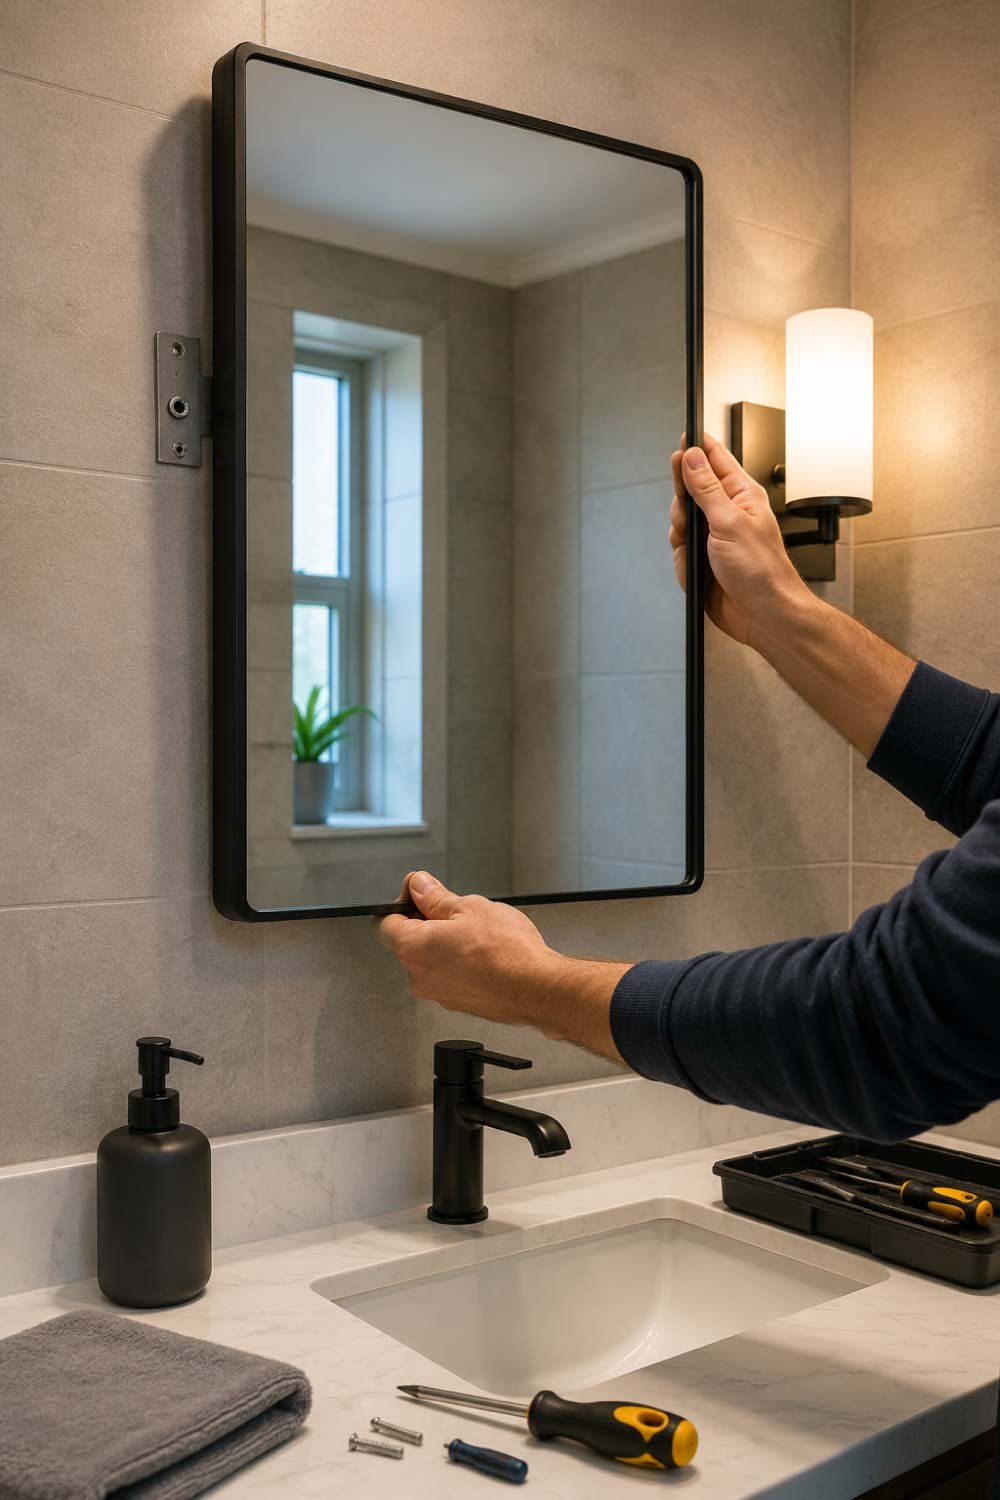
Bathroom mirrors are essential but can become dangerous if they start loosening from the wall. Even slight movement should not be ignored, as a falling mirror can cause injury or damage. Fixing it promptly ensures safety and maintains the overall look and stability of your bathroom setup.
Step 1: Check Mounting Brackets
Carefully inspect the mounting brackets behind or around the mirror. Look for loose screws, weak clips, or signs of wall separation that may be causing instability or uneven support.
Step 2: Tighten Screws Carefully
Use a screwdriver or drill to gently tighten all mounting hardware. Avoid applying excessive force, as overtightening can crack tiles or damage wall anchors, especially in older installations.
Step 3: Reinforce Wall Support
If the wall feels weak or damaged, add extra anchors or install additional mounting clips. This distributes the mirror’s weight more evenly and reduces pressure on a single point.
Step 4: Use Adhesive Support (Optional)
For extra safety, apply mirror-safe adhesive strips or bonding material along the back edges. This provides additional grip and helps prevent movement over time, especially in humid bathroom conditions.
5. Fixing Loose Sink or Basin
A loose or shifting sink is a serious issue that should be handled immediately. Since sinks carry both weight and constant water flow, any instability can lead to leaks, wall damage, or even breakage. Proper reinforcement ensures safety and long-term durability.
Step 1: Inspect Under-Sink Brackets
Check all supporting brackets located beneath the sink. Tighten any loose bolts or screws securely, as these components carry most of the sink’s weight and prevent unwanted movement during daily use.
Step 2: Check Wall Mounts
For wall-mounted sinks, inspect all screws and anchors attached to the wall. Ensure they are firmly fixed into solid material and not loosening due to moisture or weak installation points.
Step 3: Reinforce with Additional Support
If the sink still feels unstable, install extra brackets or support fittings. This helps distribute weight evenly and reduces strain on existing mounting points, making the structure more secure.
Step 4: Seal Gaps
Apply waterproof sealant between the sink and the wall to prevent movement and water seepage. This also protects the wall from moisture damage and helps maintain a clean, finished appearance.
Also Read:
Safety Tips While Fixing Bathroom Fixtures
Bathroom repair work requires extra attention because of moisture, slippery surfaces, and the presence of plumbing or electrical tools. Following basic safety practices helps prevent accidents and ensures smoother, more efficient repairs.
- Always dry your hands before using electrical tools
- Turn off the water supply when working near plumbing
- Avoid over-tightening screws to prevent wall damage
- Wear protective gloves when using sealants or adhesives
- Ensure proper lighting in your work area
Safety should always come first, even for small repairs.
How to Prevent Fixtures from Becoming Loose Again
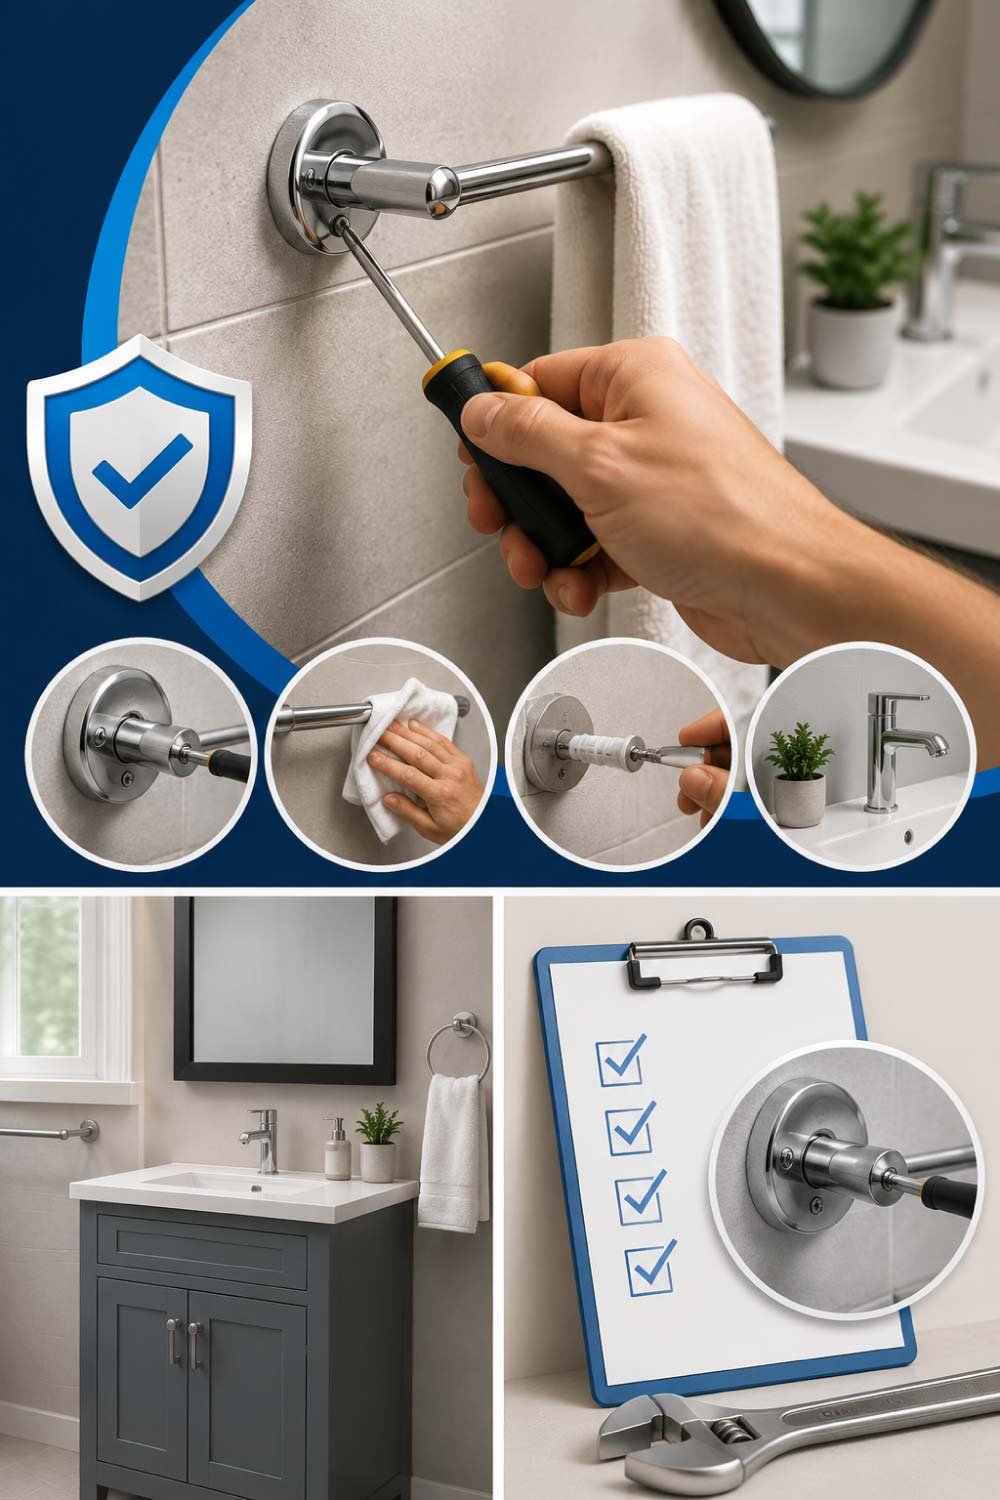
Repairing loose fixtures is helpful, but preventing the issue from returning saves time and effort. With proper installation habits and regular maintenance, bathroom fixtures can stay secure for years without frequent adjustments or repairs.
1. Use High-Quality Anchors
Cheap or low-quality anchors often fail quickly in humid environments. Always choose strong plastic or metal anchors designed specifically for bathroom conditions and wall types.
2. Avoid Overloading Fixtures
Do not hang heavy or wet items on towel bars or hooks beyond their capacity. Excess weight slowly weakens screws and wall anchors, leading to early loosening.
3. Check Fixtures Regularly
Inspect bathroom fixtures every few months. Tighten any loose screws early before they become a bigger problem or cause damage to the wall.
4. Control Bathroom Moisture
Use exhaust fans or open windows to reduce humidity. Lower moisture levels help protect screws, anchors, and wall materials from weakening over time.
5. Install Properly from the Start
Always install fixtures into wall studs or solid materials whenever possible. Proper installation is the strongest prevention against future loosening issues.
Also Read:
When to Call a Professional
While most loose bathroom fixture problems can be fixed at home, some situations require expert help. Ignoring serious damage can lead to safety risks or costly repairs later.
- Severe wall damage or crumbling drywall
- Persistent leaks around faucets or sinks
- Heavy fixtures like glass shelves or large mirrors
- Structural issues in wall mounting points
A professional plumber or handyman can ensure safe, durable, and long-lasting repairs.
Final Thoughts
Loose bathroom fixtures may seem like small household problems, but they can quickly turn into bigger issues if ignored. The good news is that most of them can be repaired easily with basic tools and a little patience.
Whether it’s a towel rack, faucet, mirror, or sink, the key is to identify the cause, use proper hardware, and reinforce weak points. With regular maintenance and careful installation, you can keep your bathroom fixtures strong, stable, and safe for years to come.
Taking action early not only saves money but also prevents accidents and damage—making your bathroom more secure and comfortable every day.