
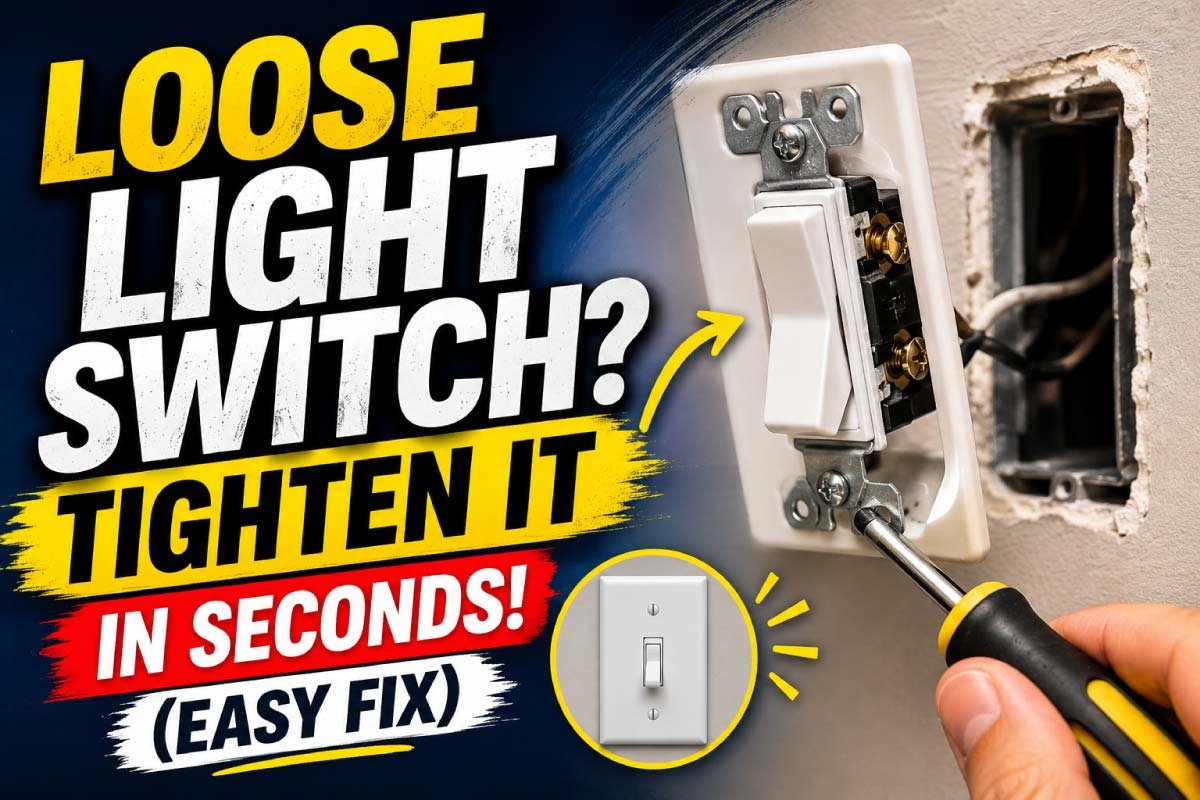
A loose light switch is one of those small household problems that quickly becomes annoying. Every time you press it, the switch plate wiggles, shifts, or feels like it might fall into the wall. While it may seem like a minor issue, a loose switch can actually lead to bigger problems if ignored—like damaged wiring, cracked wall plates, or even electrical hazards in rare cases.
The good news? Fixing a loose light switch is one of the easiest DIY repairs you can do at home. In most cases, it takes just a few minutes, requires only basic tools, and costs almost nothing. In this guide, you’ll learn why switches become loose, how to fix them safely, and how to prevent the issue from coming back.
Table of Contents
ToggleWhy Does a Light Switch Become Loose?
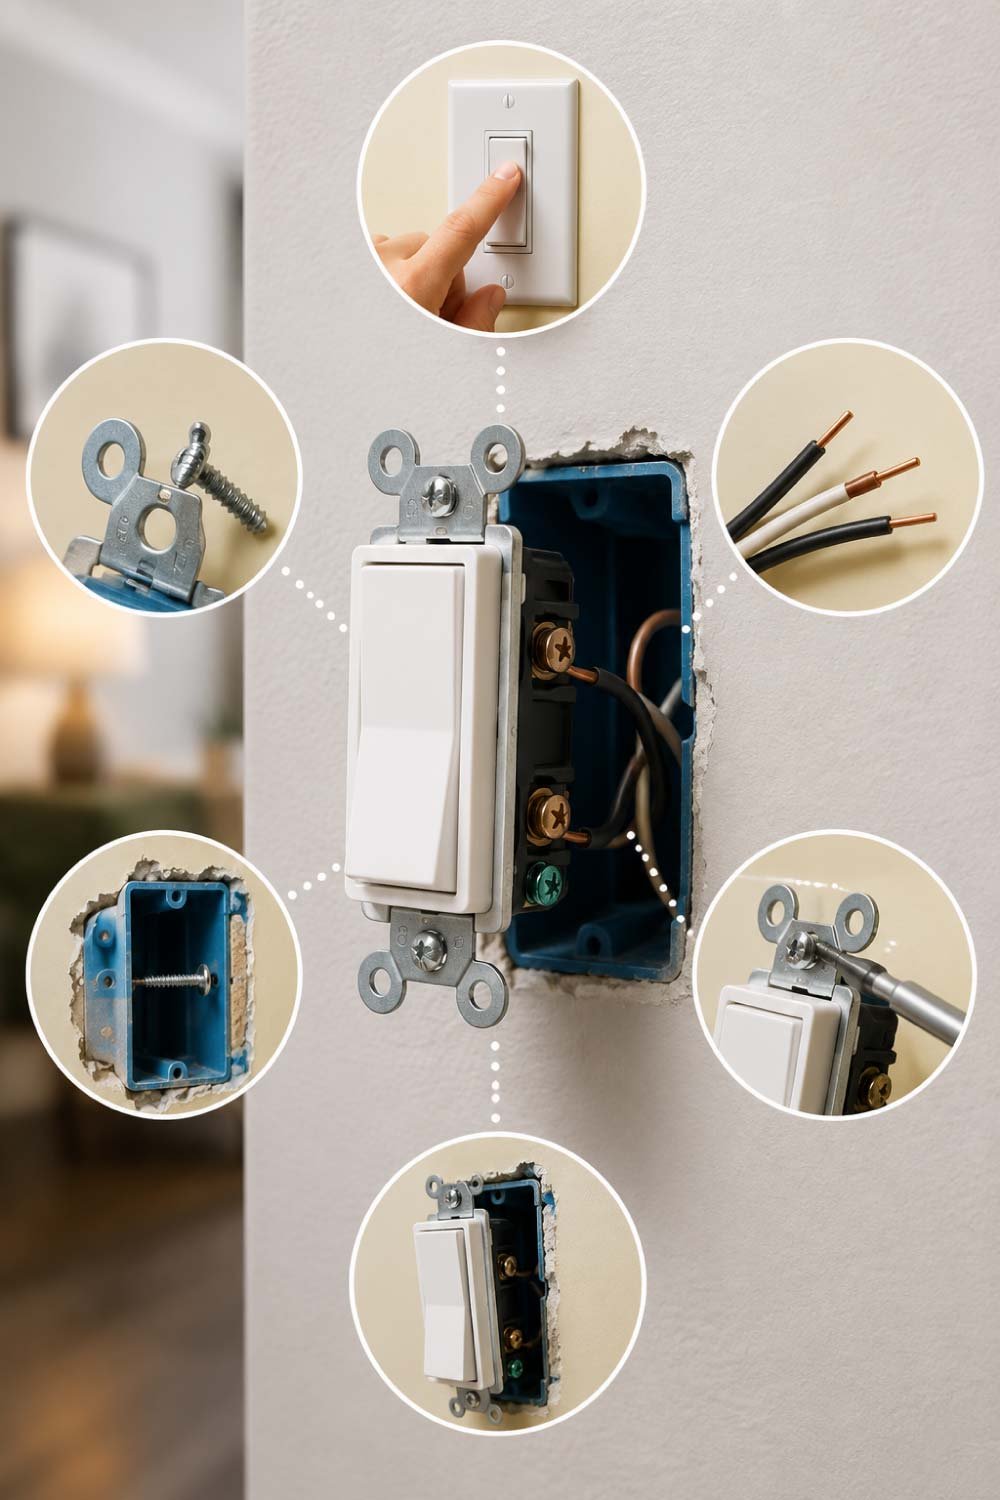
Before jumping into the fix, it helps to understand what causes the problem in the first place. A loose switch doesn’t happen randomly—there are several everyday and installation-related reasons behind it. Knowing the cause makes it easier to prevent the issue from coming back after repair.
1. Repeated Daily Use
Light switches are one of the most frequently used fixtures in any home. Every press applies small pressure on internal screws and the mounting plate. Over months and years, this constant movement slowly loosens the fittings inside the wall.
- Daily pressing creates micro-movements in screws
- Internal plate gradually loses tight grip
- Frequent use speeds up wear and tear
- Common in high-traffic rooms like kitchens and halls
This is the most common reason.
2. Improper Installation
Sometimes the issue starts from the very beginning. If the switch was not installed tightly or correctly aligned, it may not stay firm for long. Even a small mistake during fitting can cause long-term wobbling.
- Screws not tightened properly during installation
- Poor alignment of switch plate and box
- Low-quality fitting work by rushed electricians
- Early loosening within weeks or months
Sometimes electricians rush the job, leaving screws slightly loose.
3. Worn-Out Wall Anchors
The screws holding the switch depend on wall anchors inside drywall or plaster. Over time, these anchors can weaken, crack, or lose grip, especially if the switch is frequently used or pulled slightly.
- Plastic anchors degrade with age
- Drywall holes become enlarged over time
- Screws lose tight hold inside the wall
- Leads to visible wobbling of switch plate
If anchors fail, the entire plate becomes unstable.
4. Wall Movement or Aging
Older homes naturally experience slight structural changes over time. Plaster can shrink, crack, or soften, and walls may shift subtly. These small movements directly affect fixtures attached to them.
- Natural settling of building structure
- Cracks or weakening in plaster layers
- Expansion and contraction due to temperature changes
- Fixtures gradually become loose over years
This is more common in older houses.
5. Over-Tightened Screws in the Past
Too much force during installation or repair can also create problems. Over-tightening may strip the screw holes or damage the wall material, making it harder for screws to hold properly later.
- Stripped screw holes due to excess force
- Damaged wall grip reduces holding strength
- Screws may spin without tightening properly
- Leads to long-term instability of switch plate
Even over-tightening can weaken the structure.
Is a Loose Light Switch Dangerous?
In most cases, a loose switch is not immediately dangerous, but it should still be fixed quickly.
Here’s why:
- It can expose internal wiring if the plate becomes too loose
- It increases wear on electrical connections
- It may cause the switch to break completely
- It can lead to short circuits in extreme cases
Even though the risk is low, it’s always better to fix electrical issues early before they turn into costly repairs.
Tools You’ll Need
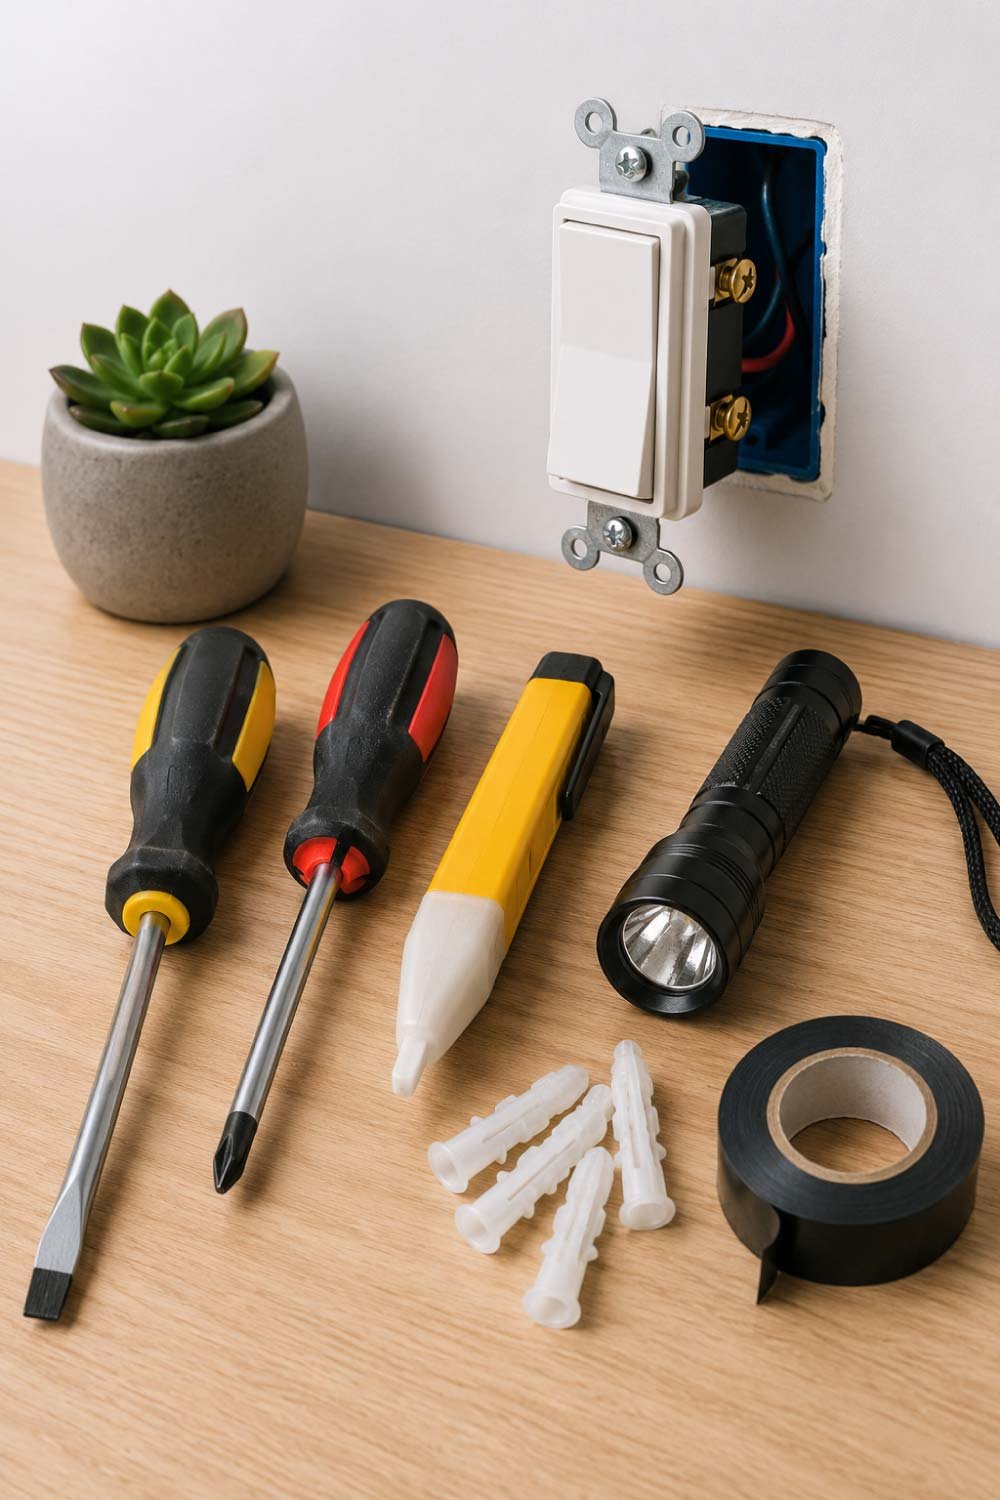
The best part about this repair is that you don’t need expensive tools. Most households already have what’s required.
- Flathead screwdriver or Phillips screwdriver
- Voltage tester (optional but recommended for safety)
- Flashlight (if the area is dim)
- Plastic wall anchors (if holes are stripped)
- Electrical tape (optional)
That’s it—simple and beginner-friendly.
Step-by-Step Guide to Fix a Loose Light Switch
Now let’s walk through the actual repair process. Follow these steps carefully for a quick and safe fix.
Step 1: Turn Off the Power
Safety comes first. Before touching anything, turn off the electricity to the switch from your main breaker panel.
If you’re unsure which breaker controls the switch, turn off the main power switch for complete safety.
To double-check, try flipping the light switch after turning off power. If nothing happens, you’re safe to proceed.
Step 2: Remove the Switch Plate Cover
Use a screwdriver to remove the screws on the switch plate cover. These are usually located at the top and bottom of the plate.
Once the screws are out, gently pull the cover away from the wall.
Be careful not to pull too hard, as the internal switch is still attached to wiring inside the wall.
Step 3: Inspect the Switch
Look inside carefully. You’ll notice the switch is mounted to a metal or plastic electrical box.
Check for:
- Loose mounting screws
- Cracked wall plate
- Damaged screw holes
- Wobbly switch mechanism
This inspection helps you understand what exactly needs tightening or replacement.
Also Read:
Step 4: Tighten the Mounting Screws
In most cases, a loose light switch is caused by nothing more than slightly loosened screws. These screws hold the switch assembly firmly against the electrical box inside the wall, and over time they naturally shift due to daily use and vibration.
Use a screwdriver to carefully tighten the mounting screws on both sides of the switch. Work slowly and apply steady pressure so you don’t damage the threads or crack the plastic frame. Once done, gently test the switch to confirm it feels stable.
- Identify screws securing switch to electrical box
- Tighten slowly with proper screwdriver
- Avoid over-tightening to prevent damage
- Test switch movement after tightening
Turn slowly and firmly—but do not over-tighten. Over-tightening can strip the threads or crack the plastic housing.
Once tightened, gently test the switch to see if it still moves.
Step 5: Fix Stripped Screw Holes (If Needed)
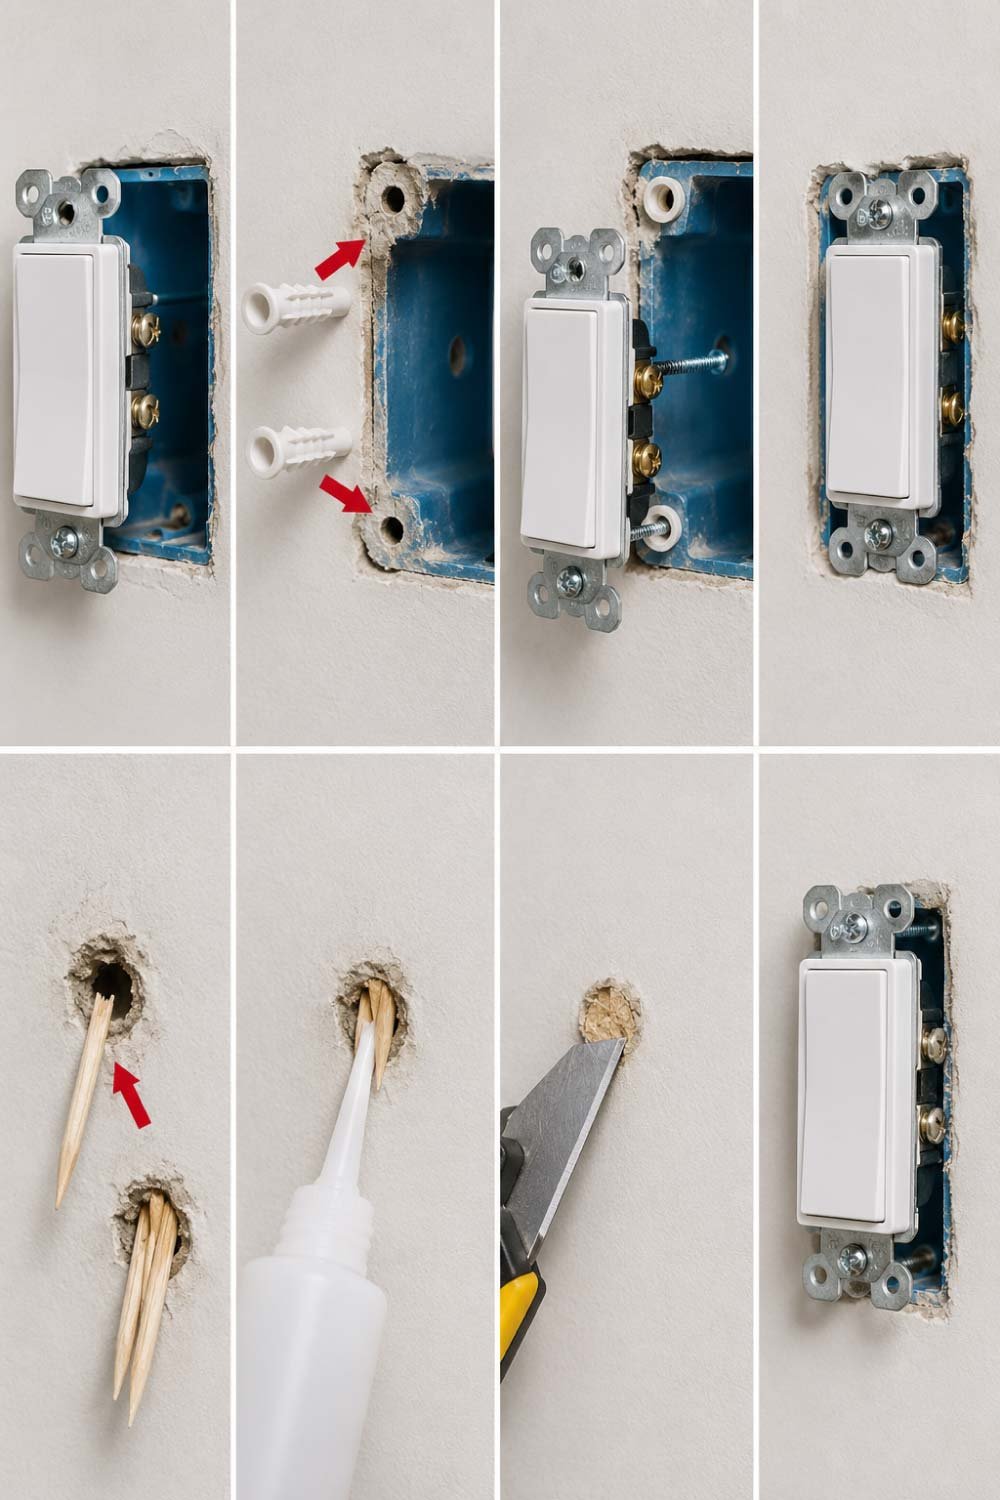
Sometimes tightening alone doesn’t work because the screw holes inside the wall become worn out or stripped. When this happens, the screws won’t grip properly and just spin inside the hole.
There are a few simple and effective ways to fix this without replacing the entire setup.
Option 1: Use Plastic Wall Anchors
Plastic anchors help recreate a strong gripping point inside damaged holes. They expand slightly and hold the screw firmly in place.
- Remove loose screws completely
- Insert plastic wall anchors into holes
- Reinsert screws into anchors
- Tighten until switch feels firm
This is the most reliable long-term solution.
Option 2: Toothpick or Matchstick Trick (Quick Fix)
For a fast household fix, wooden toothpicks or matchsticks can temporarily restore grip inside stripped holes. This is especially useful if you don’t have anchors available.
- Insert small wooden pieces into screw hole
- Add a tiny amount of glue for stability
- Break off excess sticking out
- Reinsert and tighten screw carefully
This gives the screw something to grip.
Also Read:
Step 6: Straighten the Switch Position
A loose switch is often not just about screws—it can also shift slightly inside the wall box over time. If the alignment is off, the plate may feel uneven or wobbly even after tightening.
Hold the switch gently and adjust it so it sits straight and flush against the wall surface. While holding it steady, tighten the screws to lock it in the correct position.
- Check alignment with wall surface
- Hold switch steady while tightening
- Ensure no tilting or gaps remain
- Confirm flush fit before finishing
Tighten screws while holding it steady so it doesn’t tilt.
Step 7: Reattach the Switch Plate Cover
Once the internal switch is secure, it’s time to reinstall the outer cover plate. This step restores the clean appearance and protects the internal wiring from exposure.
Place the cover over the switch carefully, aligning the screw holes properly. Tighten the screws evenly so the plate sits flat against the wall without bending or gaps.
- Align cover plate with screw holes
- Tighten screws evenly on both sides
- Ensure plate sits flat against wall
- Check for gaps or uneven edges
Make sure it sits flat against the wall without any gaps.
Step 8: Turn the Power Back On
After completing the repair, return to the breaker panel and restore the power supply. This is the final step to confirm everything is working correctly and safely.
Test the switch multiple times to ensure smooth operation. It should feel firm, stable, and free from any movement or wobble.
- Restore power from breaker panel
- Test switch several times
- Confirm no wobbling or looseness
- Ensure normal light operation
It should feel firm
No wobbling should occur
The plate should stay in place
If everything works smoothly, your repair is complete.
Extra Fix: When the Wall Box Itself Is Loose
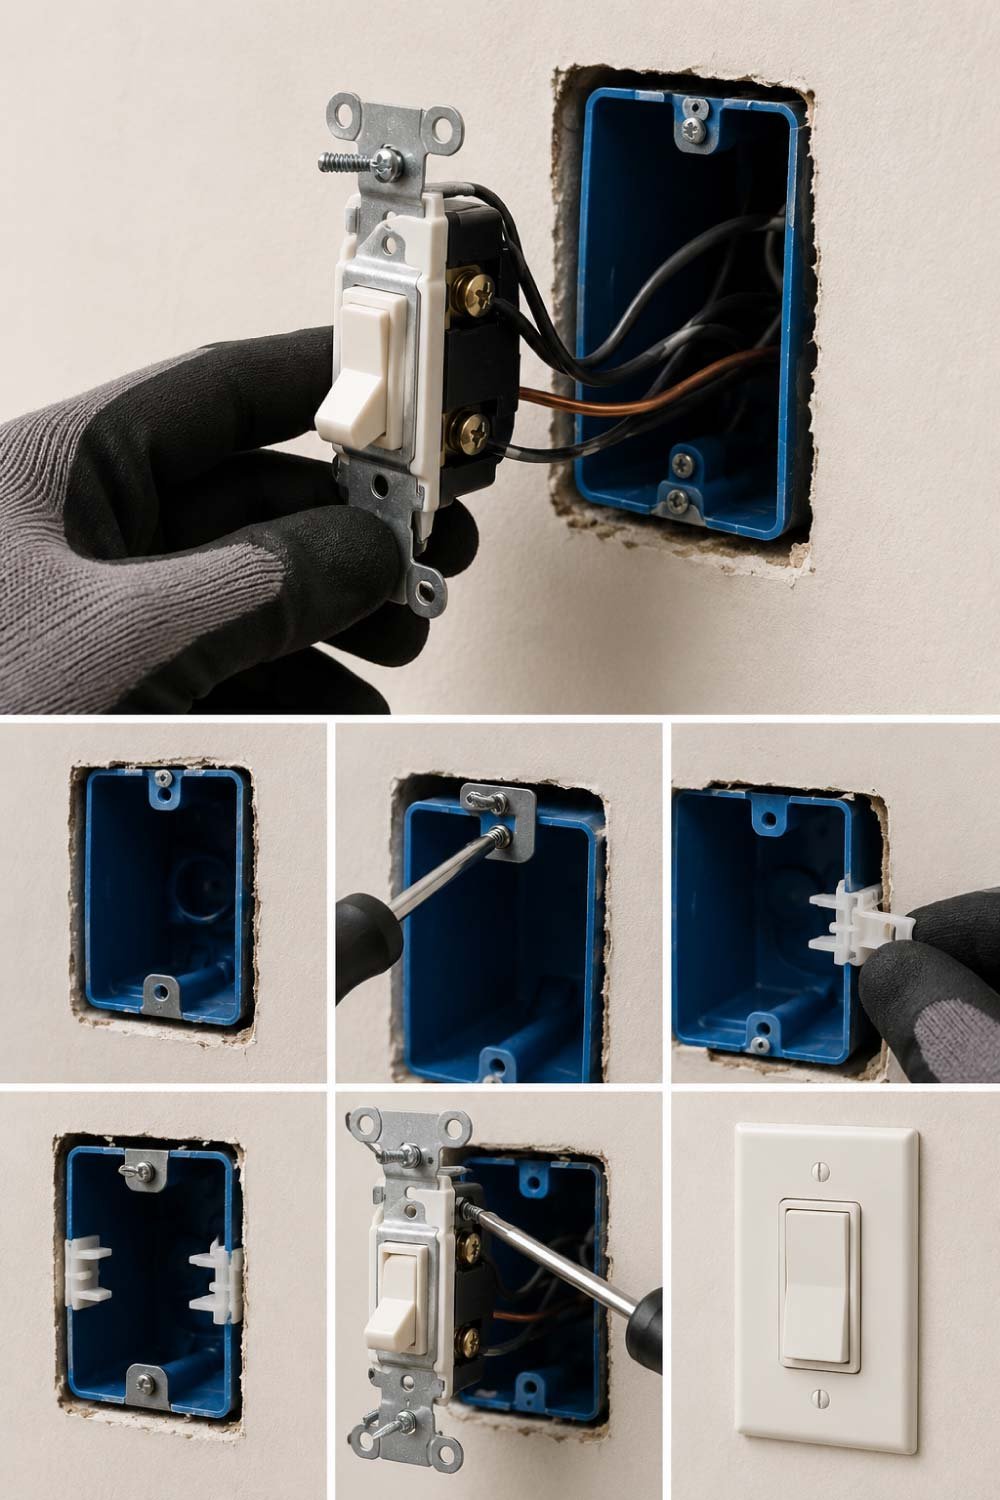
In rare cases, the problem is not just the switch or screws—the electrical box inside the wall may also be loose. This is more common in older homes where internal supports may weaken over time.
If the entire switch assembly moves inside the wall, it requires extra attention. You may need to tighten box screws, reinforce the structure, or use support materials to stabilize it.
- Check if entire box shifts inside wall
- Tighten internal mounting brackets if accessible
- Use expansion supports if needed
- Avoid forcing damaged components
This step is slightly more advanced, so don’t force anything if you’re unsure.
Also Read:
How to Prevent Light Switches from Getting Loose Again
Once the repair is complete, a few simple habits can help keep your switches stable for a long time. Preventive care reduces the chances of repeated repairs and extends the life of the fixture.
1. Don’t Overuse Force
Avoid pressing switches too hard. Gentle pressure is enough.
2. Check Switches During Cleaning
When cleaning walls, lightly test switches for looseness.
3. Use Quality Switch Plates
Cheap plastic plates wear out faster. Stronger materials last longer.
4. Tighten Screws Once a Year
A quick yearly check can prevent future problems.
When to Call a Professional
While this is a simple DIY task, there are situations where you should call an electrician:
You see exposed wires
The switch sparks or smells burnt
The wiring looks damaged or melted
The electrical box is broken
You feel unsure about handling electricity
Safety should always come first.
Final Thoughts
A loose light switch might seem like a small inconvenience, but fixing it early can save you from bigger electrical problems later. The repair is quick, beginner-friendly, and requires only basic tools.
In most cases, simply tightening a few screws is enough to restore stability. And even if the holes are stripped or worn out, simple household tricks can fix the issue without replacing the entire switch.
With just a few minutes of effort, you can make your switch feel brand new again—firm, safe, and reliable.
So the next time your switch starts wobbling, don’t ignore it. Fix it in seconds and keep your home safe and well-maintained.
Also Read: