
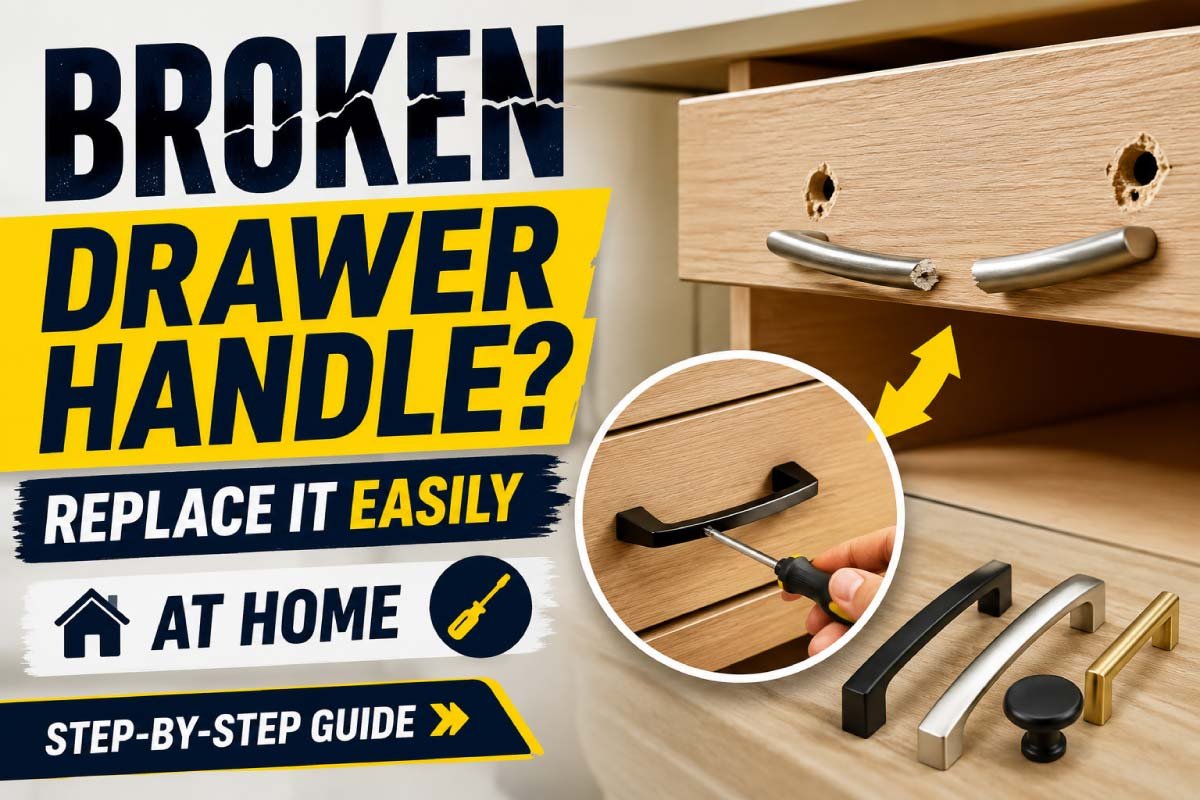
A broken drawer handle might seem like a small inconvenience, but it can quickly turn into a daily frustration. Whether it’s a kitchen drawer that won’t open properly, a wardrobe handle that keeps coming off, or a desk drawer that looks unfinished without its knob, this is one of those household issues that deserves a quick fix.
The good news is that replacing a broken drawer handle is one of the easiest DIY repairs you can do at home—no professional tools, no advanced skills, and no expensive costs. With a few basic tools and a little patience, you can restore both the function and appearance of your furniture in under an hour.
In this detailed guide, we’ll walk you through everything: why drawer handles break, what tools you need, how to remove the old handle, and how to install a new one properly so it stays strong for years.
Why Drawer Handles Break in the First Place
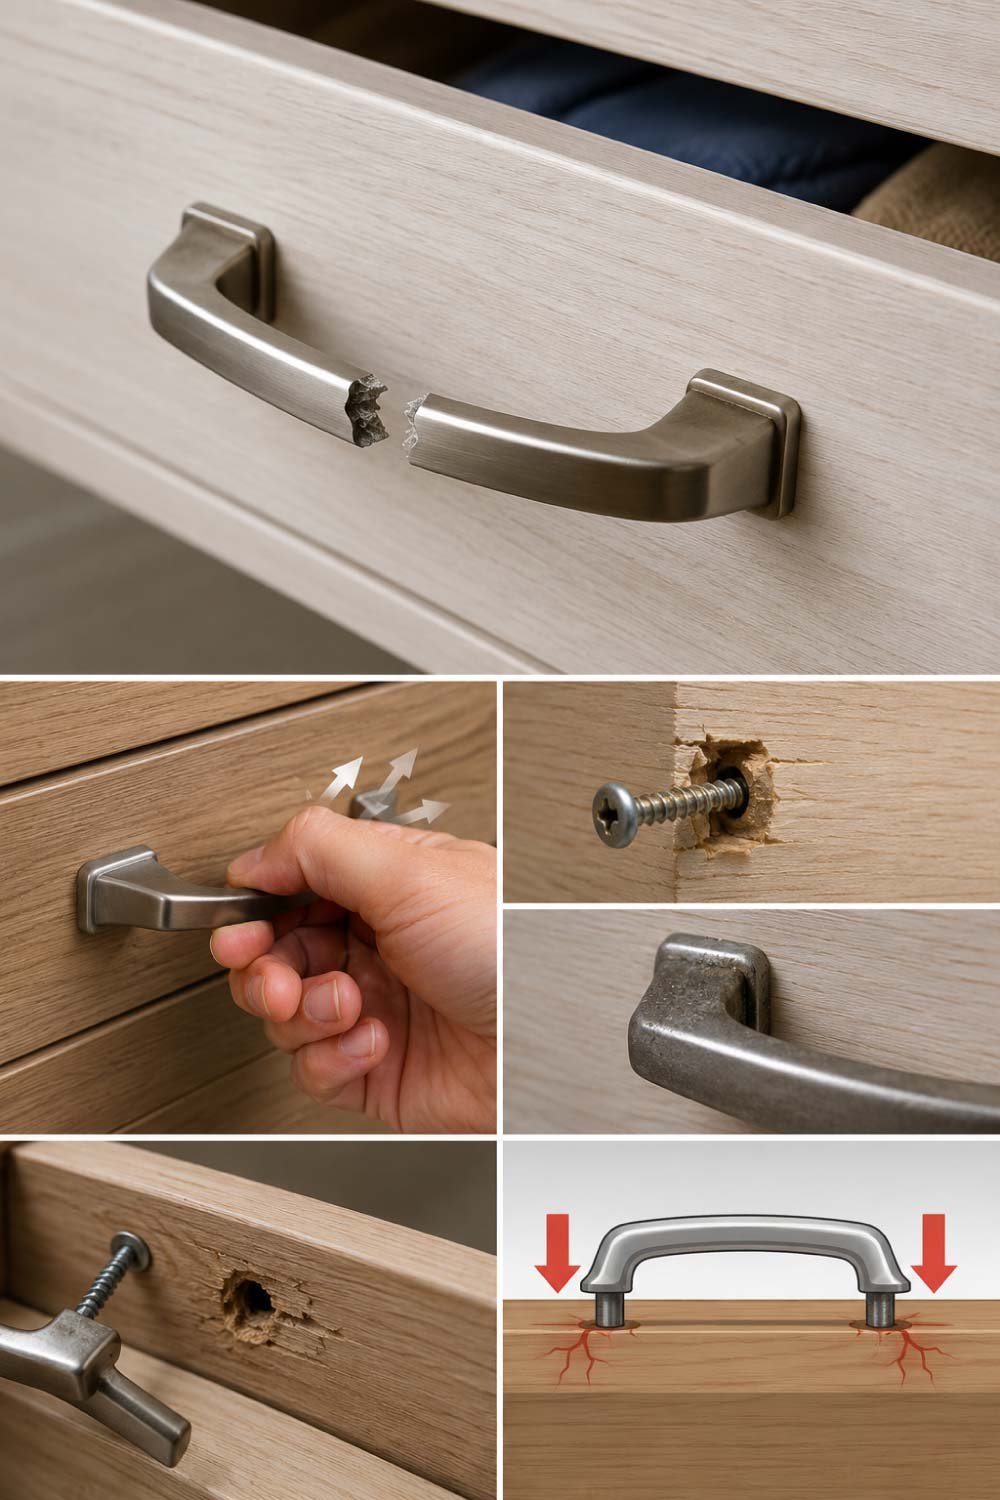
Drawer handles often fail due to everyday pressure that builds up over time. Since they are pulled repeatedly throughout the day, even small issues like weak fittings or material fatigue can gradually worsen. Understanding these causes helps you prevent repeated damage and choose stronger, longer-lasting replacements for your furniture.
- Loose Screws Over Time
One of the most common reasons is simple loosening. Every time you pull a drawer, tiny vibrations slowly loosen the screws holding the handle.
- Screws gradually lose grip due to repeated pulling force
- Wood around screw holes may expand or shrink with humidity
- Lack of periodic tightening accelerates the problem
- Cheap or Weak Materials
Low-quality plastic or thin metal handles can crack easily, especially if the drawer is heavy or frequently used.
- Plastic handles may split under pressure
- Thin metal bends or deforms over time
- Poor manufacturing reduces overall durability
- Overloading the Drawer
If a drawer is packed too heavily, extra force is required to open it, which puts strain on the handle until it eventually breaks.
- Excess weight increases pulling pressure
- Stuck drawers require stronger force to open
- Continuous overload weakens mounting points
- Rust and Corrosion
In kitchens and bathrooms, moisture can cause screws and metal parts to rust, weakening the entire fitting.
- Humid environments speed up metal corrosion
- Rust weakens screw threads and grip strength
- Water exposure reduces handle lifespan
- Incorrect Installation
Sometimes handles are not installed properly in the first place, making them unstable from day one.
- Misaligned screws create uneven pressure
- Loose fitting reduces stability
- Wrong screw size prevents secure attachment
Understanding the cause helps you avoid repeating the same issue after replacement.
Tools and Materials You Will Need
Repairing or replacing a broken drawer handle is a simple task that doesn’t require advanced equipment. Most of the tools are commonly available in households, making this a quick and budget-friendly DIY fix. Having everything ready before starting ensures a smooth and hassle-free installation process.
Essential Tools:
- Screwdriver (flathead or Phillips depending on screws)
- Measuring tape or ruler
- Pencil or marker
- New drawer handle or knob
- Screws (usually included with handle)
- Drill (optional, for new holes)
- Sandpaper (optional for cleaning holes)
Optional but Helpful:
- Wood filler (if old holes are damaged)
- Level tool (for perfect alignment)
Once you gather these tools, you’re ready to start the replacement process.
Step-by-Step Guide to Replace a Broken Drawer Handle
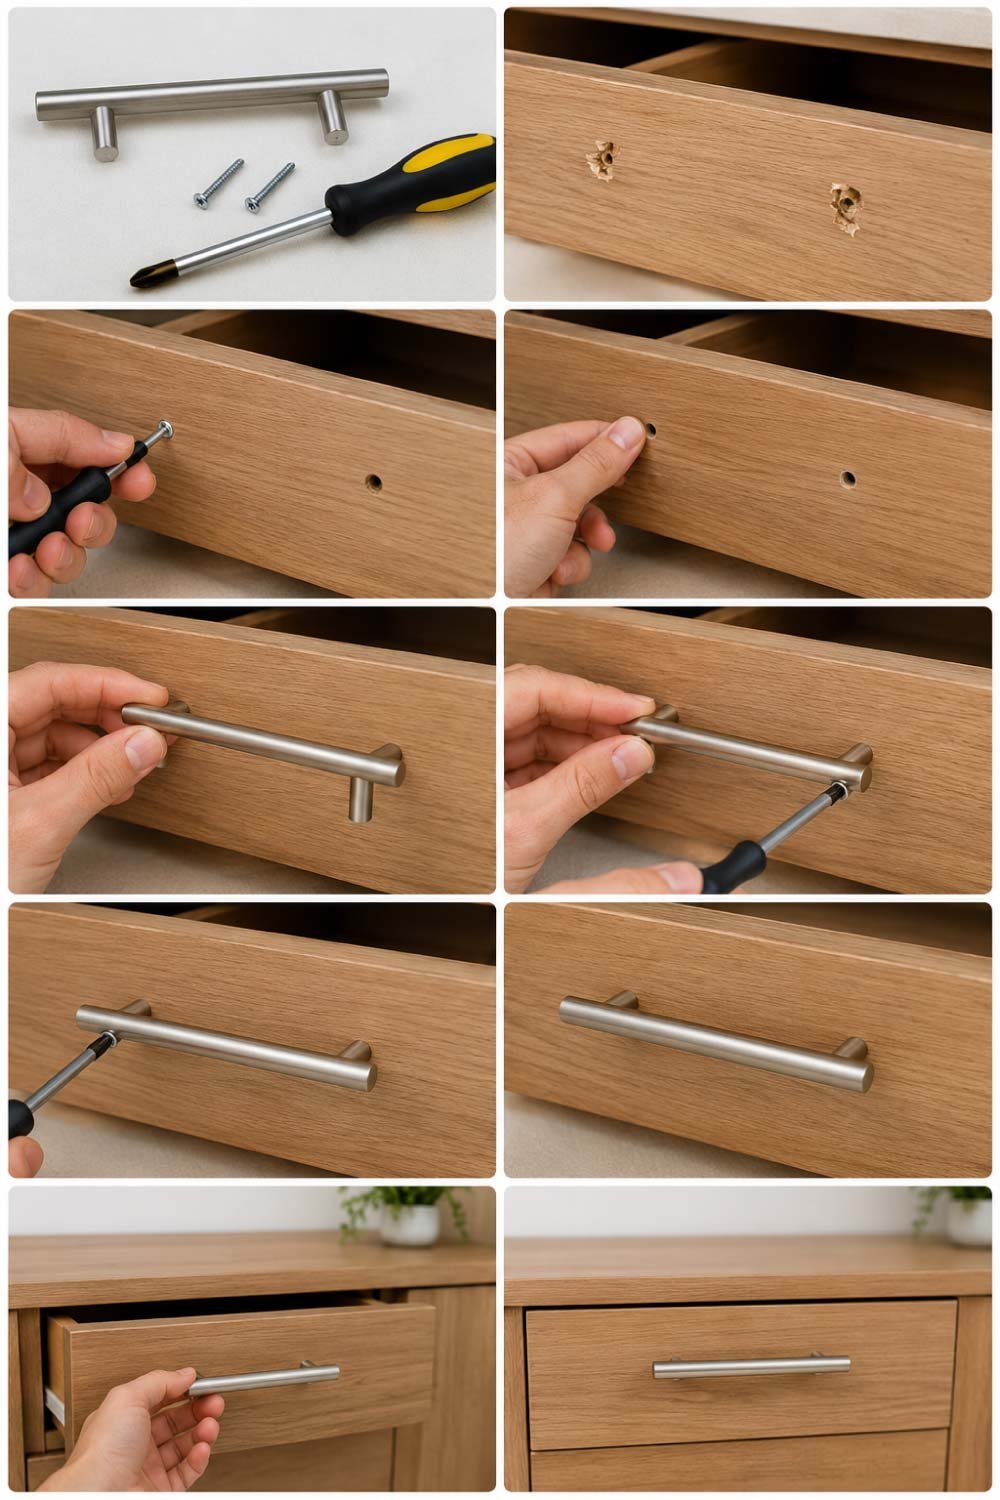
Replacing a drawer handle is a straightforward process that can be completed in minutes with the right approach. By following each step carefully, you can ensure a secure fit, proper alignment, and a clean finish that restores both function and appearance to your drawer.
Step 1: Remove the Broken Handle
Start by opening the drawer completely so you can access the back of the handle screws.
- Use a screwdriver to loosen and remove the screws
- Hold the handle from the front so it doesn’t fall suddenly
- If screws are stuck due to rust, apply a small amount of oil and wait a few minutes before trying again
Once removed, keep the screws aside—you may reuse them if they are still in good condition.
Also Read:
Step 2: Clean the Surface Area
After removing the handle, you might notice dirt, old adhesive marks, or damaged wood around the screw holes.
- Wipe the area with a clean cloth
- Use sandpaper if the surface is rough
- If holes are slightly damaged, fill them with wood filler and let it dry
This step ensures the new handle fits securely and looks neat.
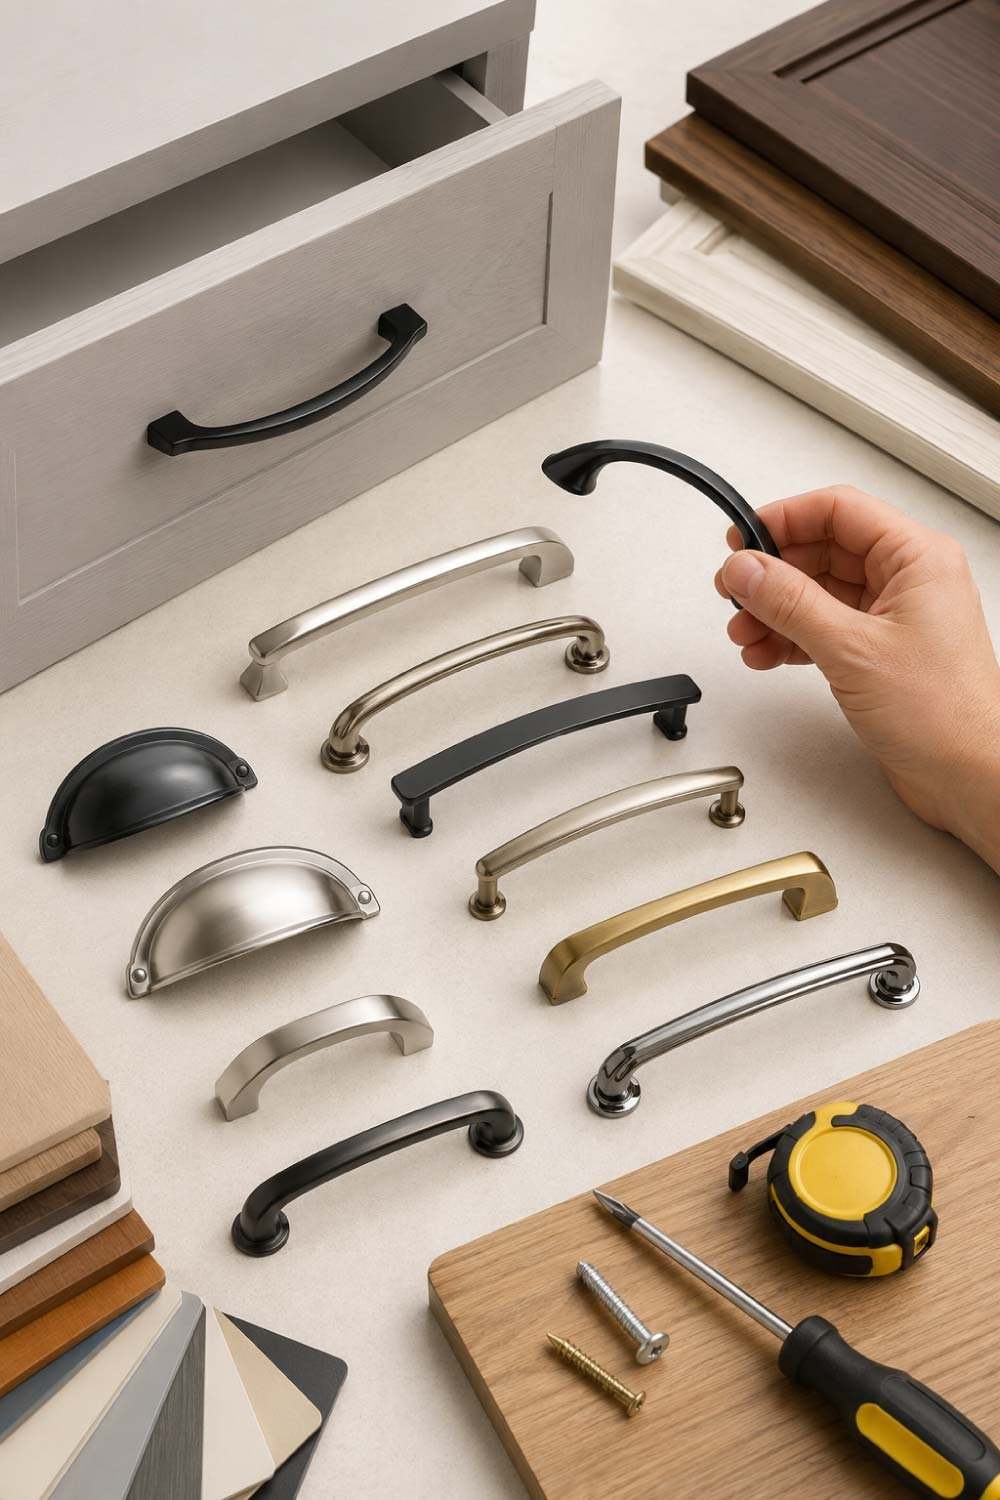
Step 3: Measure the Hole Distance (Very Important)
If you are replacing a handle with a bar-style pull (not a knob), measuring is essential.
- Measure the distance between the two screw holes
- Most standard handles come in sizes like 96mm, 128mm, etc.
- Match your measurement with the new handle before installation
For knobs (single screw handles), this step is simpler since only one hole is used.
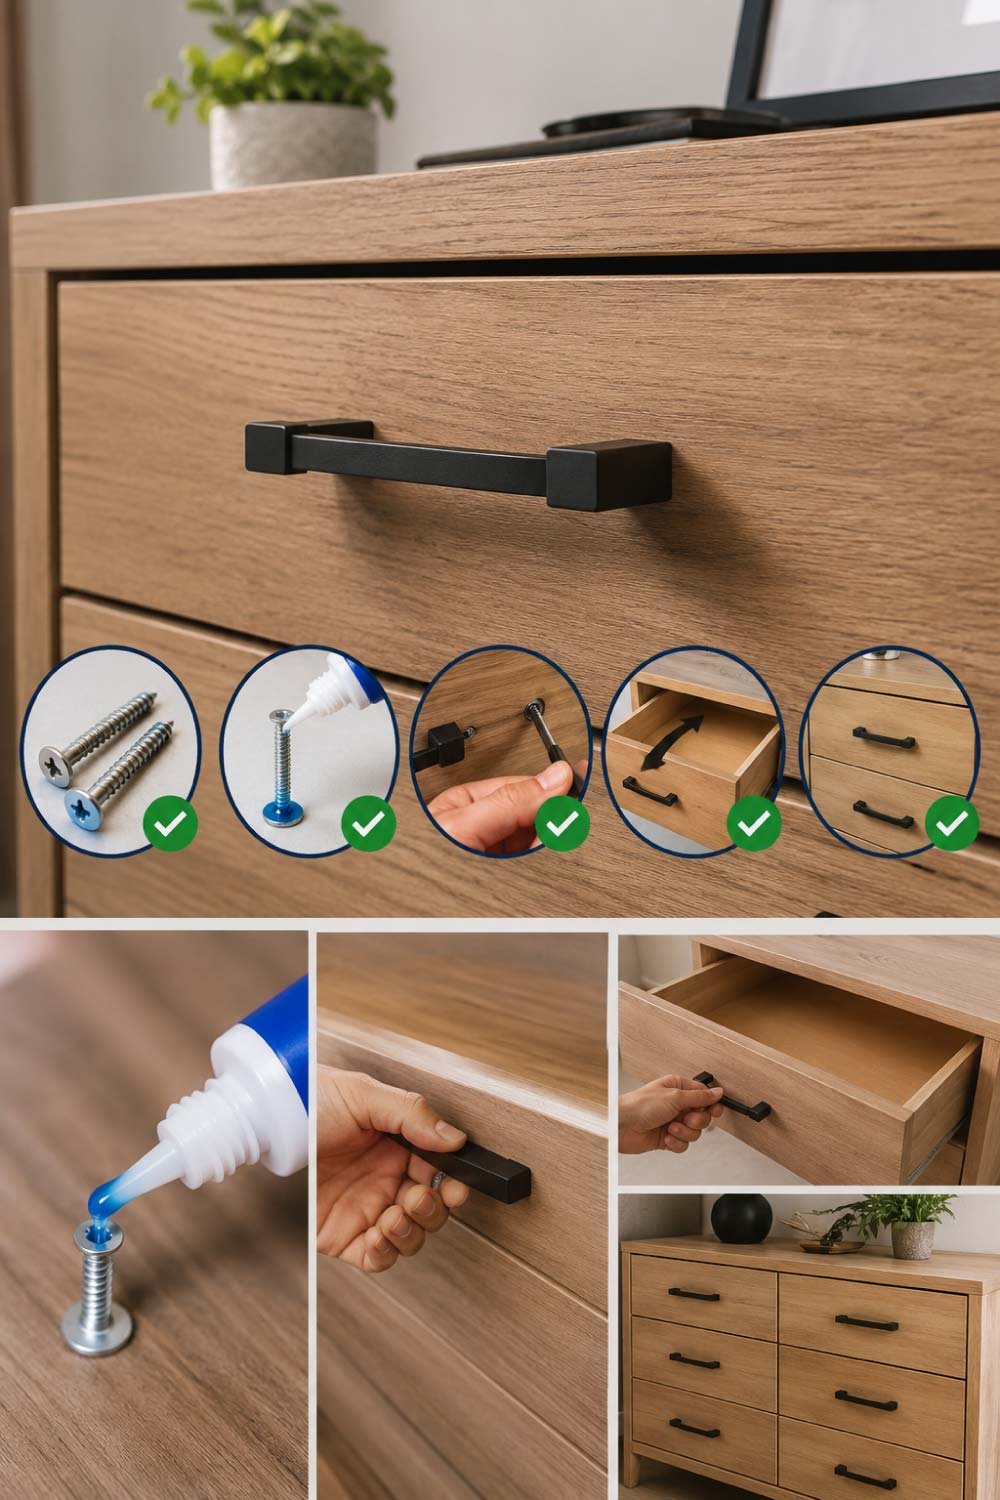
Final Thoughts
A broken drawer handle may seem like a minor household issue, but fixing it quickly improves both functionality and appearance. The entire process is simple, cost-effective, and can be completed in less than an hour with basic tools.
By following the steps above—removing the old handle, preparing the surface, measuring carefully, and installing the new handle properly—you can achieve a strong and professional-looking result without hiring anyone.
Once you do it yourself, you’ll realize it’s one of the easiest home repairs you can master. And the next time a handle breaks, you’ll know exactly what to do—confidently and quickly.
Also Read: