
A loose door lock is one of those small household problems that can quickly become a daily annoyance. You turn the key and feel the lock wiggle. The handle moves slightly in its housing. Sometimes the latch doesn’t align properly, or the whole mechanism feels unstable. While it might seem like a job for a professional locksmith, the truth is that most loose door lock issues can be fixed at home with basic tools and a little patience.
In this guide, we’ll walk through why door locks become loose, how to diagnose the issue, and how to fix it step by step. By the end, you’ll not only have a stable lock again but also understand how to prevent the problem in the future.
Understanding Why Door Locks Become Loose
Door locks may seem sturdy, but over time they naturally begin to loosen due to constant use and environmental factors. Everyday actions like turning keys or pushing handles create small vibrations that gradually affect internal components. Understanding these causes helps you not only fix the issue effectively but also prevent it from happening again.
Before jumping into repairs, it helps to understand what causes a door lock to loosen over time. Most door locks are held in place by screws and metal components that endure daily stress. Every time you turn the key or push the handle, small vibrations occur. Over months or years, these vibrations gradually loosen the screws and shift the alignment.
Some of the most common reasons include:
1. Frequent Use
Regular usage plays a major role in loosening door locks, especially in high-traffic areas like front doors. The repeated motion of opening and closing gradually affects internal components, making them less stable and more prone to shifting or loosening over time.
Front doors, especially in busy households, are used many times a day. This repeated motion slowly loosens internal screws and fittings.
2. Poor Installation
Improper installation can weaken the lock’s stability right from the start. Misaligned screws or poorly drilled holes create imbalance, which accelerates wear and tear, causing the lock to loosen much faster than expected under normal usage conditions.
If the lock wasn’t installed correctly from the beginning—such as misaligned screws or improperly drilled holes—it will loosen faster than normal.
3. Worn-out Screws or Hardware
Over time, hardware components naturally degrade, especially if they are of low quality or exposed to environmental factors. Rust, humidity, and age reduce the grip strength of screws, making it difficult for them to hold the lock firmly in place.
Cheap or old screws may lose grip over time, especially if they are exposed to humidity or rust.
4. Door Movement and Wood Expansion
Wooden doors are sensitive to environmental changes, particularly temperature and humidity. This constant expansion and contraction slightly shifts the lock components, gradually loosing the overall assembly and affecting alignment with the strike plate.
Wooden doors expand and contract with temperature and humidity changes. This constant shifting can gradually loosen the lock assembly.
5. Vibration and Slamming
Forceful door handling, such as slamming, creates strong vibrations that impact the lock mechanism. Over time, these repeated shocks weaken screws and internal fittings, causing them to loosen and reducing the overall stability of the lock.
If a door is frequently slammed shut, the force can shake the lock components loose over time.
Understanding the cause helps you prevent the same issue from returning after repair.
Tools You Will Need
Having the right tools ready before starting your repair work can save time and effort. Most loose door lock issues can be fixed using simple household tools, making this a convenient DIY task without the need for professional assistance.
Fixing a loose door lock doesn’t require expensive equipment. In most cases, you can complete the job with simple household tools:
- Screwdriver set (flathead and Phillips)
- Allen key (for some modern handles)
- Replacement screws (if old ones are stripped)
- Wood filler or toothpicks (for enlarged screw holes)
- Hammer (optional, for adjusting strike plate)
- Lubricant spray (like WD-40 or graphite lubricant)
- Flashlight (to see inside tight areas)
Having these tools ready before starting will make the process smoother and faster.
Step 1: Identify the Type of Problem
Before applying any fix, it is important to correctly diagnose the issue. Different lock problems require different solutions, so careful inspection ensures you address the root cause instead of making unnecessary adjustments.
Not all loose lock issues are the same. Start by carefully inspecting the door lock and handle.
Check the following:
- Does the handle wiggle or move freely?
- Is the lock cylinder loose or rotating inside the door?
- Are the screws visible and loose?
- Does the latch not align with the strike plate?
- Does the key feel stuck or rough when turning?
Once you identify the exact issue, you can apply the correct fix instead of guessing.
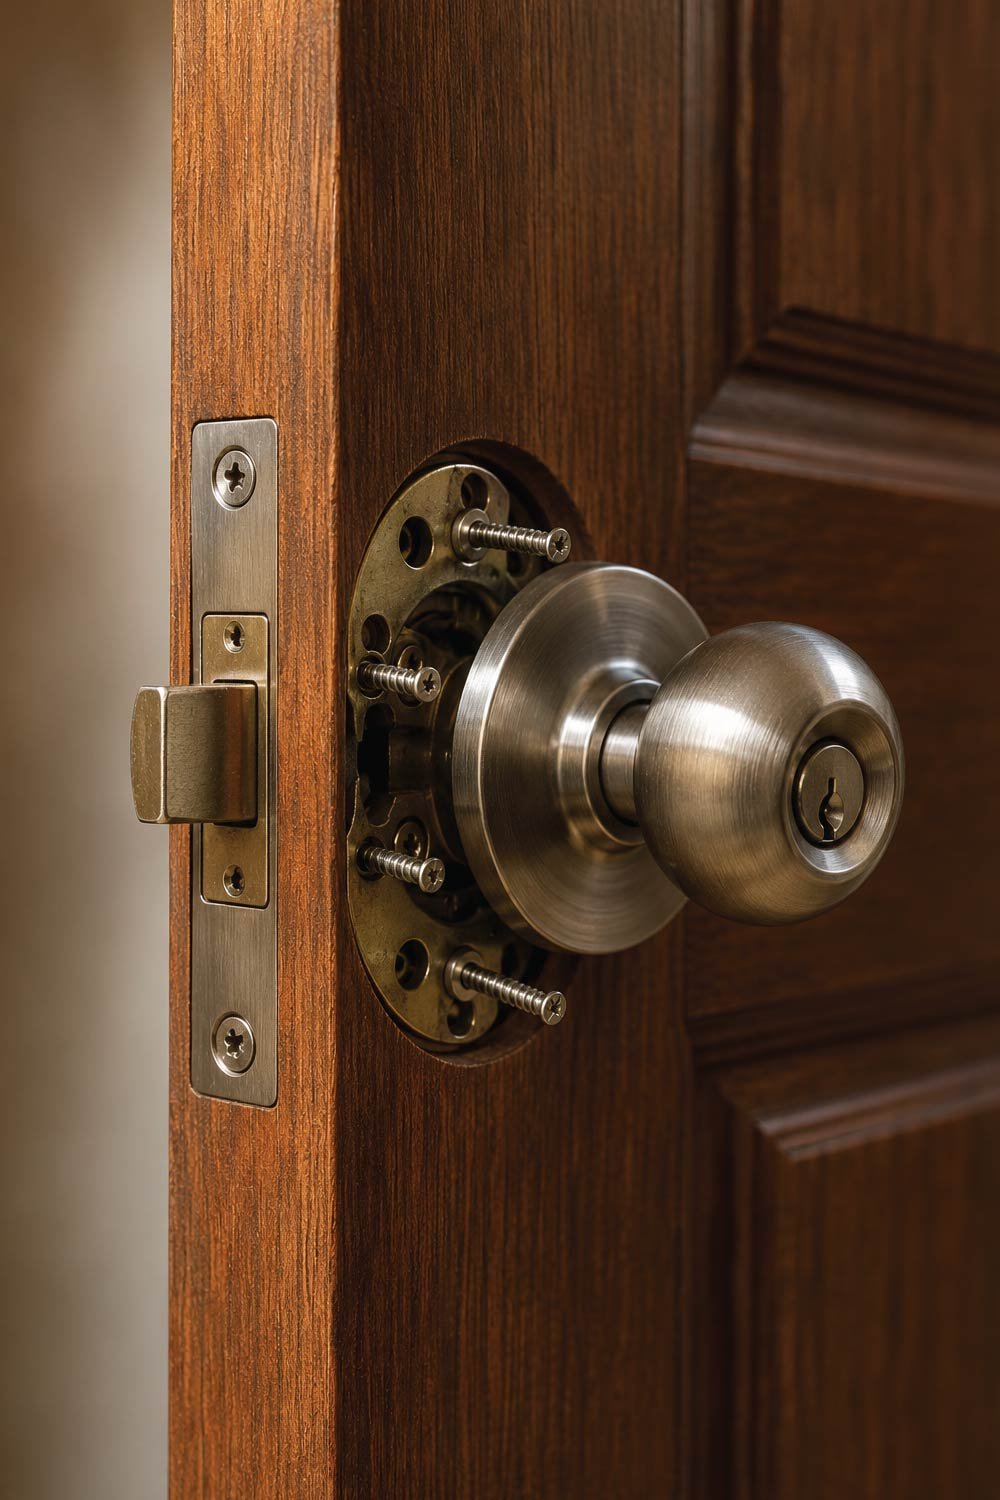
Step 2: Tighten the Visible Screws
Often, the simplest solution is the most effective one. Loose screws are a common reason behind unstable locks, and tightening them properly can immediately restore the lock’s firmness and functionality without further repairs.
In many cases, the simplest solution is the correct one.
Look at the interior and exterior sides of the door handle or lock. Most locks are secured with two or more screws. Using a screwdriver:
- Tighten all visible screws slowly
- Avoid over-tightening, which can strip the wood or metal threads
- Test the handle after tightening
If the lock immediately feels more stable, your problem was simply loose screws. However, if the screws keep spinning or don’t tighten properly, move to the next step.
Step 3: Fix Stripped Screw Holes
A loose lock often keeps coming back due to stripped screw holes, where the wood no longer grips the screw tightly. This weakens the entire fitting and makes tightening ineffective. Fixing the hole properly restores grip strength and ensures the lock stays secure for a longer time.
Method 1: Toothpick or Matchstick Trick
This is a quick and effective temporary solution that works well for lightly stripped holes. It adds material back into the hole so the screw can grip again without requiring special tools or advanced repair techniques.
How It Works
The inserted wood pieces act as filler, tightening the space around the screw threads and restoring friction for a firm hold.
• Remove the loose screw
• Insert 2–3 wooden toothpicks into the hole
• Apply a small amount of wood glue if available
• Break off excess wood flush with the surface
• Reinsert the screw and tighten it
The wood filler created by the toothpicks gives the screw new material to grip.
Method 2: Wood Filler or Dowels
For a stronger and more permanent fix, this method is ideal, especially for doors that are used frequently. It reinforces the structure of the hole and prevents repeated loosening over time.
Why This Method Is Stronger
Using wood filler or dowels rebuilds the hole completely, allowing you to drill a fresh pilot hole and achieve a tighter, more durable screw fit.
• Fill the hole with wood filler and let it dry
• Or insert a small wooden dowel coated in glue
• Redrill a pilot hole and reinstall the screw
This method is stronger and ideal for frequently used doors.
Also Read:
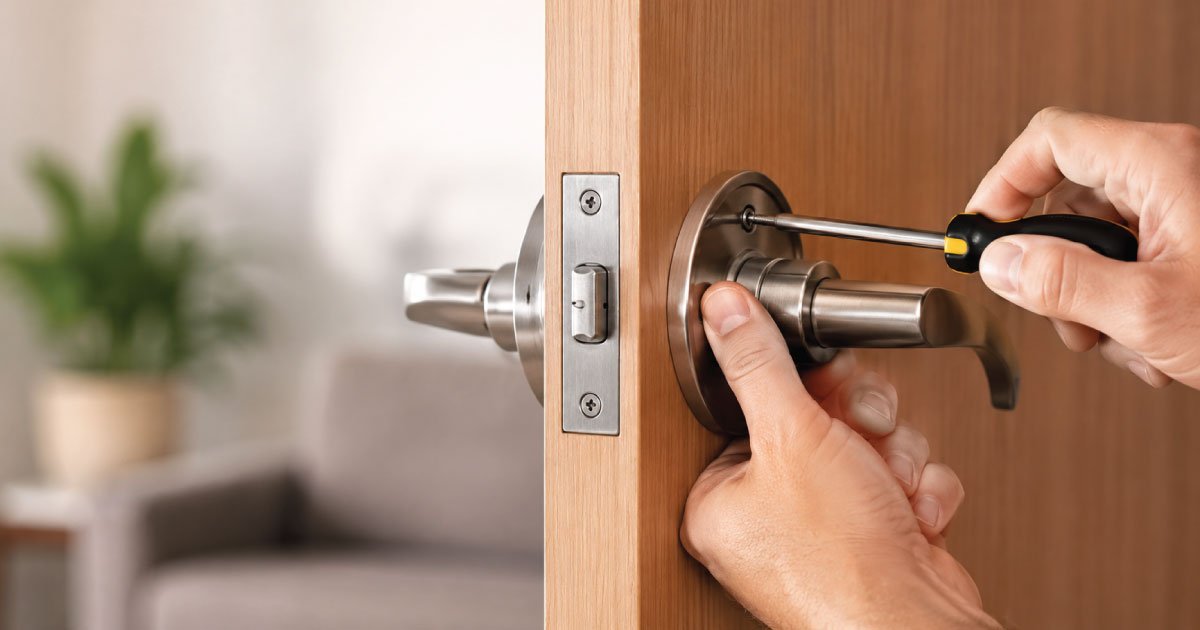
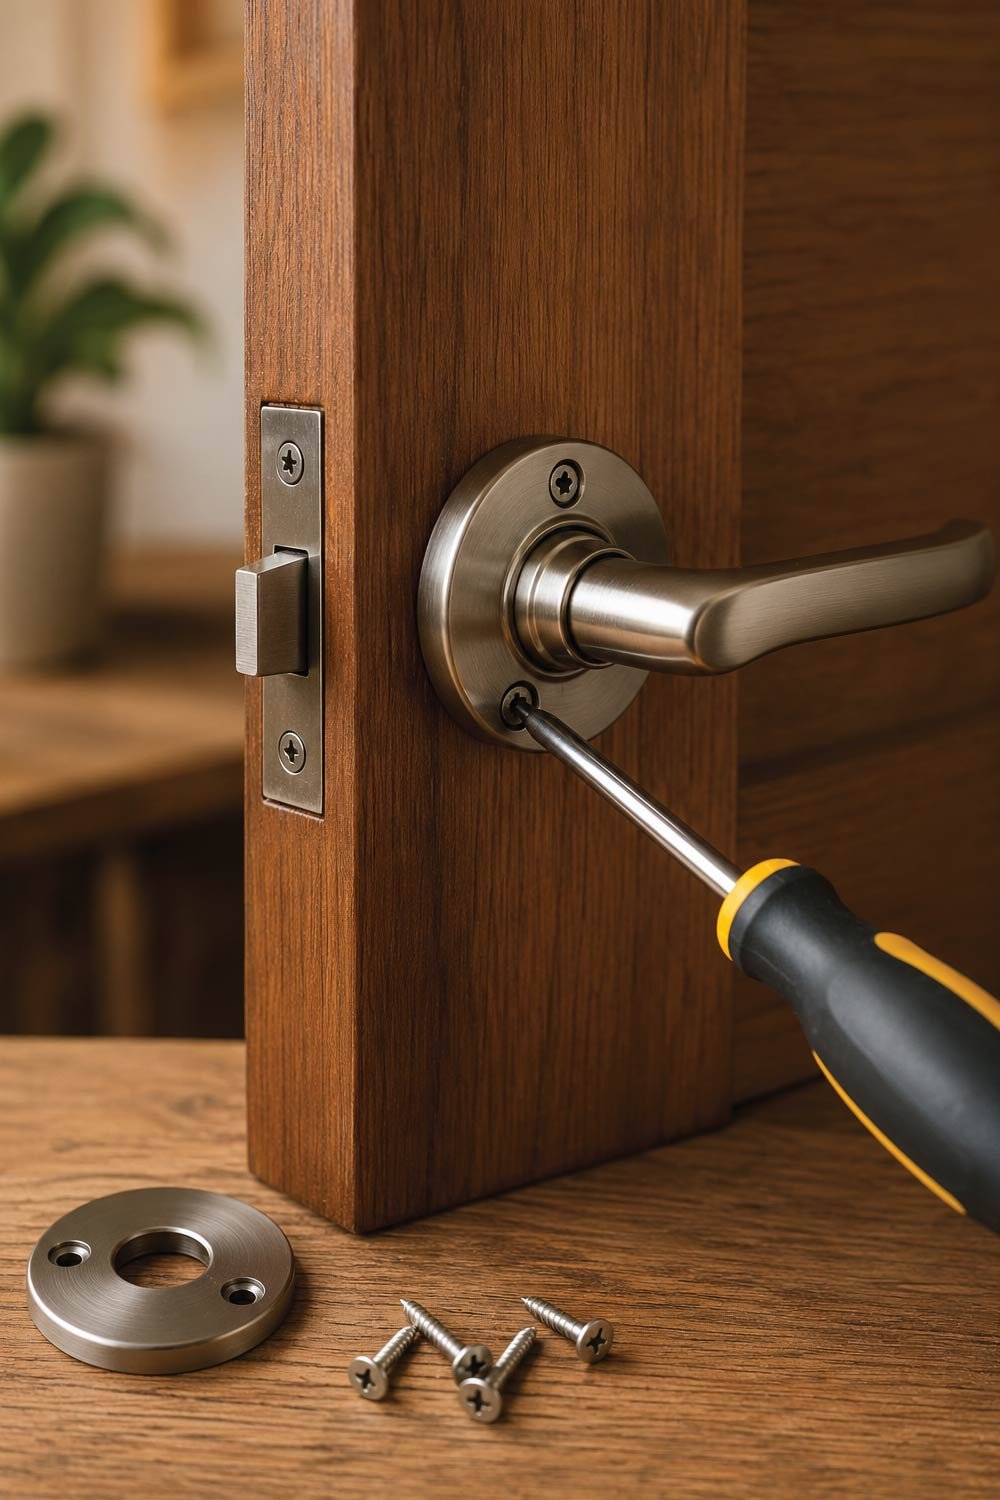
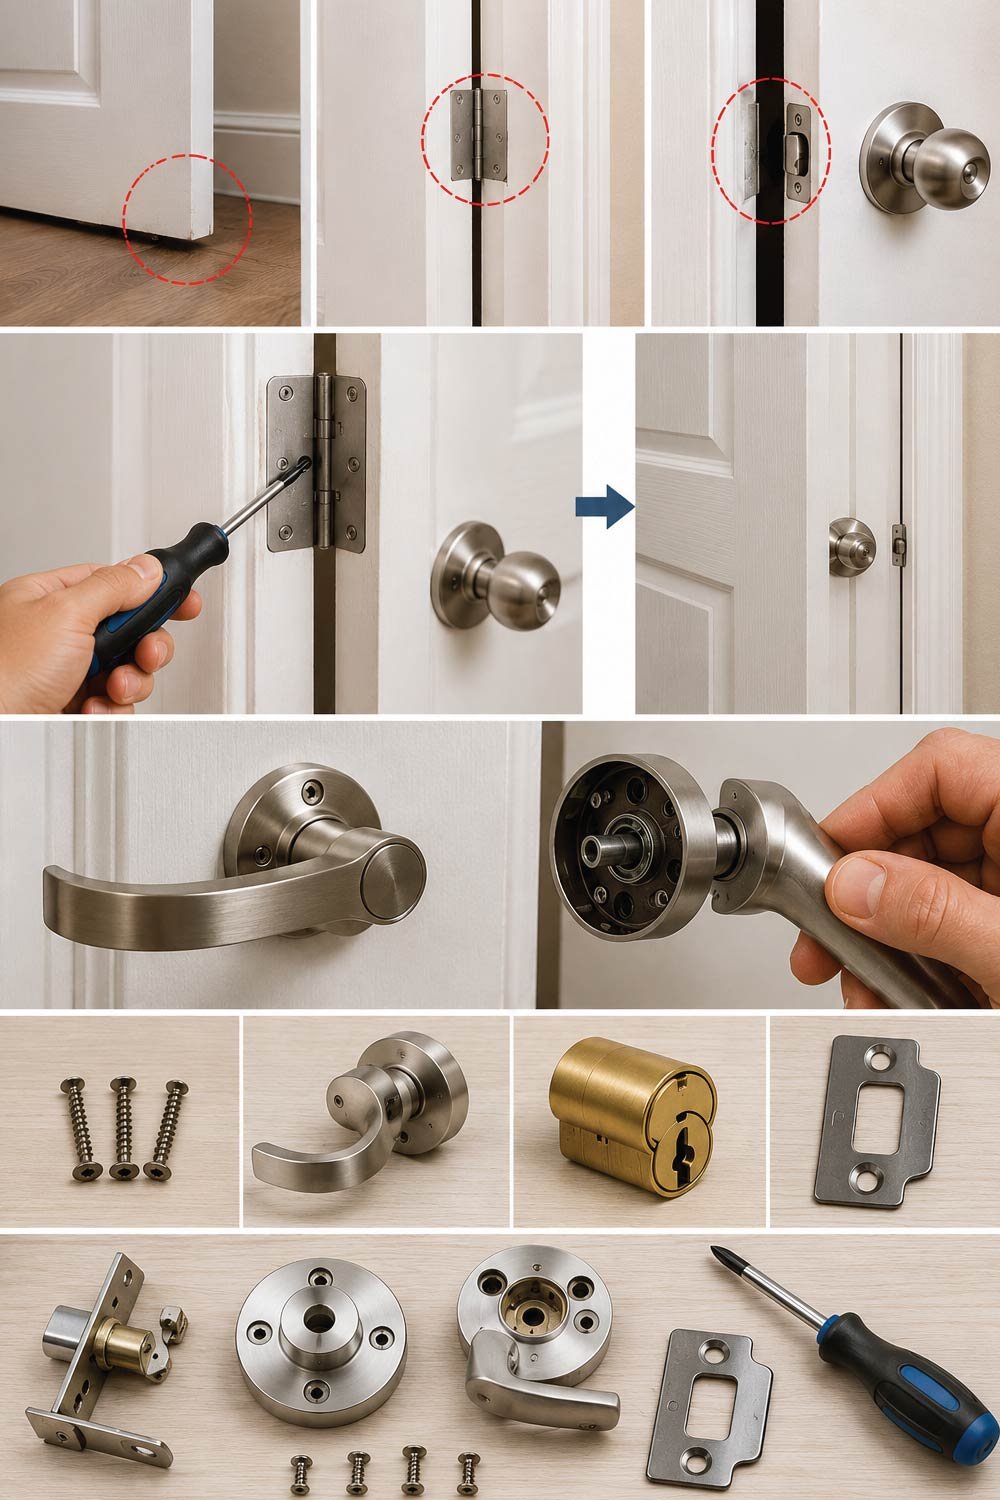
Step 4: Tighten the Lock Cylinder or Handle Assembly
Sometimes the looseness is not in the screws on the surface but inside the lock mechanism itself. Internal mounting screws can shift or loosen over time, causing wobbling in the handle or cylinder that needs proper adjustment.
Follow These Steps
This process helps you access hidden screws and secure the internal components without damaging the lock’s outer appearance.
Accessing and Fixing Internal Screws
Careful handling is important here, as internal parts are more delicate and must be aligned properly while tightening.
• Locate the hidden screws (often under a cover plate)
• Remove the cover carefully using a flathead screwdriver
• Tighten the mounting screws inside
• Check if the handle still wobbles
Sometimes, the internal mechanism may have shifted slightly. Re-centering it while tightening usually solves the problem.
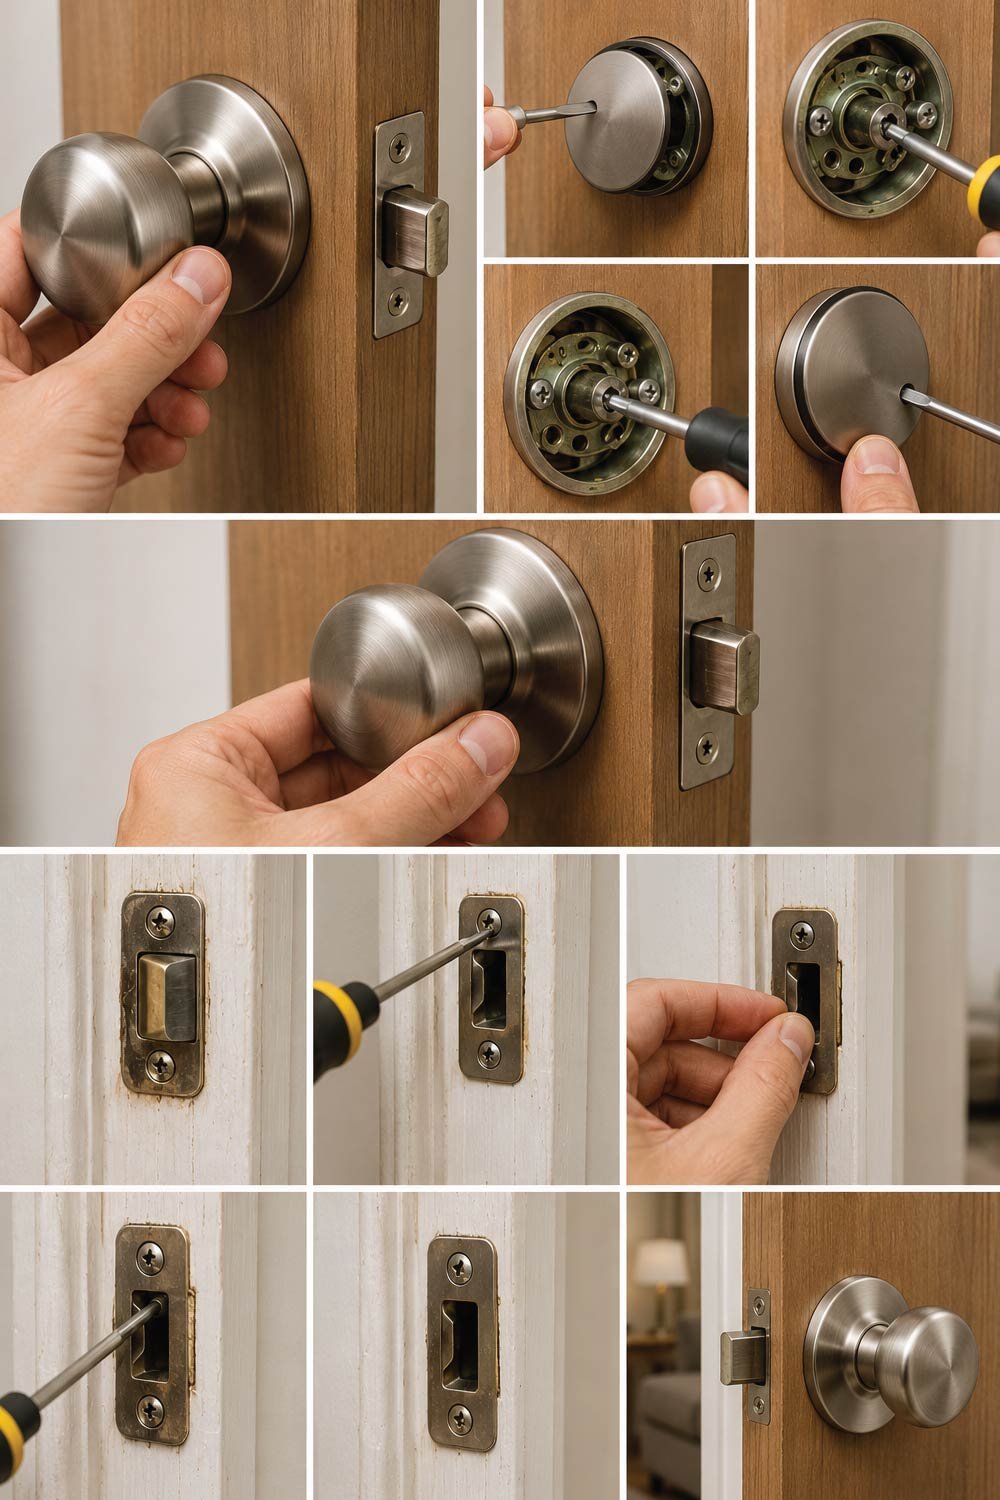
Step 5: Adjust the Strike Plate
A lock may feel loose even when it’s properly installed if the strike plate is misaligned. This affects how the latch fits into the door frame, leading to improper closing and a weak locking feel.
How to Fix Alignment Issues
Adjusting the strike plate ensures that the latch enters smoothly and securely, improving both function and stability of the lock.
Correcting Strike Plate Position
Small positional adjustments can make a big difference in how firmly the door closes and locks.
• Close the door slowly and observe where the latch hits
• If it doesn’t align, slightly loosen the strike plate screws
• Adjust its position up, down, or sideways
• Retighten once aligned
• Test the door repeatedly
In some cases, you may need to deepen the strike plate hole using a chisel so the latch fits better.
Step 6: Lubricate the Lock Mechanism
A lock that feels rough or stiff can give the impression of being loose or faulty. In many cases, the issue is internal friction caused by dirt buildup or lack of lubrication.
Improving Lock Movement
Proper lubrication reduces resistance inside the cylinder and ensures smooth operation without forcing the mechanism.
Applying Lubrication Correctly
Using the right amount and type of lubricant is essential to avoid attracting dust or causing buildup.
• Spray a small amount of graphite lubricant or WD-40 into the keyhole
• Insert and remove the key several times
• Turn the handle repeatedly to distribute the lubricant
Avoid using too much oil, as it can attract dust over time.
Also Read:
How to Fix Door Keeps Swinging Open? Stop It Fast With This Simple Fix
Step 7: Check Door Alignment
Even a perfectly installed lock won’t function properly if the door itself is misaligned. Sagging doors can prevent proper latching and create pressure on the lock components.
Signs of Misalignment
Identifying alignment issues early helps prevent unnecessary repairs and ensures the lock works efficiently.
Inspecting the Door Position
A simple visual check can reveal whether the issue lies with the hinges rather than the lock.
• Does it drag on the floor?
• Does it rub against the frame?
• Does it close unevenly?
If yes, the hinges may be loose. Tighten hinge screws or adjust hinge positioning. Sometimes even tightening the top hinge slightly can correct alignment and improve locking.
Also Read:
How To Fix Loose Ceiling Fixture? Ceiling Fixture Repair Complete Guide
Step 8: Replace Damaged Parts
If repeated fixes don’t solve the issue, it’s likely that some components are worn out beyond repair. Replacing faulty parts ensures long-term reliability and proper lock performance.
When Replacement Is Necessary
Persistent looseness usually indicates structural wear that cannot be fixed by tightening or adjustments alone.
Parts You May Need to Replace
Replacing specific components is often quicker and more effective than repeated temporary repairs.
• Screws that no longer grip
• Handle assembly
• Lock cylinder
• Strike plate
Modern door lock sets are relatively inexpensive and come with installation instructions. Replacing damaged components often takes less time than repeated repairs.
Common Mistakes to Avoid
Fixing a loose door lock requires careful handling. Rushing or using incorrect methods can worsen the problem instead of solving it. Being aware of common mistakes helps you avoid unnecessary damage and ensures a more effective repair.
Avoid These Errors
These mistakes are frequently overlooked but can significantly reduce the lifespan of your lock and door hardware.
Key Mistakes
Pay attention to these points to ensure a successful and lasting fix.
• Over-tightening screws (can strip wood or crack fittings)
• Ignoring alignment issues and only tightening hardware
• Using the wrong size screwdriver
• Applying too much lubricant
• Forcing a damaged lock instead of repairing it
Careful, steady work always produces better long-term results.
Also Read:
How to Fix a Wobbly Table? Wobbly Table Repair Complete Guide
Preventing Future Problems
Once your lock is fixed, regular maintenance is the key to keeping it in good condition. Small preventive steps can save time, effort, and money by avoiding repeated repairs.
Simple Maintenance Tips
Consistent care ensures that your lock remains secure and functions smoothly over time without unexpected failures.
Best Practices for Longevity
Following these habits will extend the life of your door lock and reduce the chances of future issues.
• Check screws every 3–6 months
• Lubricate locks once or twice a year
• Avoid slamming doors
• Repair minor looseness immediately before it worsens
• Ensure proper installation if replacing hardware
A few minutes of maintenance can save you from repeated repairs later.
Also Read:
Final Thoughts
A loose door lock might seem like a small inconvenience, but it can affect both comfort and security. The good news is that in most cases, the solution is simple and doesn’t require professional help. Whether it’s tightening screws, fixing stripped holes, adjusting alignment, or replacing worn parts, each step is manageable with basic tools.
By following the methods outlined above, you can restore stability to your door lock and improve the overall safety of your home. More importantly, regular maintenance will ensure the problem doesn’t return anytime soon.
A secure door starts with a solid lock—and now you know exactly how to keep it that way.