
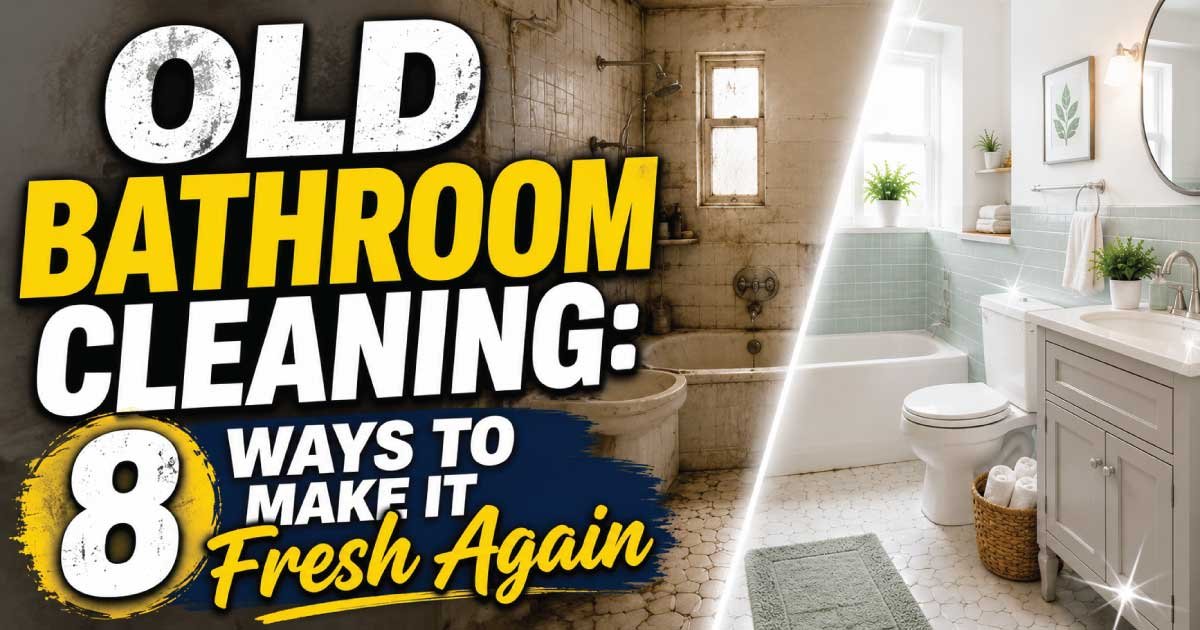
An old bathroom can quickly lose its charm due to years of moisture, soap residue, hard water stains, and everyday wear. Even if you clean regularly, older bathrooms often develop stubborn grime, unpleasant odors, discolored grout, and dull fixtures that make the entire space feel neglected. The good news is that you don’t always need a complete renovation to restore its appearance. With the right cleaning methods and a little effort, you can make an aging bathroom look brighter, smell fresher, and feel much more inviting.
Whether you’re preparing your home for guests, improving your daily living space, or maintaining a rental property, these practical cleaning techniques can dramatically improve the condition of an old bathroom.
Why Older Bathrooms Need Special Attention
Older bathrooms are more vulnerable to buildup because surfaces have been exposed to years of moisture, cleaning products, and mineral deposits. Cracked grout, worn caulk, faded tiles, and stained porcelain tend to trap dirt more easily than newer materials. In addition, poor ventilation in older homes often encourages mold and mildew growth.
A deep cleaning routine that targets these problem areas can restore much of the bathroom’s original appearance without expensive remodeling.
| Common Problem | Primary Cause | Recommended Solution |
|---|---|---|
| Mold and mildew | Excess moisture | Mold remover and improved ventilation |
| Yellowed fixtures | Mineral deposits | Vinegar and baking soda cleaning |
| Dirty grout | Embedded dirt | Grout cleaner and scrubbing |
| Soap scum | Soap residue | Bathroom cleaner or vinegar solution |
| Lingering odors | Moisture and bacteria | Deep cleaning and odor control |
1. Remove Soap Scum from Every Surface
Soap scum is one of the biggest reasons an old bathroom looks dirty. It forms on shower walls, tubs, sinks, glass doors, and faucets, creating a cloudy film that dulls surfaces.
To remove soap scum effectively:
- Spray a mixture of equal parts white vinegar and warm water.
- Allow it to sit for 10–15 minutes.
- Scrub using a non-abrasive sponge.
- Rinse thoroughly with warm water.
- Dry the surface using a microfiber cloth.
For stubborn buildup, sprinkle baking soda over the surface before scrubbing. The mild abrasive action helps lift thick deposits without damaging most bathroom finishes.
2. Deep Clean the Grout
Grout naturally absorbs dirt over time, especially in older bathrooms where the sealant may have worn away. Dirty grout lines can make even clean tiles appear stained.
Follow these steps for better results:
- Apply a paste made from baking soda and water.
- Let it sit for about 15 minutes.
- Scrub using a grout brush or old toothbrush.
- Rinse thoroughly.
- Dry the area before applying a grout sealer if needed.
If mold is present, use a bathroom-safe mold remover before sealing the grout. Keeping grout clean instantly brightens tiled walls and floors.
3. Eliminate Mold and Mildew
Bathrooms provide the perfect environment for mold because they remain damp for long periods. Mold commonly appears around:
- Shower corners
- Caulk lines
- Window frames
- Ceiling edges
- Behind the toilet
- Under sinks
Wear gloves while cleaning mold and ensure the room is well ventilated.
Use an appropriate mold-cleaning product or a diluted bleach solution (only on compatible surfaces). Let the cleaner sit according to the instructions before scrubbing. Once removed, improve ventilation by opening windows or using an exhaust fan after every shower.
Regular moisture control helps prevent mold from returning.
4. Restore Shine to Fixtures
Old faucets, showerheads, and handles often become dull because of hard water minerals and oxidation.
To restore their appearance:
- Soak a cloth in white vinegar.
- Wrap it around the fixture for 20–30 minutes.
- Remove the cloth.
- Gently scrub with a soft brush.
- Polish using a microfiber towel.
For showerheads with clogged spray holes:
- Fill a plastic bag with vinegar.
- Secure it around the showerhead.
- Leave it overnight.
- Rinse thoroughly the next morning.
This process removes mineral buildup and improves water flow at the same time.
5. Refresh the Toilet Completely
Even if the toilet bowl appears clean, hidden areas often collect bacteria, stains, and unpleasant odors.
Clean every part of the toilet, including:
- Bowl interior
- Rim jets
- Seat
- Lid
- Flush handle
- Tank exterior
- Base
- Floor surrounding the toilet
Use a toilet brush with disinfectant cleaner inside the bowl and disinfect all exterior surfaces with antibacterial bathroom cleaner.
If stubborn stains remain inside the bowl, allow the cleaner to sit longer before scrubbing again.
A sparkling toilet greatly improves the overall cleanliness of an older bathroom.
6. Brighten the Sink and Bathtub
Older porcelain and ceramic surfaces often develop stains from minerals, rust, soap residue, and cosmetics.
For routine cleaning:
- Sprinkle baking soda across the surface.
- Spray lightly with water.
- Scrub gently using a soft sponge.
- Rinse thoroughly.
For tougher stains:
- Apply white vinegar first.
- Allow it to react for several minutes.
- Scrub carefully.
- Rinse completely.
Avoid using highly abrasive tools on delicate finishes because they can leave scratches that trap even more dirt over time.
7. Improve Bathroom Odors
An old bathroom may continue smelling musty even after cleaning if moisture remains trapped.
Common odor sources include:
- Damp towels
- Mold
- Dirty drains
- Toilet base
- Wet bath mats
- Poor ventilation
Freshen the room by:
- Washing towels regularly.
- Replacing old shower curtains if needed.
- Cleaning sink and shower drains.
- Emptying the trash frequently.
- Opening windows whenever possible.
- Running the exhaust fan for at least 20 minutes after showering.
You can also place a small bowl of baking soda in the bathroom to naturally absorb lingering odors.
8. Finish with Small Maintenance Improvements
Sometimes an old bathroom feels outdated because of minor cosmetic issues rather than actual dirt. After deep cleaning, spend time addressing small details that make a noticeable difference.
Consider these finishing touches:
- Replace worn caulk around tubs and sinks.
- Tighten loose towel bars.
- Clean light fixtures.
- Wash mirrors until streak-free.
- Replace faded bath mats.
- Organize countertops.
- Add fresh hand towels.
- Include a small indoor plant if natural light allows.
These inexpensive improvements help the bathroom feel cleaner, brighter, and more welcoming.
Essential Cleaning Supplies
Having the proper supplies makes deep cleaning much easier.
| Cleaning Supply | Best Use |
| White vinegar | Mineral deposits and soap scum |
| Baking soda | Gentle scrubbing and deodorizing |
| Microfiber cloths | Drying and polishing |
| Grout brush | Cleaning grout lines |
| Toilet brush | Toilet bowl cleaning |
| Non-abrasive sponge | General surface cleaning |
| Mold remover | Removing mildew |
| Rubber gloves | Hand protection |
Keeping these supplies on hand allows you to maintain the bathroom more efficiently throughout the year.
Maintenance Tips to Keep an Old Bathroom Fresh
After completing a deep clean, consistent maintenance prevents grime from building up again.
Follow these simple habits:
- Wipe down shower walls after each use.
- Clean the sink every few days.
- Wash bath mats weekly.
- Disinfect high-touch surfaces regularly.
- Empty trash bins before odors develop.
- Clean mirrors once a week.
- Scrub the toilet weekly.
- Keep the bathroom dry by improving airflow.
Small cleaning tasks completed regularly require far less effort than occasional deep-cleaning sessions.
Common Mistakes to Avoid
While cleaning an old bathroom, avoid these common errors:
- Using abrasive scrubbers on delicate surfaces.
- Mixing bleach with ammonia or vinegar.
- Ignoring ventilation during cleaning.
- Letting mold spread before treating it.
- Skipping grout maintenance.
- Leaving standing water on surfaces after cleaning.
Avoiding these mistakes helps preserve older fixtures while keeping the bathroom sanitary.
Conclusion
Cleaning an old bathroom requires patience, but the results are well worth the effort. By removing soap scum, restoring grout, eliminating mold, polishing fixtures, refreshing the toilet, brightening sinks and tubs, controlling odors, and making a few simple maintenance upgrades, you can transform an aging bathroom into a cleaner and more comfortable space. Regular upkeep will keep surfaces looking their best, reduce future cleaning time, and extend the life of your bathroom fixtures. Even without a costly renovation, these practical cleaning methods can make an old bathroom feel fresh, hygienic, and welcoming once again.