
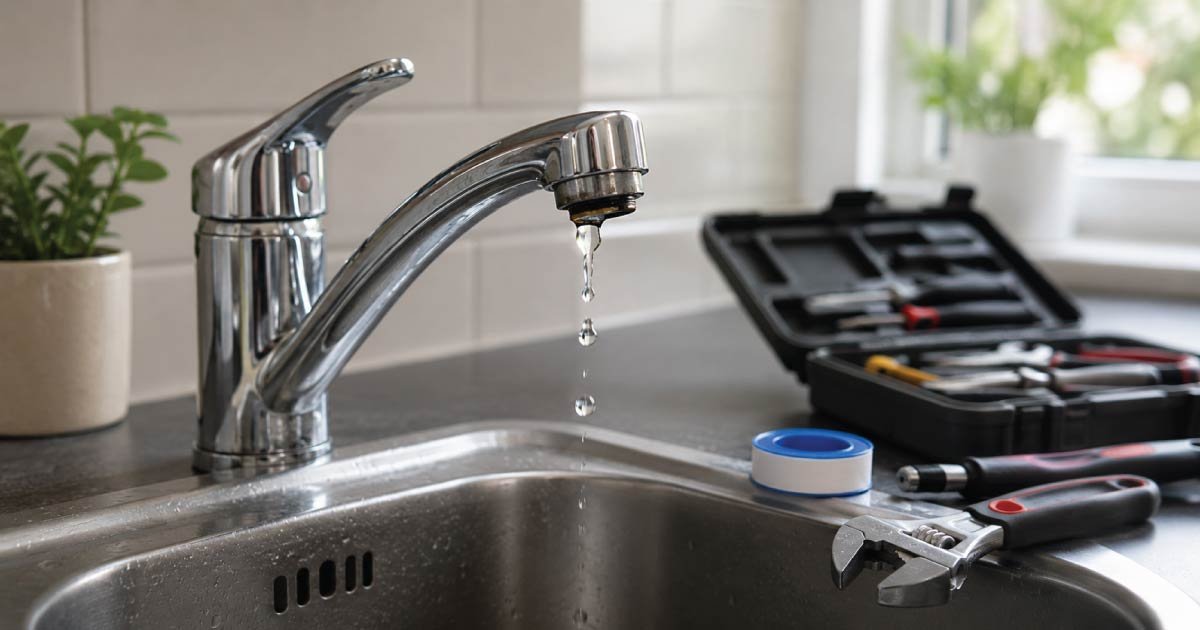
A leaking tap might seem like a small household issue, but it can quickly turn into a bigger problem if ignored. That constant dripping sound is not just annoying it also wastes a surprising amount of water and can increase your utility bills over time. The good news is that most leaking taps can be fixed at home with basic tools and a little patience.
This guide will walk you through everything you need to know about fixing a leaking tap, including the common causes, tools required, and detailed step-by-step instructions. Whether you are a beginner or someone with basic DIY experience, you’ll be able to follow along easily.
Why Do Taps Start Leaking?
This section explains the basic reasons behind leaking taps so you can correctly identify the problem before attempting repairs. Most tap leaks develop gradually due to wear and tear inside small components that control water flow. Understanding these causes helps you avoid guesswork and fix the exact faulty part efficiently.
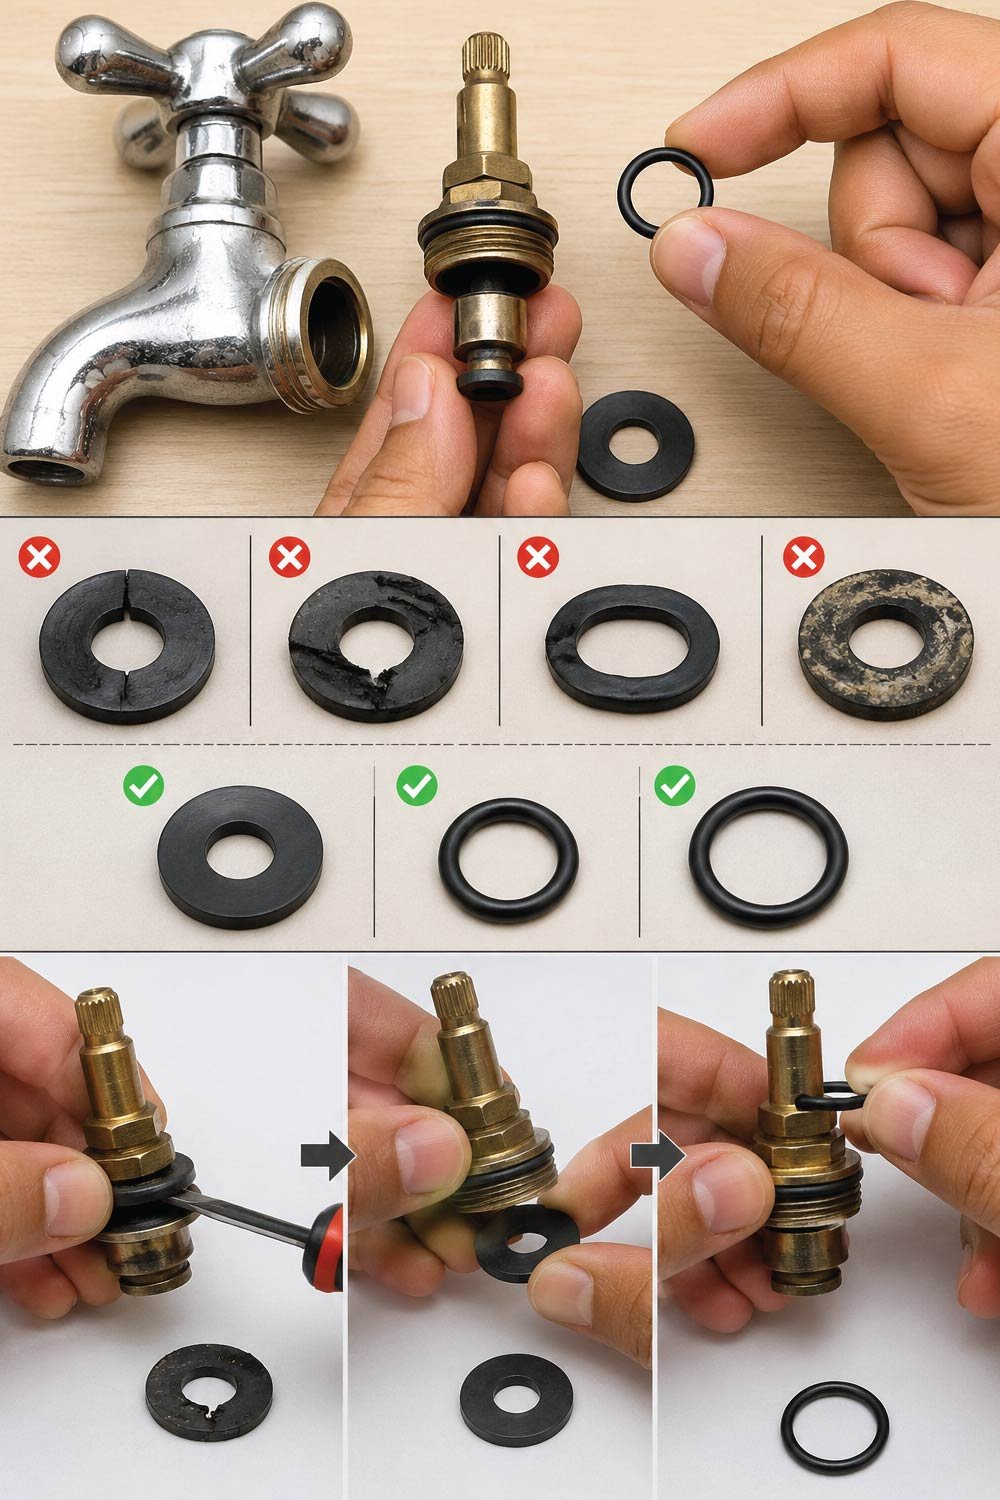
1. Worn-out washer
This section explains how a damaged washer leads to leaks. The washer is a small rubber seal that prevents water from passing when the tap is closed, but over time it becomes hard, cracked, or flattened, causing continuous dripping even when the tap is fully turned off.
The washer is a small rubber ring inside the tap that helps create a tight seal when the tap is closed. Over time, it becomes stiff, cracked, or flattened, causing water to leak through.
2. Damaged O-ring
This section describes how a faulty O-ring can cause leakage around the tap handle area. The O-ring is responsible for sealing internal joints, and when it wears out or shifts from its position, water starts seeping from the base of the tap.
The O-ring is another small rubber component that seals the handle area. If it becomes loose or damaged, water may leak from the base of the tap.
3. Loose parts
This section explains how frequent use of the tap can loosen internal components over time. When fittings inside the tap mechanism become loose, they fail to maintain proper pressure, leading to dripping or minor seepage from the spout or handle area.
Constant turning of the tap handle can loosen internal fittings, leading to dripping or seepage.
4. Corroded valve seat
This section explains how mineral buildup and corrosion affect the valve seat. When the surface becomes uneven or damaged, it prevents the washer from forming a proper seal, allowing water to escape even when the tap is fully closed.
The valve seat connects the tap to the spout. If it becomes corroded due to mineral buildup, it can prevent a proper seal.
5. High water pressure
This section explains how excessive water pressure can contribute to tap leaks. When pressure is too strong, it forces water through small gaps inside the tap mechanism, making even minor wear or damage result in noticeable dripping.
In some cases, excessive water pressure can force water through even small gaps inside the tap mechanism.
Understanding the cause helps you fix the issue correctly instead of guessing.
Tools and Materials You Will Need
This section lists the basic tools required to repair a leaking tap safely and effectively. Having all tools prepared in advance helps make the repair process smoother, reduces interruptions, and ensures you can complete each step without delays or missing components.
- Adjustable wrench or spanner
- Screwdriver (flat-head or Phillips depending on tap type)
- Replacement washer set
- Replacement O-rings (if needed)
- Plumber’s tape (Teflon tape)
- Cloth or rag
- Small brush (for cleaning parts)
- Bucket or bowl (to catch dripping water)
Having everything ready beforehand will make the process smoother and faster.
Step-by-Step Guide to Fix a Leaking Tap
This section provides a complete step-by-step method for repairing a leaking compression tap. Following these steps carefully ensures safe disassembly, proper identification of faulty parts, and correct reassembly to restore normal water flow without unnecessary damage or complications.
Step 1: Turn Off the Water Supply
This section explains the importance of stopping water flow before beginning any repair work. Turning off the supply prevents flooding, reduces pressure in the system, and allows you to safely dismantle the tap without water spraying or leaking unexpectedly.
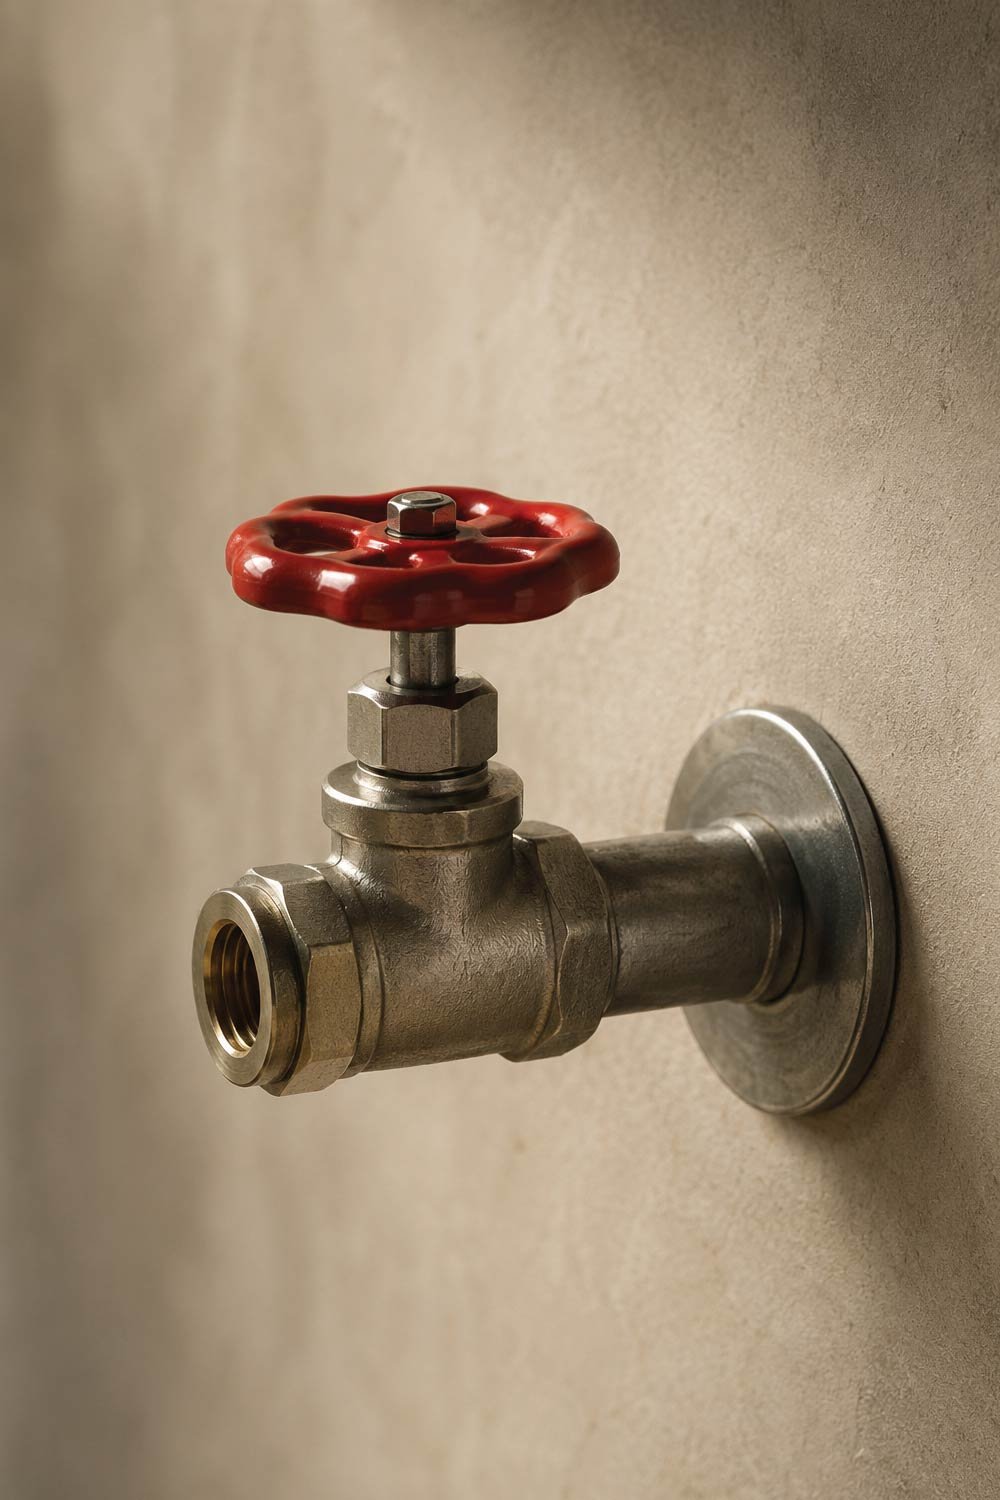
- Locate the main water valve in your home or the valve under the sink.
- Turn it clockwise to stop the water flow.
- Open the tap afterward to release any remaining water pressure.
Skipping this step may lead to flooding or unnecessary mess.
Step 2: Plug the Drain
This section explains a simple precaution to prevent small parts from falling into the sink drain during repair work. Blocking the drain helps you safely handle screws and components without losing them.
- Place a sink plug in the drain, or
- Cover it with a cloth or stopper.
This simple step can save you a lot of frustration later.
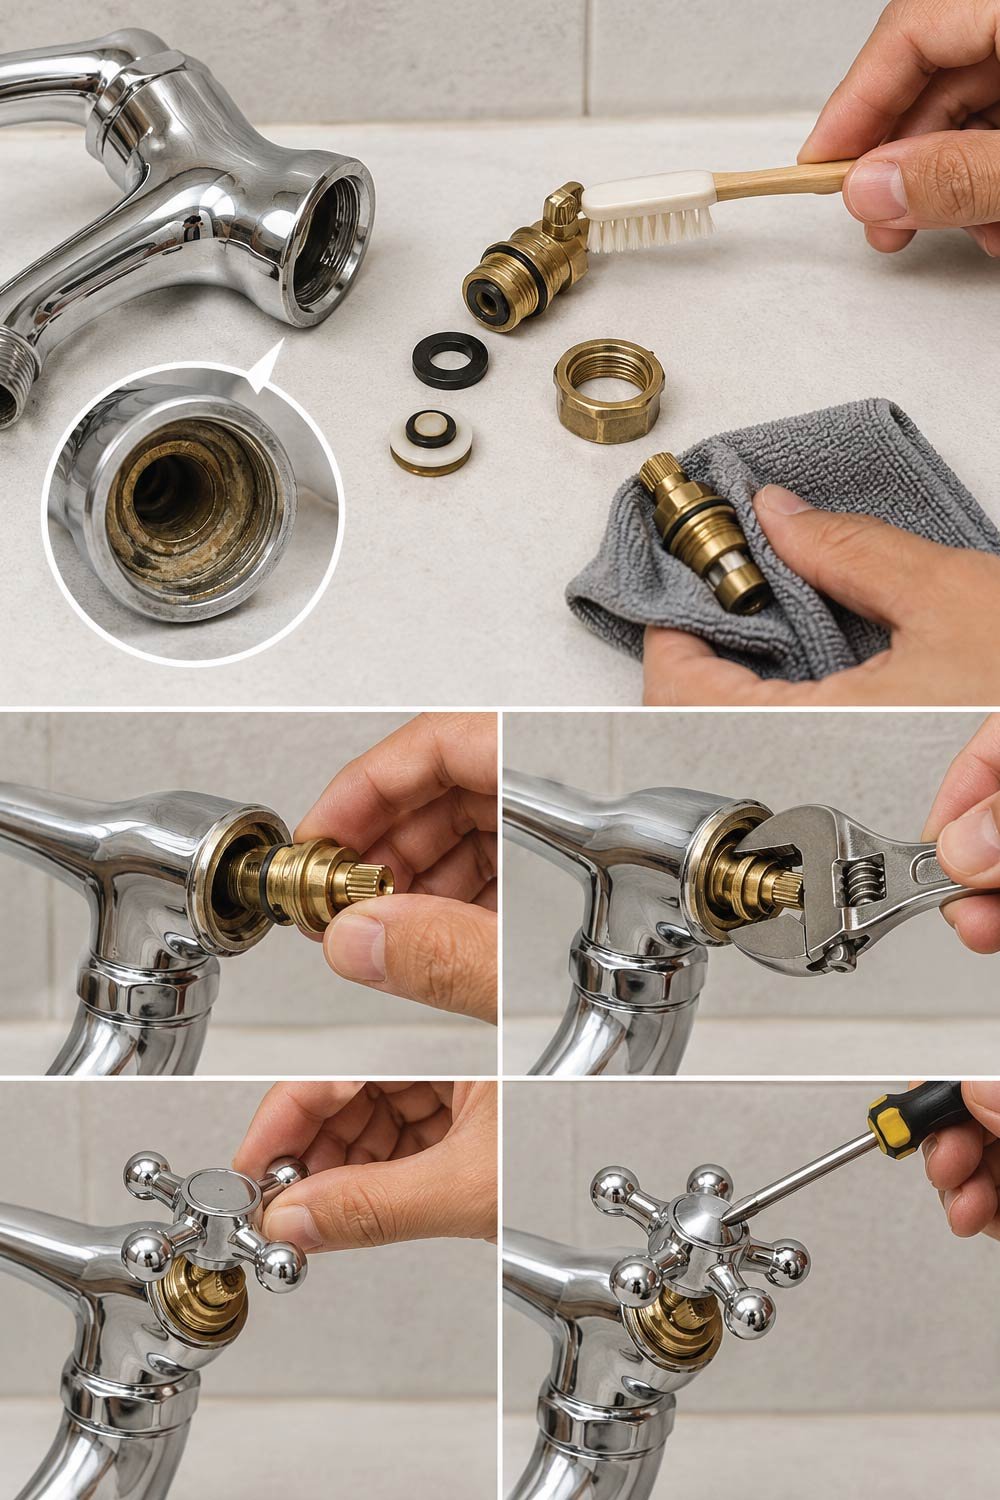
Step 3: Remove the Tap Handle
This section explains how to safely remove the tap handle to access internal components. Careful removal ensures you do not damage the handle or surrounding fittings while exposing the internal mechanism for repair.

- Look for a screw on the handle (sometimes hidden under a decorative cap).
- Use a screwdriver to remove the screw.
- Gently pull off the handle.
If it is stuck, wiggle it slowly instead of forcing it.
Step 4: Unscrew the Tap Head (Valve)
This section explains how to remove the tap head or valve assembly after the handle is taken off. This step is necessary to access internal parts like washers and seals that are often responsible for leaks.
- Use an adjustable wrench to loosen it.
- Turn it anti-clockwise to remove it completely.
Be careful not to apply too much force, as it can damage the fittings.
Conclusion
Fixing a leaking tap is one of the simplest home repair tasks you can learn. With basic tools, a little patience, and the right steps, you can stop the drip and save water and money.Most leaks are caused by a worn-out washer or O-ring, both of which are inexpensive and easy to replace.
By following this guide carefully, even a beginner can handle the repair confidently.Instead of ignoring that constant dripping sound, take action and fix it it’s a small effort that makes a big difference in the long run.