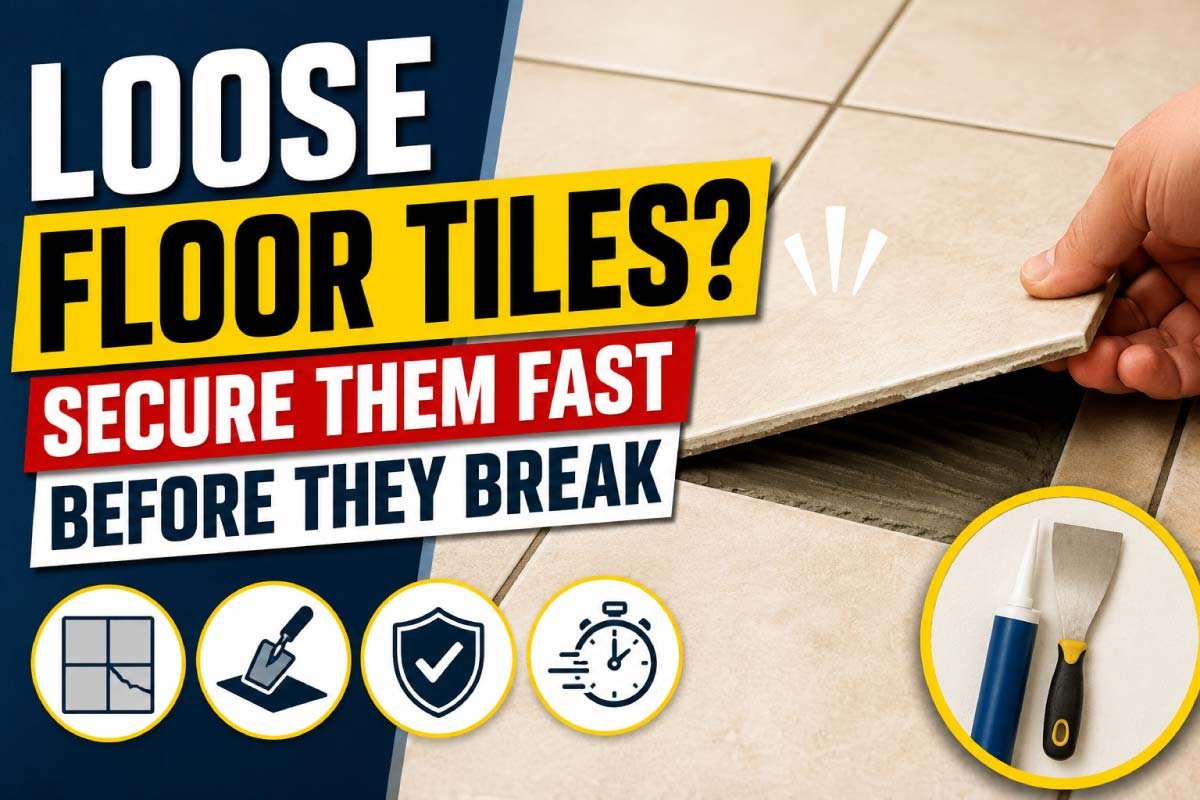
Loose floor tiles are more than just an annoying “click-clack” sound when you walk. They are a warning sign. If ignored, they can crack, break, or even create safety hazards in your home. The good news is that you don’t always need to replace the entire floor. In many cases, you can fix loose tiles quickly and securely with simple tools and the right method.
In this guide, we’ll walk through why tiles become loose, how to fix them step by step, and how to prevent the problem from coming back. Whether your tiles are in the kitchen, bathroom, or hallway, these practical solutions will help you restore a solid, safe floor again.
Why Floor Tiles Become Loose in the First Place
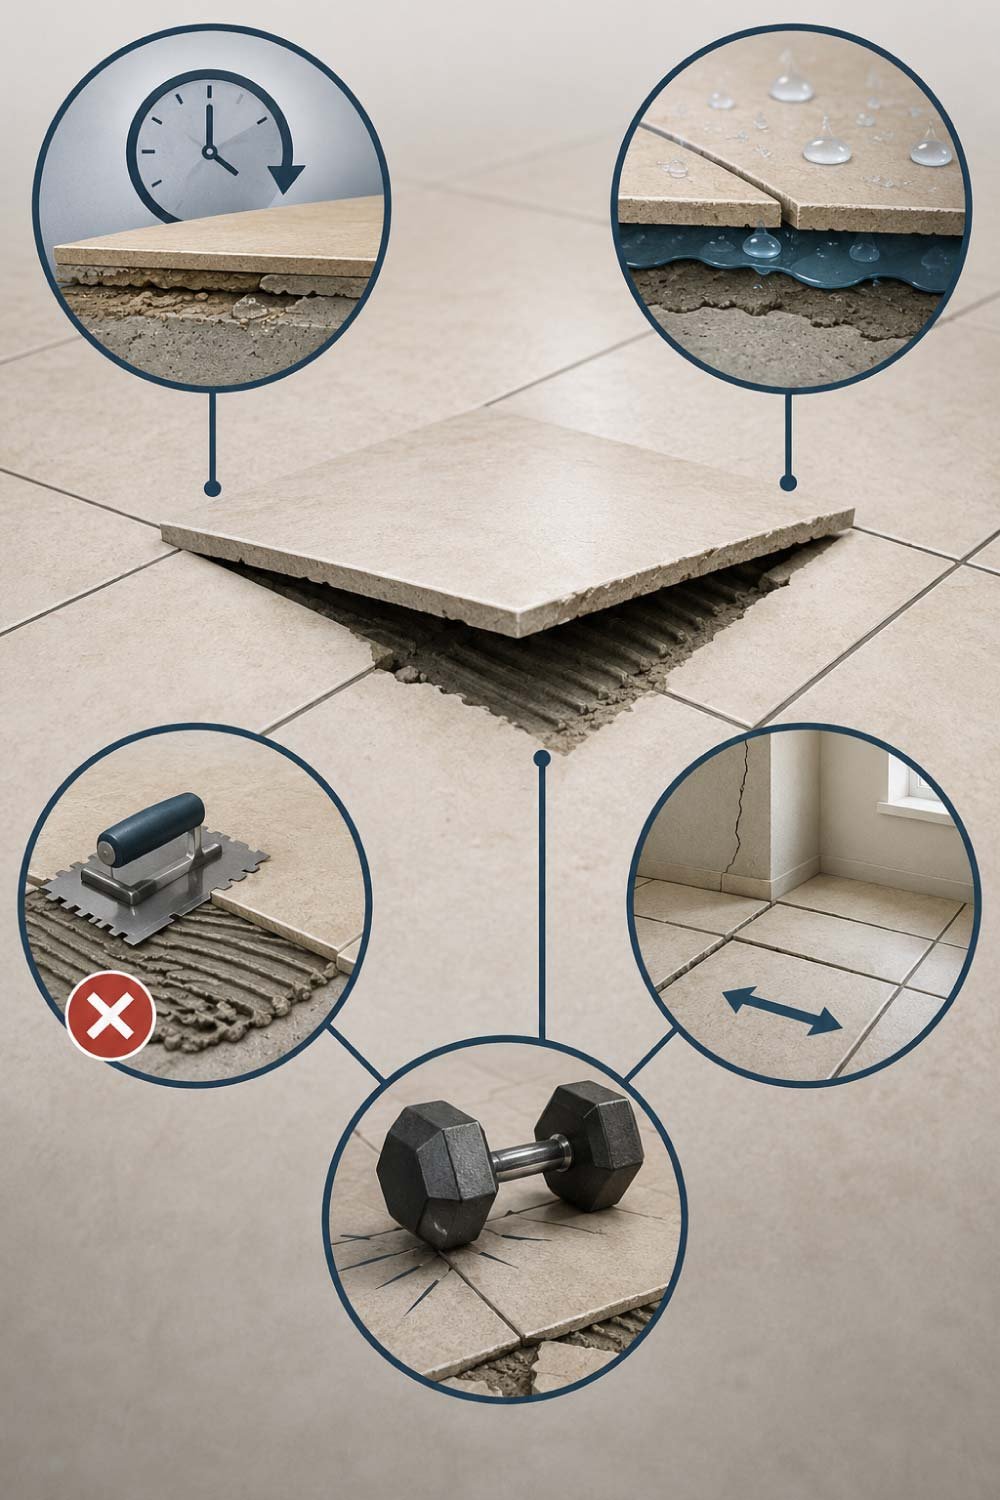
Loose tiles don’t happen overnight—they are usually the result of gradual wear and underlying structural or installation issues. Factors like moisture, poor bonding, and constant pressure slowly weaken the grip between tile and floor, eventually causing movement, hollow sounds, or full detachment that needs timely repair.
- Adhesive strength decreases over time due to aging and environmental exposure
- Moisture seeps beneath tiles and weakens the bonding layer
- Poor installation reduces long-term stability
- Building movement affects tile alignment and grip
- Heavy impact or repeated load stresses specific areas
Understanding them helps you fix the issue properly instead of just temporarily patching it.
1. Weak or Old Adhesive
Tile adhesive does not last forever. With time, exposure to heat, moisture, and continuous foot traffic reduces its bonding strength. Once weakened, it can no longer hold tiles firmly in place, resulting in loosening, hollow spots, or shifting tiles that become noticeable during daily use.
- Adhesive loses strength due to aging
- Heat and humidity break bonding quality
- Continuous walking pressure weakens grip
- Dust and micro-cracks reduce adhesion
- Long-term wear leads to detachment
Over time, the adhesive (tile cement or mortar) under the tiles can lose strength. Heat, moisture, and constant foot traffic slowly break down its grip, causing tiles to detach from the surface beneath.
2. Moisture Seepage
Moisture is one of the most damaging factors for tiled flooring, especially in bathrooms, kitchens, and outdoor areas. When water seeps through grout lines or cracks, it weakens the adhesive layer underneath and creates empty pockets that lead to loosening or complete tile failure over time.
- Water enters through cracked grout lines
- Dampness weakens adhesive bonding
- Mold and mildew can develop underneath
- Hollow spaces form beneath tiles
- Long-term exposure causes detachment
Water is one of the biggest enemies of tiled floors, especially in bathrooms and kitchens. When moisture gets under tiles, it weakens the bonding material and creates hollow spaces underneath.
3. Poor Installation
Improper tile installation is one of the most common hidden causes of future problems. If the adhesive is not evenly applied or the surface is not properly prepared, tiles fail to bond correctly from the beginning, making them prone to loosening within a short time.
- Uneven adhesive spread during installation
- Dirty or unprepared surface reduces grip
- Skipping primer or base treatment
- Insufficient pressure while fixing tiles
- Poor alignment leads to stress points
If tiles were not installed correctly in the first place—such as uneven adhesive application or insufficient coverage—they are more likely to loosen within a few years.
4. Foundation Movement
Buildings naturally shift slightly over time due to temperature changes, soil movement, and structural settling. These small movements create stress on floor tiles. Without proper expansion gaps, this pressure leads to cracking, lifting, or loosening of tiles over time.
- Natural expansion and contraction of structure
- Soil settlement affects flooring stability
- Temperature changes create pressure shifts
- Lack of expansion joints increases stress
- Tiles lift or crack due to movement
Buildings naturally expand and contract due to temperature changes. Small shifts in the foundation can cause tiles to lift or crack, especially if expansion gaps were not properly left.
5. Heavy Impact or Load
Floor tiles are strong, but not immune to sudden impact or constant heavy pressure. Dropping heavy items or placing furniture on weak points can damage the adhesive bond underneath, causing tiles to loosen, crack, or become uneven over time.
- Dropping heavy objects damages bonding layer
- Constant pressure weakens specific areas
- Furniture legs create stress points
- Repeated impact leads to cracks
- Localized damage spreads over time
Dropping heavy objects or placing constant pressure on a small area can weaken tile bonding and eventually cause loosening.
Also Read:
How to Identify Loose Floor Tiles Early
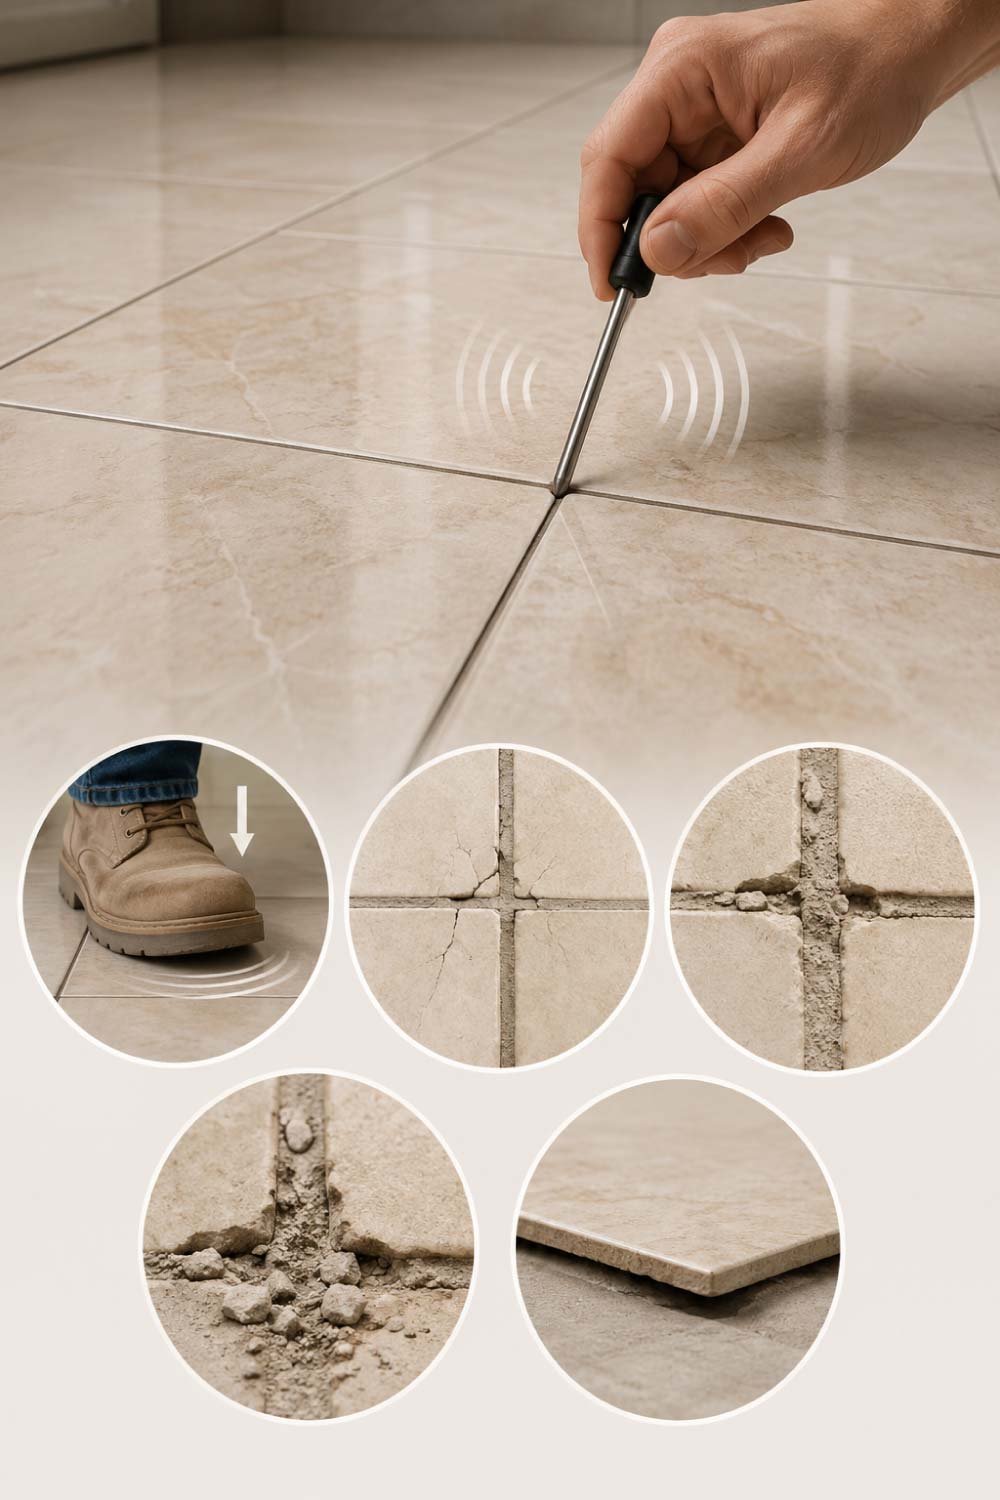
Loose tiles rarely fail without warning. They usually show subtle signs before becoming a bigger problem. Detecting these early helps prevent costly repairs, reduces safety risks, and ensures you can fix the issue before tiles crack or detach completely.
- Hollow sound when tapped lightly
- Slight movement under foot pressure
- Cracks forming in grout lines
- Grout crumbling or falling out
- Edges lifting or uneven surfaces
Before tiles break completely, they usually show warning signs. Catching these early can save you money and effort.
Tools and Materials You’ll Need
Having the right tools ready before starting tile repair makes the process faster, cleaner, and more effective. Most of the materials are basic and easily available, allowing you to fix loose tiles at home without professional help if the damage is not too severe.
- Tile adhesive or thin-set mortar
- Matching grout for finishing
- Putty knife or scraper tool
- Hammer and chisel for removal
- Vacuum or cleaning brush
- Sponge and clean water
- Heavy object or tile weight
Fixing loose tiles doesn’t always require professional help. Most repairs can be done with basic tools:
Also Read:
Step-by-Step Guide to Fix Loose Floor Tiles
Repairing loose tiles is easier when done step-by-step with care and precision. The goal is to restore full bonding between the tile and base surface while ensuring alignment, cleanliness, and proper adhesive coverage for long-lasting results.
- Identify all loose tiles carefully
- Clean surface and remove debris
- Open access for adhesive application
- Apply adhesive evenly underneath
- Press and align tiles properly
Let’s go through a simple and effective method to secure loose tiles before they break.
Step 1: Identify and Mark Loose Tiles
Start by carefully inspecting the floor surface. Tap each tile lightly and listen for hollow sounds, which indicate looseness. Mark all affected tiles clearly so you can repair them systematically without missing any damaged or unstable sections during the process.
- Tap tiles to detect hollow sounds
- Look for movement under pressure
- Mark loose areas with tape or chalk
- Identify surrounding weak tiles too
- Plan repair sequence in advance
Walk over your floor and gently tap each tile using your knuckles or a small tool. A hollow sound usually means the tile is loose. Mark these tiles with tape or chalk so you don’t lose track during repair.
Step 2: Clean the Area Around the Tile
Proper cleaning is essential for strong bonding. Dust, old grout, and debris prevent adhesive from sticking effectively. Removing all loose material ensures that the new adhesive forms a strong and lasting grip between tile and base surface.
- Remove dirt and dust thoroughly
- Scrape out damaged grout lines
- Clear gaps for deeper bonding
- Use brush or vacuum for cleaning
- Ensure dry, clean working surface
Cleanliness is critical for proper bonding. Remove dust, dirt, and old grout from around the loose tile using a scraper or utility knife.
If there are gaps in the grout lines, carefully remove the damaged grout so the adhesive can reach deeper.
Step 3: Create an Entry Point for Adhesive
To restore bonding without full tile removal, a small entry point is needed. This allows adhesive to reach beneath the tile and fill empty spaces, helping it reattach firmly without disturbing surrounding tiles unnecessarily.
- Lift tile edge slightly if possible
- Use grout line as injection point
- Avoid breaking tile if intact
- Ensure space for adhesive flow
- Check access before applying glue
If the tile is still intact but loose, you don’t always need to remove it completely. Instead, gently lift one edge or create a small opening at the grout line where adhesive can be injected.
For severely loose tiles, you may need to remove them entirely.
Also Read:
Step 4: Apply Tile Adhesive Properly
This step determines how strong the repair will be. Even and complete adhesive coverage is essential to avoid future loosening. Careful application ensures there are no empty gaps beneath the tile surface.
- Use high-quality tile adhesive
- Spread evenly under entire tile
- Fill all empty spaces completely
- Avoid uneven or patchy application
- Ensure strong base coverage
Use a high-quality tile adhesive or thin-set mortar. Apply it evenly under the tile using a putty knife or syringe if working through a small gap.
Make sure the adhesive spreads across the entire base, not just one corner. Uneven application is one of the main reasons tiles become loose again.
Step 5: Press and Set the Tile
After applying adhesive, the tile must be pressed firmly back into position. Proper pressure ensures full contact with the base and eliminates air gaps. Alignment is also important to maintain a smooth and even floor surface.
- Press tile firmly into place
- Tap gently with rubber mallet
- Align with surrounding tiles
- Remove excess adhesive immediately
- Let it set under weight
Place the tile back into position and press it firmly. You can gently tap it using a rubber mallet or even your hand to ensure full contact with the adhesive underneath.
Check alignment with surrounding tiles to keep the floor level.
Step 6: Remove Excess Adhesive
After pressing the tile into place, excess adhesive often squeezes out from the edges. Removing it immediately is important to maintain a clean finish and proper grout lines. If left to harden, it becomes difficult to clean and may affect the final appearance of the flooring.
- Wipe adhesive immediately before it dries
- Use a damp sponge for cleaning
- Avoid disturbing tile alignment
- Clean edges carefully for neat finish
- Check all sides for leftover residue
Wipe away any excess adhesive that comes out from the sides before it hardens. A damp sponge works best for this.
Also Read:
Step 7: Let It Cure Properly
Curing is one of the most critical stages in tile repair. The adhesive needs sufficient time to harden and form a strong bond with the surface. Rushing this step can weaken the repair and cause the tile to loosen again in the future.
- Allow 24–48 hours drying time
- Avoid walking on repaired area
- Keep area dry and undisturbed
- Place weight for better bonding
- Ensure full adhesive strength develops
This step is very important. Allow the adhesive to dry for at least 24–48 hours. Avoid walking on the repaired area during this time.
For best results, place a heavy object or weight on the tile to keep it firmly in place while curing.
Step 8: Re-Grout the Joints
Once the adhesive has fully cured, the final step is restoring the grout lines. This not only improves appearance but also protects the edges from moisture and dirt. Proper grouting ensures long-term stability and prevents water from reaching beneath the tiles again.
- Fill gaps using fresh grout mix
- Use rubber float for smooth application
- Press grout firmly into joints
- Clean excess before it hardens
- Let grout dry completely
Once the adhesive is fully dry, refill the grout lines around the tile. Use a rubber float or small tool to push grout into the gaps.
After applying, wipe off excess grout with a damp sponge and let it dry completely.
What to Do If the Tile Is Cracked or Broken
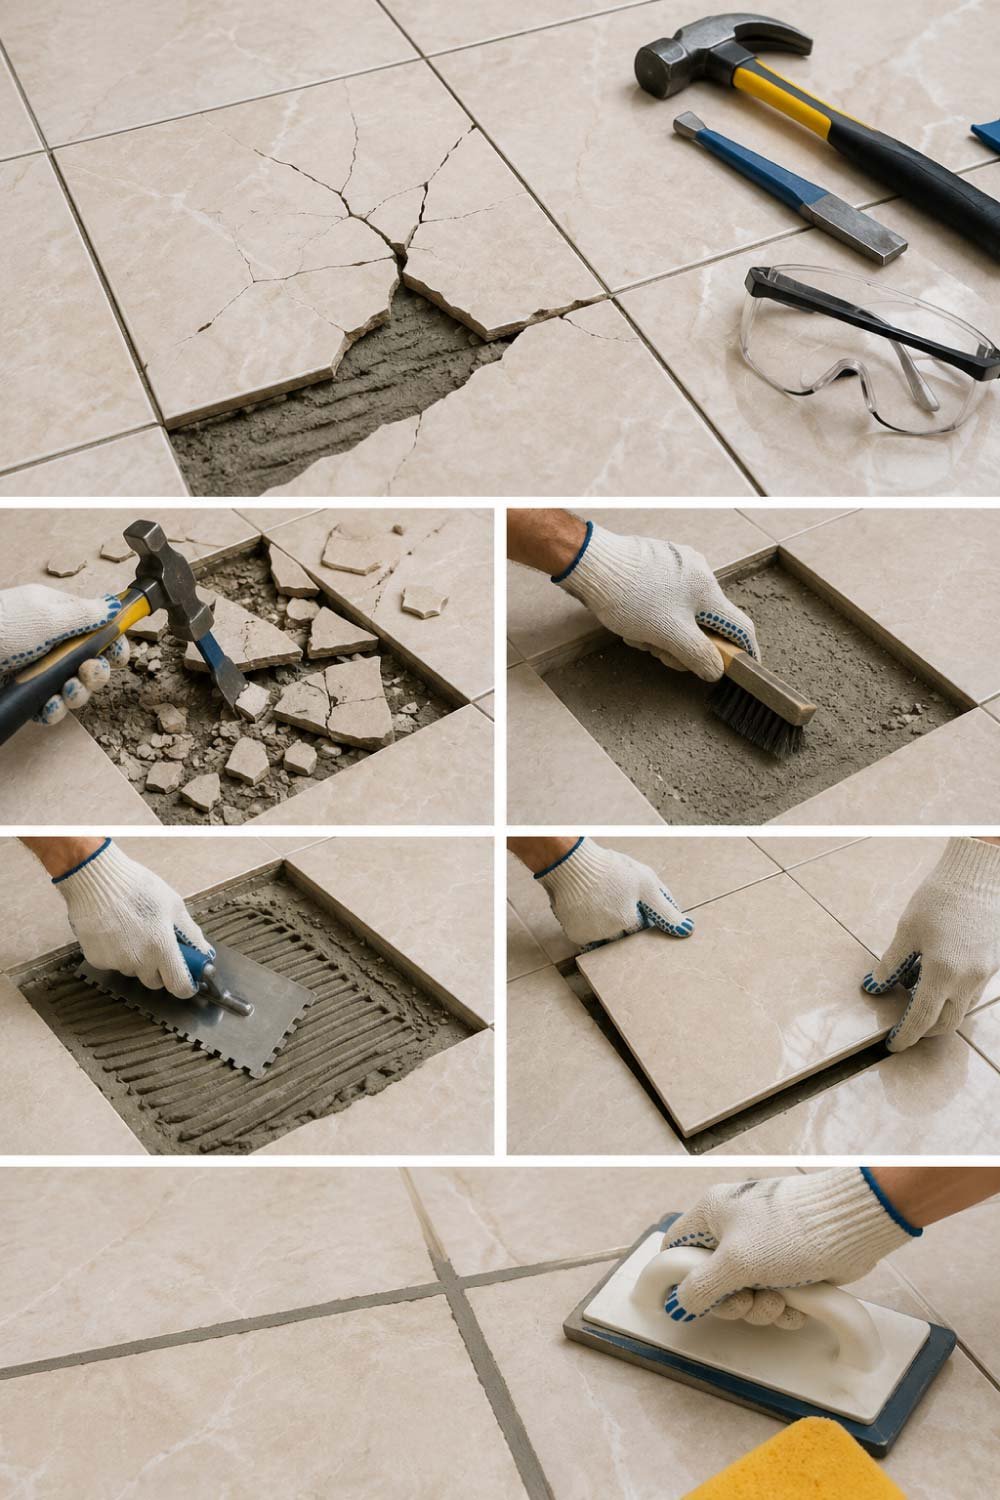
Sometimes tiles don’t just loosen—they crack or break due to pressure or impact. In such cases, re-gluing is not effective. A full replacement is necessary to restore durability, safety, and proper appearance of the flooring.
- Remove damaged tile carefully
- Clean adhesive base completely
- Apply fresh tile adhesive evenly
- Install a matching replacement tile
- Re-grout after full drying
If the tile has already cracked due to looseness, simply re-gluing won’t work. In this case, replacement is the best option.
Carefully break and remove the damaged tile
Clean the surface underneath thoroughly
Apply fresh adhesive
Install a new matching tile
Re-grout after drying
Replacing a single tile is much cheaper than redoing the entire floor.
Preventing Tiles from Becoming Loose Again
After repairing tiles, prevention becomes essential to avoid repeating the same issue. Proper care, maintenance, and installation habits can significantly extend the life of your flooring and keep it strong, stable, and visually appealing for years.
- Keep floors dry and clean regularly
- Use high-quality adhesive during installation
- Avoid heavy impact on tiled areas
- Maintain grout to prevent water seepage
- Inspect flooring periodically for early issues
Fixing tiles is one thing—preventing future damage is even more important.
Keep Floors Dry
Moisture is one of the main reasons tiles weaken over time. Keeping floors dry, especially in kitchens and bathrooms, helps protect the adhesive layer underneath and prevents long-term damage caused by water seepage and damp conditions.
- Wipe spills immediately
- Ensure proper ventilation in wet areas
- Fix leaks quickly to prevent seepage
- Use mats in high-moisture zones
- Keep bathroom floors dry after use
Water damage is a major cause of loose tiles. Clean spills immediately and ensure proper ventilation in wet areas.
Use Quality Adhesive During Installation
The strength of tile flooring depends heavily on the adhesive used during installation. Cheap or low-quality materials may save money initially but often lead to early failures, loosening, and costly repairs in the future.
- Choose professional-grade tile adhesive
- Avoid low-cost weak bonding materials
- Follow proper mixing instructions
- Ensure even application during setup
- Invest in long-term durability
Always use strong, professional-grade tile adhesive instead of cheap alternatives.
Avoid Heavy Impact
Tiles can withstand daily use, but sudden heavy impacts can weaken or crack them. Taking care when moving furniture or handling heavy objects helps prevent unnecessary stress on tiled surfaces and reduces the risk of future loosening.
- Avoid dropping heavy items on tiles
- Use protective pads under furniture
- Move objects carefully across floors
- Distribute weight evenly when possible
- Prevent repeated pressure in one spot
Be careful when moving furniture or dropping heavy items on tiled surfaces.
Maintain Grout Lines
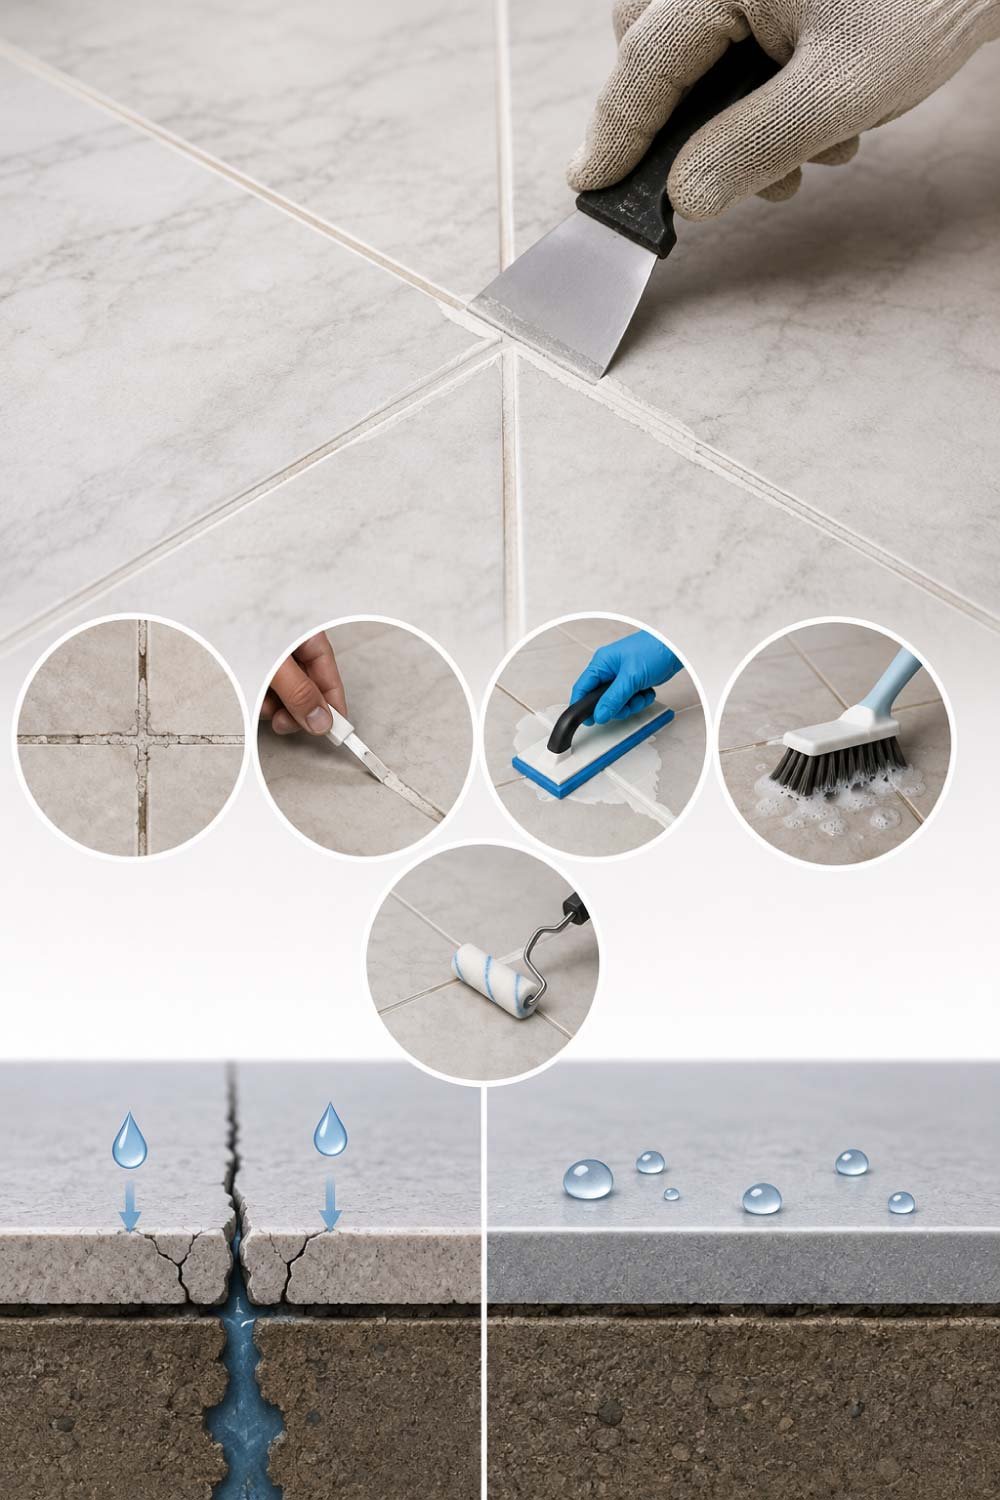
Grout plays a key role in keeping tiles sealed and stable. When grout cracks or erodes, water can easily enter beneath tiles, weakening the adhesive layer. Regular maintenance helps preserve tile strength and prevents future loosening issues.
- Inspect grout for cracks regularly
- Repair damaged sections early
- Use waterproof grout in wet areas
- Clean grout lines to prevent buildup
- Re-seal if necessary over time
Damaged grout allows water to seep underneath tiles. Repair cracks early to avoid bigger problems.
Regular Inspection
Routine inspection of tiled floors helps detect early signs of damage before they become serious. Small issues like hollow sounds or minor movement can be fixed quickly if noticed early, saving time, money, and effort in long-term maintenance.
- Check tiles every few months
- Tap to detect hollow sounds
- Look for movement or lifting edges
- Inspect grout condition regularly
- Address issues immediately when found
Check your flooring every few months for early signs of movement or hollow sounds.
When You Should Call a Professional
While minor tile repairs can be handled at home, some situations require expert attention. Large-scale damage, structural issues, or widespread loosening may indicate deeper problems that need professional assessment and proper repair techniques.
- Multiple loose tiles in large areas
- Uneven or sinking floor surfaces
- Severe water damage underneath tiles
- Unclear structural flooring issues
- Repeated failure after DIY repairs
While DIY fixes work for small issues, there are situations where professional help is better:
Final Thoughts
Loose floor tiles are a common household issue, but they should never be ignored. What starts as a minor movement can quickly turn into broken tiles, tripping hazards, and expensive repairs.
The good news is that with the right approach—cleaning properly, using strong adhesive, and allowing enough curing time—you can fix loose tiles quickly and securely at home. Even better, a little maintenance can prevent the problem from coming back.
A stable, solid floor doesn’t just look better—it also makes your home safer and more comfortable. Taking action early is always the smartest choice.
Post Views: 49