
.

How to Fix and Seal Bathroom Tile Gaps Like a Pro

Bathroom tile gaps are more than just a cosmetic issue. They can allow water to seep behind tiles, cause mold growth, and slowly damage walls or floors. The good news is that sealing these gaps is not difficult, and with the right approach, you can make your bathroom look clean, fresh, and professionally finished again.

This guide walks you through everything step by step—from understanding why tile gaps appear to fixing and sealing them like a pro.

Why Bathroom Tile Gaps Happen in the First Place

Why Bathroom Tile Gaps Happen in the First Place

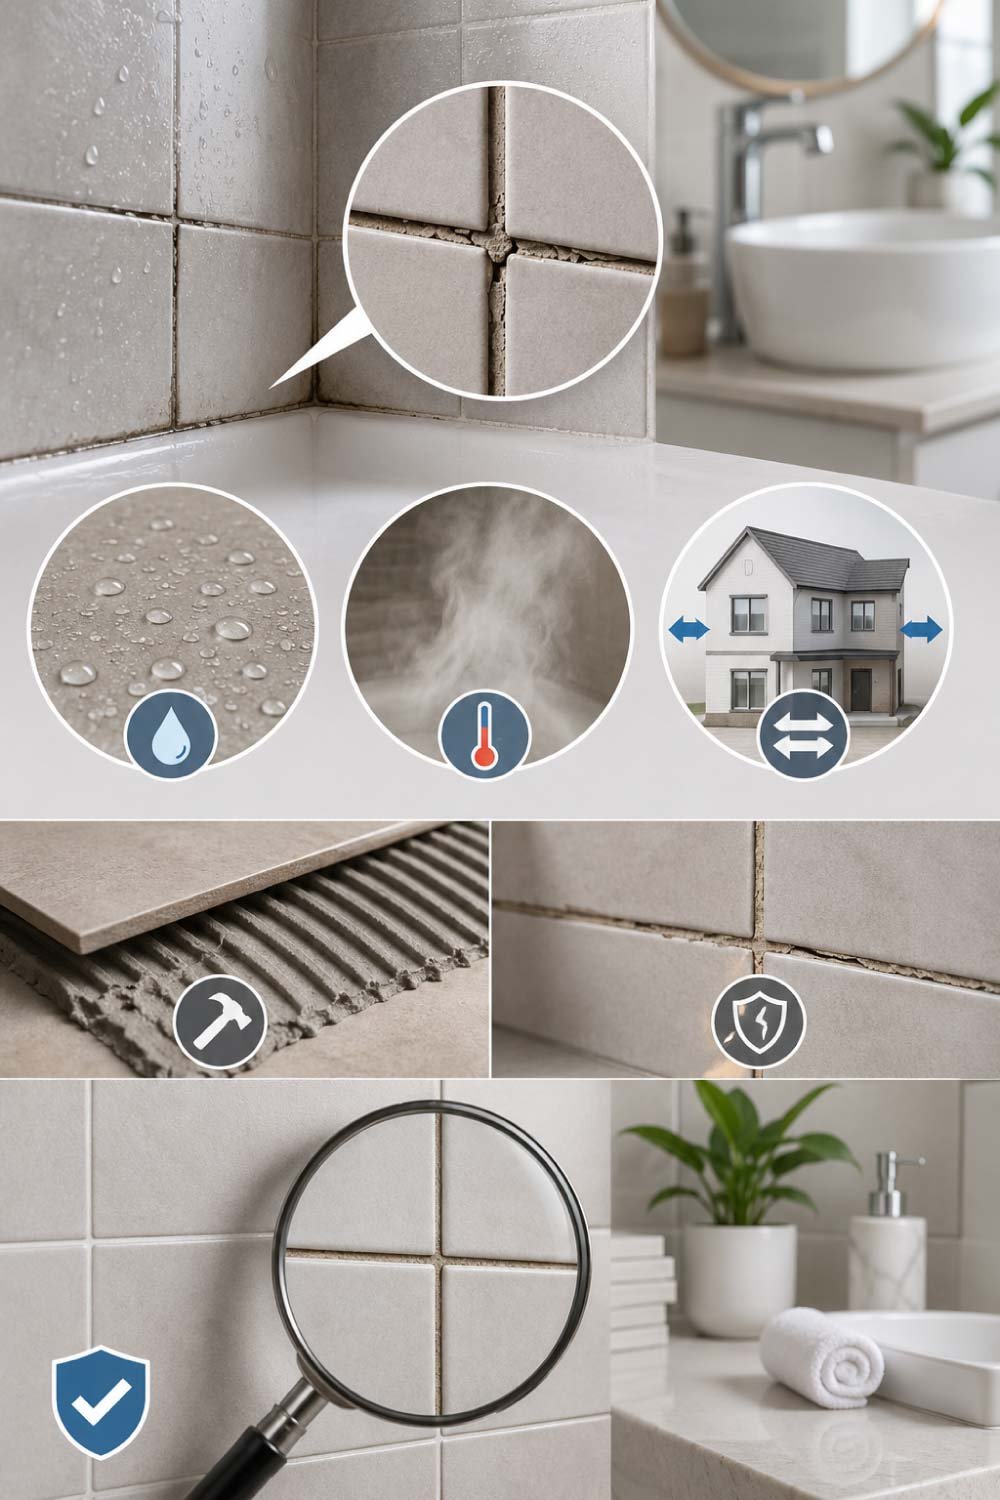
Bathroom tile gaps don’t appear suddenly; they develop gradually over time due to constant exposure to moisture, steam, and temperature changes. These conditions slowly weaken grout and sealants, causing them to shrink, crack, or crumble. Even well-installed tiles can eventually show separation as materials age and lose their original strength.

Another major factor is natural structural movement in the home. Walls and floors expand and contract slightly, especially in humid environments like bathrooms. Poor-quality installation or low-grade grout can speed up this process, leading to earlier and more noticeable gaps.

  • Constant moisture exposure weakens grout over time
  • Steam and temperature changes cause expansion and shrinkage
  • Natural building movement creates small separations
  • Poor installation reduces long-term durability
  • Low-quality materials break down faster in wet areas

Understanding the cause helps you choose the right repair method and prevents the same issue from coming back too soon.


How to Check the Severity of Tile Gaps

Before starting any repair work, it’s important to carefully inspect the tile gaps to understand how serious the damage is. Not every gap requires full re-grouting; some only need sealing or minor touch-ups. A proper assessment helps you avoid unnecessary work and ensures you use the correct fixing method.

Begin by gently running your finger along the grout lines. If the material feels soft, crumbly, or uneven, it indicates deeper deterioration. Stains, mold growth, or visible cracks suggest moisture has already penetrated, while small clean openings usually point to minor wear.

  • Check for crumbling or missing grout pieces
  • Look for black mold or mildew spots
  • Inspect for visible cracks along joints
  • Feel for soft or hollow areas in grout
  • Watch for signs of water seepage

What to Look For:
Loose or missing grout pieces
Black mold or mildew spots
Cracks along tile joints
Hollow or soft areas in grout
Water seepage signs on walls


Tools and Materials You’ll Need

Having the right tools ready before starting your repair makes the entire process smoother and more efficient. Most items are inexpensive and easily available at local hardware stores. Proper preparation also reduces mistakes and helps you achieve a clean, professional-looking finish without unnecessary delays.

Even though tile gap repair doesn’t require advanced skills, using the correct tools ensures durability and better adhesion of new grout or sealant. Basic safety items like gloves and masks also help protect you from dust and chemicals during the process.

  • Grout removal tool or scraper
  • Silicone or tile grout
  • Caulking gun for smooth application
  • Sponge and clean water bucket
  • Protective gloves for safety
  • Dust mask (optional but useful)
  • Clean cloth or towel for wiping

Essential Tools:
Grout removal tool or scraper
Silicone or tile grout
Caulking gun (for sealant)
Sponge and bucket of water
Gloves for hand protection
Mask (optional for dust)
Clean cloth or towel


Step-by-Step: Removing Old or Damaged Grout

Removing old or damaged grout is a crucial step that sets the foundation for a strong and long-lasting repair. If this step is rushed or skipped, new grout or sealant will not bond properly, and the gaps may return quickly. Careful removal ensures a clean surface for fresh application.

Use a grout removal tool to gently scrape out the damaged material. Take your time to avoid scratching or chipping the tiles. Once the loose grout is cleared, clean the entire area thoroughly so no dust or debris remains before applying new material.

  • Scrape out old grout slowly and carefully
  • Avoid damaging tile edges during removal
  • Remove all loose particles completely
  • Vacuum or wipe away fine dust
  • Clean with a damp sponge for finish
  • Let the surface dry fully before proceeding

Steps to Follow:
Scrape out old grout gently
Avoid damaging tile edges
Remove all loose particles
Vacuum or wipe dust away
Clean surface with damp sponge
Let the area dry completely


Applying New Grout Like a Pro

Once the surface is clean and dry, applying new grout restores both strength and appearance to your bathroom tiles. This step not only fills gaps but also helps protect the area from future moisture damage. Choosing the right color can also make your tiles look fresh and uniform.

Apply grout using a rubber float or your finger for smaller gaps, pressing it firmly into the joints to eliminate air pockets. Wipe away excess grout before it hardens, as dried residue becomes much harder to remove and can affect the final finish.

  • Work in small sections for better control
  • Press grout firmly into all gaps
  • Remove extra material quickly before drying
  • Keep sponge slightly damp for cleaning
  • Avoid adding too much water
  • Allow proper curing time for durability

Pro Tips:
Work in small sections
Press grout deeply into gaps
Remove excess quickly
Keep sponge slightly damp
Avoid over-watering grout
Allow proper curing time

Also Read:


Sealing Tile Gaps with Silicone for Waterproof Protection

Grout is strong, but it is not fully waterproof, especially in areas that are constantly exposed to water like showers, tubs, and sink edges. That’s where silicone sealant becomes essential. It acts as a flexible waterproof layer that prevents moisture from seeping into corners and joints where tiles meet different surfaces.

To apply it properly, use a caulking gun and run a smooth, continuous bead along the gap. Then immediately smooth it with a wet finger or finishing tool to ensure even coverage. Silicone is flexible, so it moves with the surface and reduces the risk of future cracking or separation.

  • Use high-quality waterproof bathroom silicone
  • Apply in one continuous, even line
  • Smooth immediately for a clean, sealed finish
  • Ensure there are no breaks or gaps in application
  • Allow full curing time before water exposure

Best Practices:
Use waterproof bathroom silicone
Apply in a continuous line
Smooth immediately for clean finish
Avoid gaps or breaks in sealing
Let it cure fully before water exposure


Preventing Mold and Moisture Build-Up

After repairing tile gaps, maintenance becomes the key factor in keeping your bathroom clean and long-lasting. Moisture is the main reason grout weakens and mold develops, so controlling humidity is essential for protecting your repair work and maintaining a fresh, hygienic space.

Good airflow plays a major role in prevention. Using an exhaust fan or opening windows after showers helps reduce trapped moisture. Regular cleaning also stops mold from forming and keeps grout lines strong and visually clean over time.

  • Run exhaust fan after every shower
  • Wipe down wet surfaces regularly
  • Clean grout weekly using mild cleaners
  • Avoid harsh chemicals that damage sealant
  • Repair small leaks immediately
  • Keep bathroom as dry as possible

Prevention Tips:
Use exhaust fan after bathing
Wipe wet surfaces regularly
Clean grout weekly with mild solution
Avoid harsh chemicals
Fix leaks immediately
Keep bathroom dry when possible


Common Mistakes to Avoid During Repair

Even simple tile gap repairs can fail if common mistakes are made during the process. Most problems happen when steps are rushed or skipped, leading to weak bonding, uneven finishing, or early damage. Paying attention to detail ensures a longer-lasting and more professional result.

One major mistake is applying new grout over old, damaged material without proper removal. Another is not allowing enough curing time before using the bathroom again. Using the wrong type of sealant can also reduce durability and allow moisture to return quickly.

  • Never skip removing old damaged grout
  • Avoid using incorrect sealant or grout type
  • Do not apply on damp or wet surfaces
  • Allow proper drying and curing time
  • Avoid overfilling gaps with excess material
  • Do not ignore small cracks or weak spots

Mistakes to Avoid:
Skipping old grout removal
Using incorrect sealant type
Applying on wet surfaces
Rushing drying time
Overfilling gaps
Ignoring small cracks

Also Read:


When to Call a Professional

Most bathroom tile gap repairs can be handled as DIY projects, but some situations require professional expertise. When the damage becomes extensive or starts affecting structural stability, expert help ensures the problem is properly diagnosed and fixed without causing further complications.

Professionals also have the tools to detect hidden moisture or water damage behind tiles, which is often not visible from the surface. If tiles start loosening or walls feel soft, it may indicate deeper issues that need immediate attention.

  • Large areas of tile damage or failure
  • Loose or falling tiles from walls or floors
  • Signs of spreading water damage
  • Persistent mold returning after cleaning
  • Visible structural cracks in surfaces
  • DIY repairs not solving the issue

Call a Professional If:
Large areas are damaged
Tiles are loose or falling
Water damage is spreading
Mold keeps returning
Structural cracks appear
DIY fixes don’t work


Final Thoughts

Bathroom tile gaps may look like a small issue, but they can lead to serious damage if ignored. The good news is that with basic tools and the right approach, you can fix and seal them effectively at home. Regular maintenance, proper sealing, and moisture control will keep your bathroom looking clean and protected for years.

Taking time to repair tile gaps properly not only improves appearance but also strengthens your bathroom’s durability. With this guide, you now have everything you need to handle the job like a pro.

Also Read:

Leave a Comment