
A bedroom door that sticks, squeaks, won’t latch, or swings open on its own is more than a minor annoyance — it chips away at your comfort and privacy every single day.
The good news is that nearly every bedroom door problem has a straightforward fix, and most of them require nothing more than basic tools and an hour or two of your time.
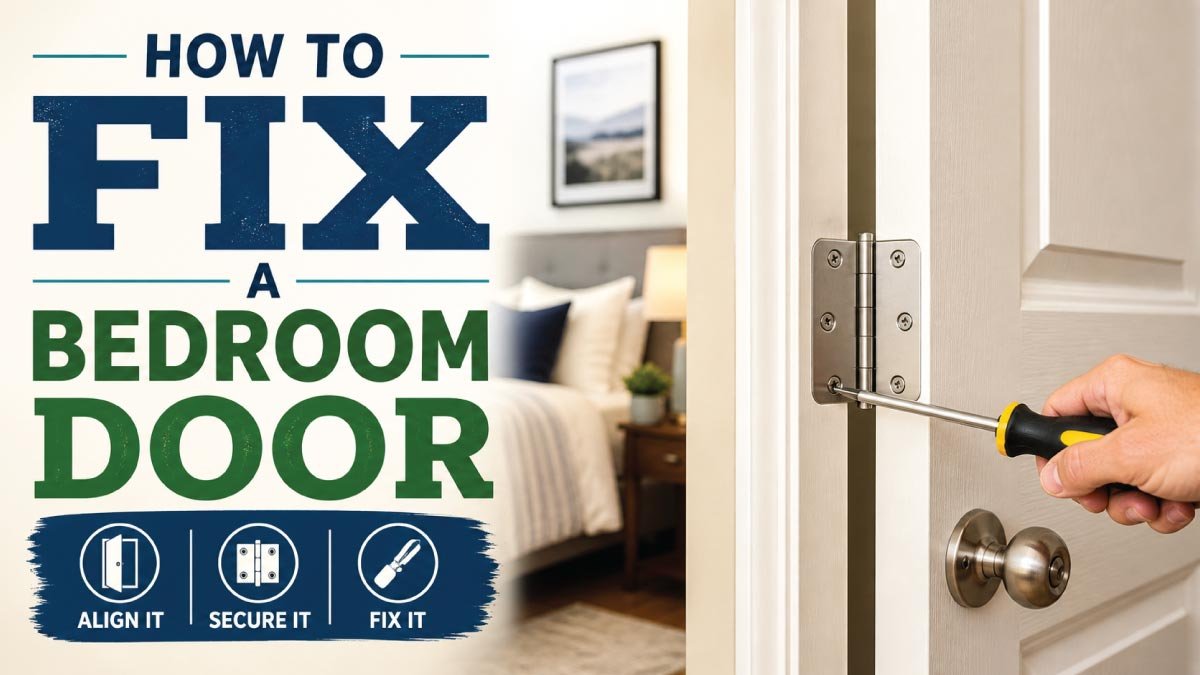
Whether your door is dragging across the floor, refusing to stay shut, or making sounds like a haunted house, this guide walks you through every common issue and exactly how to solve it.
Understanding Your Bedroom Door Before You Start
Before picking up a screwdriver, take five minutes to diagnose the actual problem. Many door issues share similar symptoms but have very different causes. A door that won’t close, for instance, might be caused by a sagging hinge, a swollen frame, a warped door, or a misaligned strike plate and each of those has a different fix.
The diagnostic checklist:
- Open and close the door slowly, watching where it binds or drags
- Check whether the latch lines up with the strike plate
- Look at the hinges — are any screws loose or missing?
- Look at the gap around the door frame (top, sides, and bottom) — is it even?
- Place a level against the door to see if it’s plumb
- Check if the problem is seasonal (humidity causes wood to swell in summer and shrink in winter)
Once you know the root cause, you can go straight to the right section below.
Tools and Materials You’ll Likely Need
Most bedroom door repairs require only basic tools. Having these on hand before you start will save you multiple trips to the hardware store.
Tools:
- Flathead and Phillips screwdrivers (or a drill with bits)
- Hammer
- Utility knife or chisel
- Sandpaper (80-grit and 120-grit)
- Wood plane or belt sander
- Level
- Pencil
- Tape measure
Materials:
- Replacement screws (longer ones, 2.5–3 inches)
- Wood filler or matchsticks/toothpicks
- Door shims
- Lubricant (WD-40, petroleum jelly, or silicone spray)
- Cardboard or thin metal shimming material
- Paint or wood stain (for finishing after sanding or planing)
Fix 1: Squeaky Hinges
This is the most common and easiest bedroom door problem to solve. Squeaking almost always means the hinge needs lubrication — the metal-on-metal contact creates friction, especially as the lubricant from the factory dries out over years of use.
Step-by-step fix:
- Open the door to a 90-degree angle so you have access to the full hinge.
- Apply lubricant directly to the hinge pin — the cylindrical rod that runs through the middle of the hinge. Petroleum jelly (Vaseline) works excellently because it’s thick and stays put. Silicone spray or WD-40 also work.
- Move the door back and forth several times to work the lubricant into the pin.
- Wipe away any drips with a cloth.
If the squeak persists, tap out the hinge pin by placing a nail or thin screwdriver underneath it and tapping upward with a hammer. Rub the pin thoroughly with petroleum jelly, then reinsert it. This direct contact with the lubricant usually silences even the most stubborn squeak permanently.
Pro tip: If you’re in the middle of the night and can’t find lubricant, a bar of soap or even a wax candle rubbed on the hinge pin will silence the squeak immediately.
Fix 2: Loose Hinges
Loose hinges are the root cause of many other door problems — a sagging door, a door that doesn’t latch, a door that drags on the floor. The screws simply strip out of the wood over time, especially if the door has been slammed repeatedly.
The matchstick method (for mildly stripped holes):
- Remove the door from the frame by tapping out the hinge pins (start with the bottom hinge and work upward).
- Unscrew the hinge from the door frame.
- Dip wooden toothpicks or matchsticks in wood glue and push them into the stripped screw holes. Pack them in tightly and snap off the excess flush with the wood surface.
- Let the glue dry for at least one hour (overnight is better).
- Reattach the hinge — the screws will now bite into the wood again.
The longer screw method (for badly stripped holes):
If the holes are very stripped, skip the toothpick repair and simply replace the original short screws (usually 3/4 inch) with 2.5-inch or 3-inch screws. These longer screws bypass the stripped area entirely and anchor into the wall stud behind the door frame. This is actually one of the strongest and most permanent fixes available — many professional carpenters use this as a first resort, not a last one.
Fix 3: Door That Won’t Latch or Stay Closed
If you push the door shut and the latch doesn’t catch — or you have to lift the door slightly to get it to latch — the problem is almost always a misaligned strike plate. The strike plate is the metal piece on the door frame that the latch clicks into.
How to diagnose alignment:
Apply lipstick or chalk to the end of the latch bolt, then close the door slowly. When you open it, you’ll see a mark on the strike plate (or the surrounding wood) showing exactly where the latch is hitting.
If the latch is slightly high or low (less than 1/4 inch off):
- Remove the strike plate.
- Use a chisel to extend the mortise (the rectangular recess) in the direction needed.
- Reposition and reinstall the strike plate in its new location.
- Fill any exposed wood or gap with wood filler and touch up with paint.
If the door is close but just won’t fully catch:
Sometimes the strike plate simply needs to be filed out slightly. Use a metal file to enlarge the opening of the strike plate hole in the direction the latch needs to go. This is a five-minute fix.
If the latch won’t retract fully:
The latch mechanism inside the door handle may be worn or dirty. Spray a small amount of silicone lubricant into the latch bolt area and work the handle several times. If this doesn’t help, the door handle mechanism likely needs replacement — a straightforward job covered in Fix 7 below.
Fix 4: Door That Sticks or Binds
A door that sticks is almost always caused by one of three things: swollen wood (seasonal), a sagging hinge pulling the door out of square, or paint buildup around the edges.
First, check the hinges. Tighten all hinge screws before assuming the door itself is the problem. A loose hinge can cause the door to sit crooked and bind at the top corner opposite the hinges.
For paint buildup:
Over years of repainting, the gap between a door and its frame fills with paint. Run a utility knife along the edge of the door where it contacts the frame to cut through the paint seal. This alone often solves the sticking.
For swollen wood (seasonal sticking):
If the door sticks only in summer or during humid periods, the wood is absorbing moisture and expanding. You have two options:
- Wait — the door may return to normal when humidity drops.
- Sand or plane the door edge where it’s binding. Before doing this, mark the binding spot with a pencil while the door is closed (slide the pencil along the frame to mark where contact is happening), then remove the door and sand or plane that area.
For sanding or planing:
- Remove the door from its hinges (tap out the pins starting from the bottom).
- Identify the binding area from your pencil marks.
- Use 80-grit sandpaper or a hand plane to remove material gradually — work slowly and check the fit frequently.
- Once the door swings freely with a consistent gap, sand smooth with 120-grit, prime, and repaint the sanded edge to seal it against future moisture absorption.
Fix 5: Door That Swings Open or Closed on Its Own
A door that slowly creeps open or drifts shut by itself is almost always a hinge alignment problem — the door frame is slightly out of plumb, which means gravity is doing the work. This is extremely common in older homes where the structure has settled.
The hinge-bending trick (for slight drift):
- Find which hinge is causing the issue (usually the top one for a door that swings open).
- Remove the hinge pin.
- Place the pin on a hard surface and give it a very slight bend — just a few millimeters — with a hammer.
- Reinsert the pin. The slight tension will hold the door in place.
The cardboard shim method (for more significant lean):
- Remove the door from its hinges.
- Unscrew one hinge leaf from the door frame (usually the top hinge for a door that swings open, bottom for a door that swings closed).
- Cut a piece of thin cardboard to match the hinge leaf size.
- Place the cardboard behind the hinge leaf before reattaching it. This shifts the door’s angle slightly.
- Test the door. Add more layers of cardboard if needed until the door stays put.
Fix 6: Door That Drags on the Floor
A door dragging on the floor is both annoying and damaging — it will eventually wear down the door’s bottom edge and scratch the flooring. Common causes include a sagging hinge, a home that has settled, or flooring that was added (like a new carpet or tile) after the door was installed.
Fix the hinges first. Tighten all hinge screws. If the top hinge is loose, the door will sag and the bottom will drag. In many cases, simply replacing short hinge screws with longer ones (2.5–3 inches) fixes a dragging door completely.
If the door has settled beyond what hinge adjustment can fix:
You’ll need to plane or sand the bottom of the door.
- Mark the high spot by sliding a piece of paper under the door to find where it’s dragging.
- Remove the door from the hinges.
- Plane or sand the bottom edge where it’s dragging — work gradually.
- Rehang the door and test repeatedly before removing more material.
- Seal the bottom edge with paint or wood sealer to prevent moisture from wicking up.
If new flooring is the cause:
Consider replacing the door’s hinges with adjustable hinges, which allow you to raise or lower the door without removing material. These are sold at any hardware store and are designed exactly for this situation.
Fix 7: Replacing a Broken Door Handle or Latch
A handle that spins without engaging the latch, a handle that’s loose, or a latch that sticks — these all mean it’s time to replace the handle mechanism. The good news: most bedroom door handles are standardized and replacing one is a 20-minute job.
Step-by-step:
- Remove the two screws on the interior rose plate (the round piece surrounding the handle on the indoor side). Pull the handles off both sides — they should slide out.
- Remove the latch plate from the edge of the door (two screws). Slide the latch mechanism out.
- Take the old latch assembly to a hardware store to match the bore size (the hole diameter in the door — typically 2 1/8 inches) and backset (distance from the door edge to the center of the hole — typically 2 3/8 or 2 3/4 inches).
- Slide the new latch mechanism in, screw the plate to the door edge.
- Insert the exterior handle, then the interior handle, and secure with the provided screws.
- Test both handles and the latch action before closing the door.
Fix 8: Gaps Around the Door (Drafts, Light, or Noise)
A bedroom door with visible gaps lets in light, sound, and cold drafts. The fix depends on which edge has the gap.
For gaps on the hinge side: The door needs to move toward the hinge side. Add a cardboard shim behind the strike-side hinge to push the door in that direction.
For gaps on the strike side: Add a cardboard shim behind one of the hinge-side hinges.
For gaps at the top or bottom: Install door weather stripping. This comes in adhesive foam, rubber, or vinyl V-strip styles. Clean the frame surface, peel and stick it in place. For the bottom, install a door sweep — a strip of rubber or bristles attached to the bottom of the door that seals the gap against the floor.
Preventing Future Door Problems
Once your bedroom door is working properly, a little maintenance goes a long way.
Lubricate hinges annually with petroleum jelly or silicone spray. Don’t wait for a squeak — this prevents both noise and wear.
Check hinge screws every year and tighten any that have worked loose.
Paint door edges whenever you paint a room. Bare wood on the top and bottom of a door absorbs moisture and leads to swelling and sticking.
Don’t slam doors. Repeated slamming strips hinge screws faster than anything else.
Control indoor humidity if you live in a humid climate. A dehumidifier or air conditioning keeps wood dimensions stable year-round and prevents seasonal sticking.
When to Call a Professional
Most bedroom door problems are genuinely DIY-friendly, but a few situations warrant professional help:
- The door frame itself is warped, cracked, or has shifted significantly due to structural settling
- The door is hollow-core and has a large hole or crack that needs filling (replacement is often cheaper than repair)
- The door frame has rotted wood (common in older homes with moisture problems)
- You’ve adjusted hinges and planed the door but it still won’t hang properly — this may indicate a larger structural issue with the wall
In these cases, a carpenter or general contractor can assess the situation quickly and let you know whether repair or full replacement makes more sense.
Final Thoughts
A well-functioning bedroom door is something you only notice when it doesn’t work — and a door that sticks, squeaks, or won’t latch properly becomes a daily frustration faster than you’d expect. The repairs covered in this guide address virtually every common bedroom door problem, and most of them require no special skills, just patience and the right approach.
Start with the simplest possible fix (tightening screws, lubricating hinges) before moving to more involved solutions. Work methodically, test after every adjustment, and resist the urge to remove too much material when planing or sanding — you can always take more off, but you can’t put it back.
With a few hours and basic tools, your bedroom door can feel as solid and smooth as the day it was installed.