
The door frame is the unsung foundation of every bedroom door. When it works perfectly, you never think about it. When it does not, when the frame is cracked, warped, split near the strike plate, or damaged from a forced entry — suddenly nothing works right. The door sticks, the latch won’t catch, drafts creep through the gaps, and the whole entryway looks shabby no matter how nice the door itself is.
Door frame repairs intimidate a lot of homeowners because the frame feels structural and permanent. In reality, most bedroom door frame problems are surface-level fixes that require basic tools, a few inexpensive materials, and a methodical approach.
This guide walks you through every common bedroom door frame problem, from minor cosmetic cracks to split frames, damaged strike plate areas, rotted wood, and full frame replacement — with clear, step-by-step instructions for each.
Understanding Your Bedroom Door Frame
A standard bedroom door frame has three main components:
The jamb: The vertical side pieces of the frame that the door hangs on. There are two jambs, the hinge jamb (where the hinges are mounted) and the strike jamb (where the strike plate and latch catch sit).
The head jamb: The horizontal piece across the top of the door opening, connecting the two vertical jambs.
The casing (trim): The decorative molding that covers the gap between the door jamb and the wall surface on both sides of the opening. This is the visible trim you see when you look at a door from the room.
The jamb assembly sits inside the rough opening in the wall (the structural framing), shimmed and nailed into place so it’s perfectly plumb, level, and square. The casing is then nailed over the gap to create a clean, finished appearance.
Understanding which part is damaged tells you exactly what kind of repair you’re dealing with.
Tools and Materials You will Need
For cosmetic and minor repairs:
- Putty knife
- Wood filler or spackling compound
- Sandpaper (80-grit, 120-grit, 220-grit)
- Primer and paint
- Utility knife
- Caulk and caulk gun
For structural repairs:
- Hammer and pry bar
- Drill and screwdriver bits
- Chisel
- Handsaw or circular saw
- Level (48-inch preferred)
- Wood shims
- 3-inch wood screws
- Construction adhesive
- Replacement lumber (same dimensions as existing jamb)
- Replacement casing/trim (match existing profile)
- Finishing nails and nail gun (or hammer)
- Wood glue
For strike plate area repairs:
- Longer screws (3-inch)
- Wood filler or epoxy wood filler
- Chisel
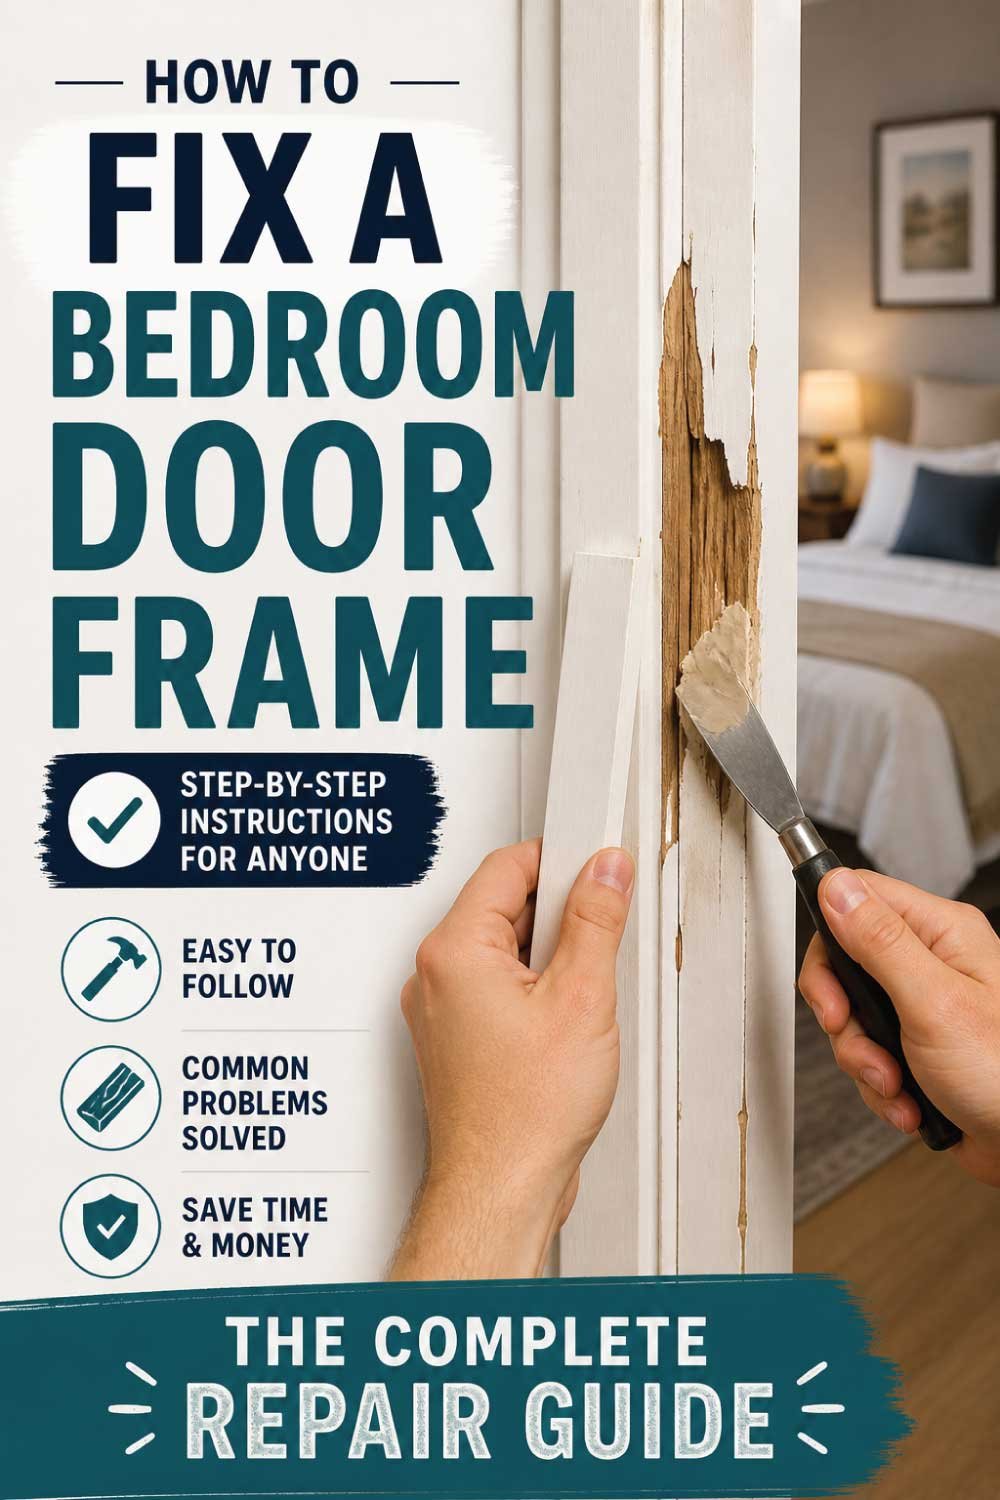
Fix 1: Cracks and Dents in the Door Frame
Hairline cracks, small dents, and minor surface damage to a door frame are purely cosmetic and among the simplest home repairs you can do. These often appear as painted-over cracks along the length of the jamb or casing, or small gouges from furniture or doorknob impacts.
Step 1: Prepare the Damaged Area
Use a utility knife to widen any hairline cracks slightly, running the blade along the crack opens it up enough for filler to penetrate and bond properly. A crack that’s painted over but not filled will reappear through fresh paint within months.
Remove any loose material, flaking paint, or splinters from dents and gouges.
Step 2: Apply Wood Filler
Press wood filler firmly into cracks, dents, and gouges with a putty knife. Overfill slightly — wood filler shrinks as it dries, and a small mound above the surface sands flush more easily than a sunken patch that needs a second coat.
For cracks longer than a few inches, apply the filler in sections and work it into the crack thoroughly rather than spreading it across the surface.
Step 3: Let Dry and Sand
Allow the filler to dry completely per the manufacturer’s instructions, typically 2–6 hours for standard wood filler. Sand with 120-grit sandpaper to level the repair, then finish with 220-grit for a smooth, paint-ready surface. A sanding block keeps the surface flat and prevents rounding the edges of molding profiles.
Step 4: Caulk the Gaps
While you have painting supplies out, run a bead of paintable latex caulk along the joint where the door casing meets the wall. This gap is almost always present to some degree and is a common source of drafts and an unfinished appearance. Smooth the caulk bead with a wet fingertip and let it dry before painting.
Step 5: Prime and Paint
Apply one coat of primer over all repaired areas, let dry, then apply two thin coats of trim paint to match the existing finish. Painting the full length of the casing (rather than just the repaired spot) gives the most seamless result.
Also Read:
How to Fix a Bedroom Door: The Complete Guide to Every Common Problem
Fix 2: Split or Cracked Frame Near the Strike Plate
This is one of the most common serious door frame problems, and it typically happens one of two ways: the door was kicked in or forced open, or the strike plate screws have pulled through the wood over years of use. The wood around the strike plate area splits, leaving the latch with nothing solid to catch against and the door feeling loose and insecure.
Assessing the Damage
Check the severity of the split. If the wood is cracked but still largely in place, a repair with wood glue and longer screws may be all that’s needed. If sections of the jamb have broken away or the wood has shattered, a partial or full jamb replacement is necessary.
Repairing a Cracked Strike Area (Wood Still Intact)
- Open the crack up. Use a thin putty knife to gently work the split open enough to get glue inside. Don’t force it further — just open the existing crack.
- Apply wood glue. Work wood glue into the crack thoroughly with the putty knife or a thin strip of wood. Get glue into the entire length and depth of the crack.
- Clamp or tape closed. Use clamps if possible, or wrap the area tightly with masking tape to hold the crack closed while the glue sets. Let it cure for at least 2 hours, preferably overnight.
- Reinforce with longer screws. Remove the existing strike plate screws — these are typically only 3/4-inch screws that anchor into the door jamb only. Replace them with 3-inch screws that drive through the jamb and into the structural wall stud behind it. This makes the strike plate dramatically more secure — these long screws are what security professionals recommend to make any door more kick-resistant.
- Fill and refinish. Fill any remaining cracks or gaps with wood filler, sand smooth, prime, and paint.
Repairing a Shattered Strike Area (Wood Broken Away)
If pieces of wood have broken off entirely, the area needs to be rebuilt before the strike plate can function again.
- Remove the strike plate and all loose, broken wood fragments from the area.
- Fill the void with two-part epoxy wood filler (sold at hardware stores). This product hardens to the strength and workability of real wood — it can be drilled, chiseled, and sanded. Pack it firmly into the damaged area, slightly overfilling.
- Let it cure fully (typically 1–2 hours for full hardness).
- Chisel and sand the epoxy flush with the surrounding surface.
- Reposition the strike plate (you may need to adjust its position slightly if the damage changed the geometry), mark the new screw holes, pre-drill, and install with 3-inch screws into the stud.
- Fill, sand, prime, and paint.
Fix 3: Warped or Twisted Door Frame
A door frame that has warped or twisted out of square is a more involved problem because it affects the door’s entire operation — the door won’t hang evenly, will bind in the opening, and the gap around it will be uneven. Warping is caused by moisture infiltration, seasonal wood movement in older homes, or structural settlement.
Diagnosing a Warped Frame
Hold a long straightedge or level against the face of the door jamb. Any bow or twist in the jamb will be visible. Also check with the level held against the side of the jamb — the jamb should be perfectly plumb (perfectly vertical). Check both jambs and the head jamb.
A minor warp (under 1/4 inch) may be liveable with door hinge adjustments. A significant warp means the jamb needs to come out and be reinstalled correctly.
Fixing a Minor Warp
For a jamb that bows slightly inward at the middle:
- Locate the shims behind the jamb at the point of the bow. These are accessible by removing the casing trim carefully with a pry bar.
- Drive a screw through the jamb at the bow point, pulling it back toward the rough framing. Add a shim if there’s a gap.
- Fill the screw hole, reinstall the casing, caulk, and paint.
Fixing a Significant Warp (Jamb Replacement)
For severe warping, the jamb section needs replacement. This process is covered fully in Fix 6 (Partial or Full Frame Replacement) below.
Also Read:
Fix 4: Rotted Door Frame
Wood rot in a bedroom door frame is a serious issue that must be addressed completely — rot spreads and weakens the surrounding structure if left alone. It’s most common at the bottom of door frames where moisture from the floor, cleaning, or exterior-adjacent walls accumulates.
Assessing the Rot
Probe the suspected area with a screwdriver or awl. Healthy wood resists penetration; rotted wood is soft and spongy and the tool sinks in easily. Determine how far the rot extends — sometimes it’s only surface-deep, but often it goes deeper into the jamb and may extend into the rough framing behind it.
Treating Surface Rot (Less Than 1 Inch Deep)
- Use a chisel or oscillating tool to remove all soft, rotted wood. Don’t leave any compromised material — rot is caused by fungus and any remaining infected wood will continue to spread.
- Treat the cleaned area with a liquid wood hardener (available at hardware stores). This penetrates the remaining wood, kills the fungus, and consolidates soft fibers back into a workable surface. Let it dry fully.
- Fill the void with exterior-grade epoxy wood filler or two-part wood repair epoxy. These are waterproof and won’t support future rot growth. Shape it to match the surrounding profile.
- Once cured, sand, prime with a stain-blocking primer, and paint. Seal all edges and joints with caulk to prevent future moisture infiltration.
Replacing Deeply Rotted Sections
If the rot extends through the full thickness of the jamb or into the rough framing:
- The affected section of jamb must be removed and replaced entirely (see Fix 6).
- Inspect the rough framing behind it. If the structural stud or sill plate is rotted, this becomes a more significant structural repair — consider consulting a contractor if the rot has spread into the wall framing.
- Before installing replacement wood, treat the surrounding area with wood hardener and allow it to dry.
- Use rot-resistant lumber (such as cedar or pressure-treated wood) for the replacement section.
- Seal all surfaces before installation to prevent future moisture penetration.
Fix 5: Loose or Damaged Door Frame Casing (Trim)
The door casing, the decorative trim around the door frame, comes loose from walls over time as the house settles and the adhesive caulk and paint bonds weaken. Loose trim looks sloppy and allows drafts through the gaps.
Reattaching Loose Casing
- Carefully pull the loose section away from the wall just enough to access behind it without breaking it.
- Apply a bead of construction adhesive to the back of the trim.
- Press the trim firmly back into position and secure with finishing nails driven into the door jamb and into the wall stud behind the drywall.
- Use a nail set to countersink the nail heads slightly below the wood surface.
- Fill nail holes with wood filler, let dry, sand, caulk the edges, and paint.
Replacing Broken or Missing Casing
If a section of casing is cracked through, split off, or missing entirely:
- Remove the damaged section carefully with a pry bar and utility knife. Score the paint line where the casing meets the wall before prying to avoid tearing drywall paper.
- Take the old piece to a lumber yard or millwork shop to match the profile. Door casing comes in dozens of profiles (colonial, craftsman, ranch, etc.) — matching the existing profile is important for a seamless look. If you can’t find an exact match, replace all the casing on both sides of the door with new matching trim.
- Cut the new piece to length. Casing typically meets at 45-degree miter joints at the top corners.
- Nail into place, fill nail holes, caulk edges, prime, and paint.
Also Read:
Fix 6: Partial or Full Door Frame Replacement
When a section of jamb is beyond repair, severely rotted, shattered, or so warped that it can’t be corrected — replacement is the right call. This is more involved than cosmetic repairs but is absolutely a DIY-manageable project with basic carpentry tools.
Partial Jamb Replacement
If only one section of one jamb is damaged (such as the bottom 12 inches due to rot):
-
Remove the door from its hinges and set aside.
-
Remove the casing on the damaged side with a pry bar, working carefully to avoid wall damage.
-
Cut out the damaged jamb section with a handsaw or oscillating tool, cutting back to healthy wood. Make a clean, square cut.
-
Cut a replacement piece from matching lumber (standard interior door jambs are typically 4-9/16 inches wide for standard walls, but measure your existing jamb to confirm).
-
Fit the replacement piece into position, securing it to the rough framing with screws and shims to keep it perfectly plumb. Glue the joint where old and new jamb meet.
-
Reinstall the casing, fill, caulk, and paint.
Full Jamb Replacement
For a completely failed frame:
Remove the door, then remove all casing trim on both sides of the opening.
Remove the old jamb by cutting any nails holding it to the rough framing (an oscillating tool with a metal blade works well for this) and prying it free.
Inspect the rough opening — the structural framing inside the wall. Repair any damage before proceeding.
Purchase a pre-hung door jamb kit (sold at home improvement stores as a flat jamb set) or cut new jamb pieces from matching lumber.
Set the new jamb assembly in the rough opening, shimming from the rough framing inward to make the jamb perfectly plumb on both sides and level across the head. Check with a level repeatedly.
When perfectly set, nail or screw through the jamb and shims into the rough framing.
Score the shims flush with the jamb face using a utility knife and snap them off.
Reinstall the door on the hinges and test operation before installing casing.
Install casing on both sides, nail, fill, caulk, and paint.
Common Mistakes to Avoid
Not using long screws at the strike plate: Short screws only grip the jamb, not the stud. Always use 3-inch screws through the strike plate and hinge areas so they reach the structural framing.
Skipping wood hardener on rot repairs: If any rot remains, it will continue spreading under your fresh filler and paint. Treat all affected wood before filling.
Not checking for plumb during jamb work: A jamb installed even slightly out of plumb will cause the door to swing open or closed on its own and create uneven gaps. Check plumb at every stage.
Using lightweight filler on structural damage: Spackling and lightweight patching compounds aren’t strong enough for areas that take mechanical stress (hinge areas, strike plate areas). Use two-part epoxy filler for these locations.
Painting without priming over repairs: Filler absorbs paint unevenly and the repair will be visible as a dull patch. Primer seals the filler and ensures a uniform topcoat.
Preventing Future Door Frame Problems
Caulk annually. The joint between door casing and the wall should be caulked with fresh paintable latex caulk every year or two. This prevents moisture infiltration and maintains a clean appearance.
Don’t let water sit at the base of the frame. Mop spills promptly and ensure bathroom or exterior-adjacent door frames have good ventilation.
Use 3-inch hinge and strike plate screws from the start. This simple upgrade prevents both security vulnerabilities and the structural damage that short screws allow over time.
Address sticking doors promptly. A door that sticks and is forced repeatedly transfers stress to the frame. Fix alignment issues before they become frame damage.
Final Thoughts
A bedroom door frame seems like a permanent, immovable part of the house — but nearly every problem it develops is repairable with patience, the right materials, and a methodical approach. Cosmetic cracks and damaged trim are weekend-afternoon projects. Split strike plate areas, minor rot, and loose jambs are half-day jobs. Even full frame replacement, while more involved, is a project a confident DIYer can complete in a day.
The keys are diagnosing the problem correctly before starting, using the right filler or repair product for the type of damage and location, and never rushing the drying and curing times that determine how well the repair holds. A well-repaired door frame is invisible — smooth, solid, and functioning exactly as it should.