
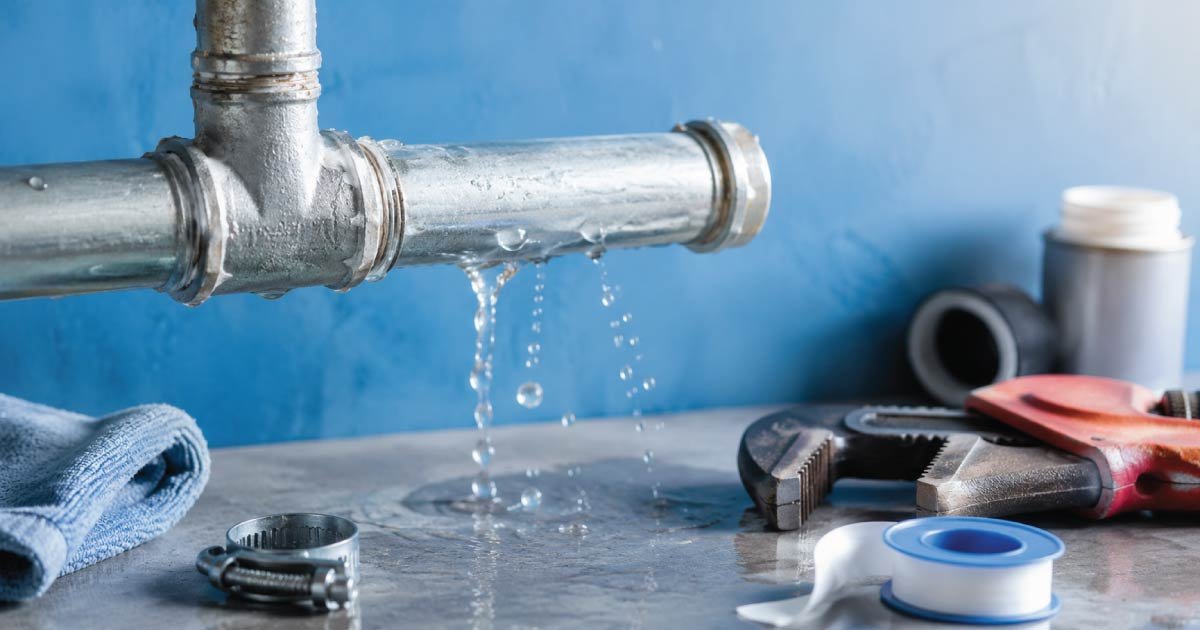
A water pipe leak is one of the most common household plumbing problems, and it can go from a small drip to serious water damage if ignored. The good news is that many leaks can be fixed at home without professional help, especially if you catch them early.This guide will walk you through how to identify the leak, stop the water safely, and repair the pipe using simple DIY methods.
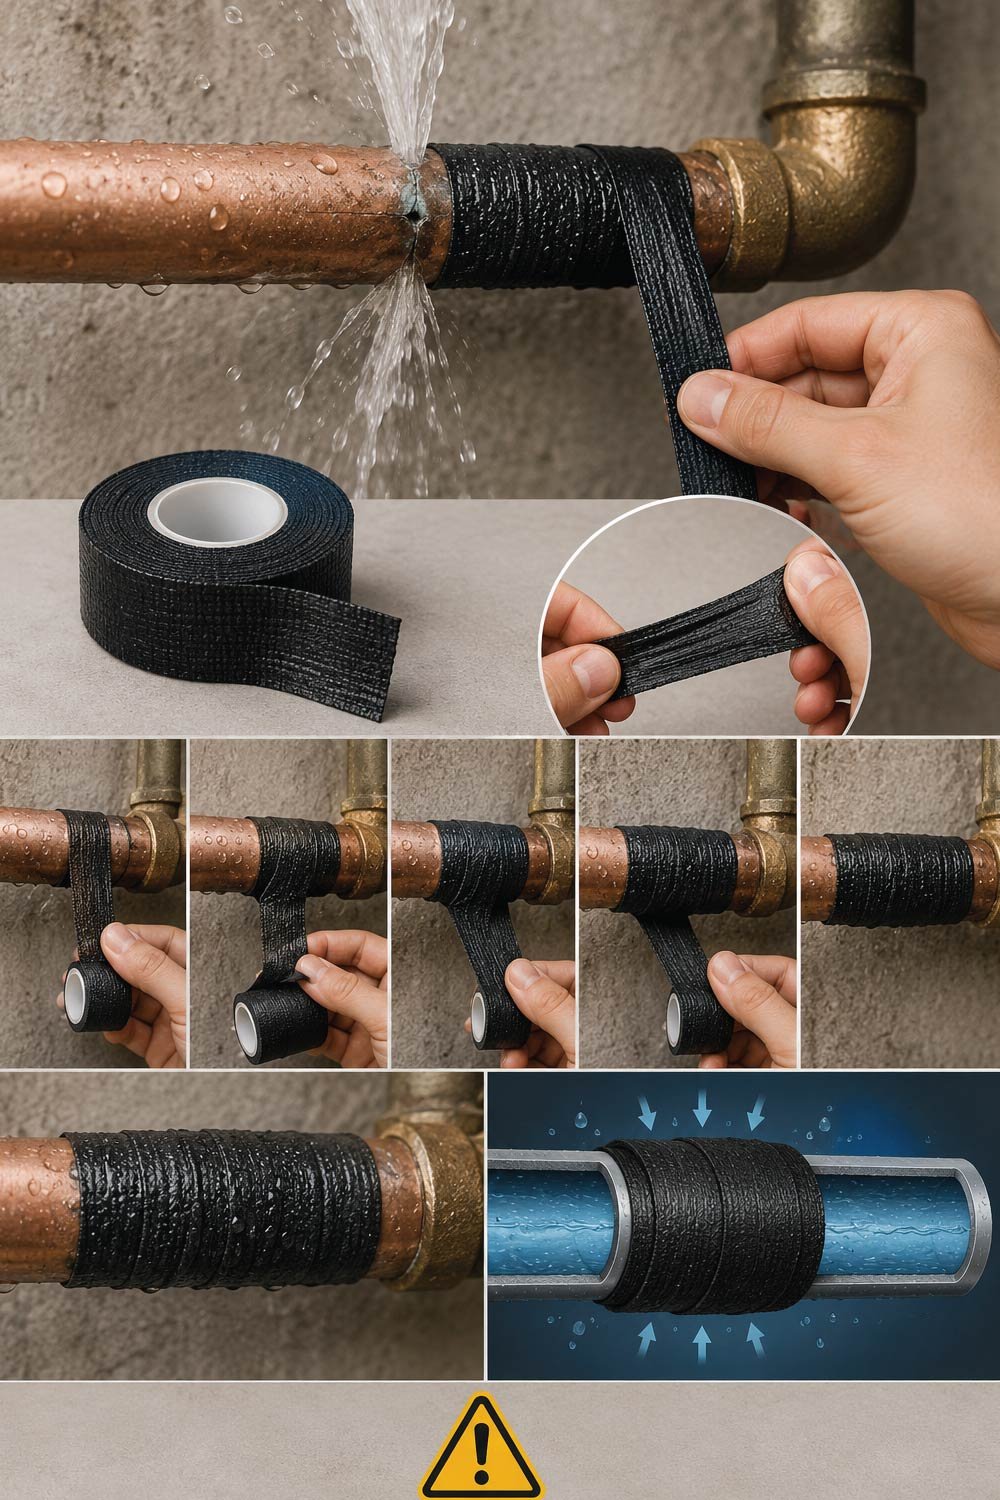
Step 5: Rubber Patch and Clamp Method (Strong Temporary Fix)
This step explains a durable temporary repair technique that is more reliable than tape for small cracks and pinhole leaks. It works by applying direct pressure and compression over the damaged section, sealing the leak effectively until a permanent repair can be arranged. It is especially useful for pressurized pipes that need stronger containment.
Materials
Materials section lists the essential items required for this repair method, including a flexible rubber patch and a clamp system that work together to create pressure sealing and prevent water from escaping through the damaged pipe area effectively.
- Rubber piece (old hose or sheet)
- Metal clamp or hose clamp
- Screwdriver or wrench
Steps
Steps section explains the correct procedure for positioning the rubber and securing it tightly using a clamp so that consistent pressure is applied over the leak, preventing further water escape and stabilizing the pipe temporarily.
- Place rubber over the leaking area.
- Wrap clamp around it.
- Tighten firmly until sealed.
Result
Result section describes the expected outcome of this method, showing how the clamp pressure combined with rubber support can resist moderate to high water pressure and provide a longer-lasting temporary fix than simple tape solutions.
This method can hold strong pressure and last longer than tape.
Step 6: Use Epoxy Putty (Semi-Permanent Fix)
This step introduces a highly effective DIY repair solution used for sealing pipe leaks more permanently than temporary fixes. Epoxy putty hardens into a solid, rock-like material that bonds strongly to pipe surfaces, creating a durable seal that can withstand water pressure and extend the life of damaged plumbing sections significantly.

Steps
Steps section explains how to properly prepare, apply, and shape epoxy putty over a leaking pipe so it adheres correctly and forms a strong seal that blocks water flow once fully cured and hardened.
- Cut a small amount of epoxy putty.
- Knead until color becomes uniform.
- Press firmly over the leak.
- Smooth edges around pipe.
- Let it harden completely (usually 1–2 hours).
Why it works
Why it works section explains the chemical hardening process of epoxy putty, which transforms from a soft material into a solid, waterproof barrier that bonds tightly to the pipe surface and effectively seals leaks.
Once hardened, epoxy becomes like rock and seals the leak tightly.
Also Read:
Step 7: Fixing a Leaky Pipe Joint
This step focuses on repairing leaks occurring at pipe connection points, which are often caused by loose fittings or worn sealing tape. Proper disassembly and resealing of the joint helps restore tight connections and stops water from escaping at threaded areas effectively and safely.
Steps
Steps section outlines the correct process for dismantling, cleaning, and resealing pipe threads to ensure a secure and leak-free connection after reassembly using fresh sealing material.
- Unscrew the joint carefully.
- Clean old plumber’s tape or debris.
- Wrap new Teflon tape around threads.
- Reassemble tightly.
This often solves joint leaks instantly.
Step 8: Replace a Damaged Section (Permanent Fix)
This step describes the most reliable long-term solution for severely damaged or repeatedly leaking pipes. When repairs are no longer effective, replacing the affected section ensures structural integrity, prevents future leaks, and restores full water flow performance in both PVC and metal piping systems safely and permanently.
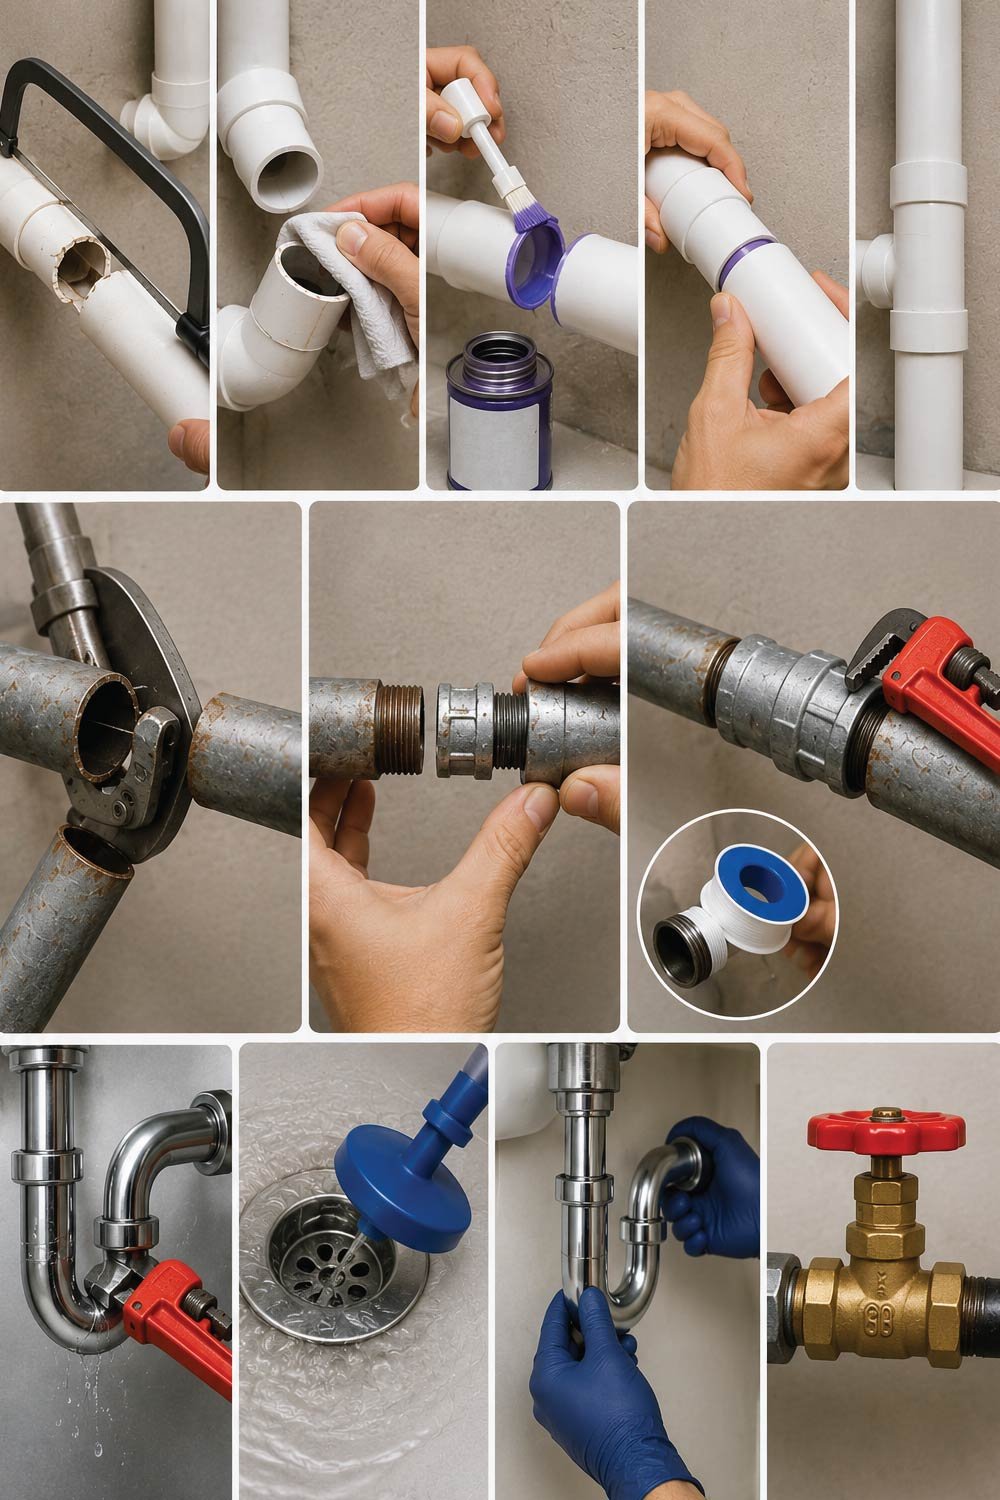
For PVC pipes
This section explains how to replace damaged PVC pipe sections by cutting out the faulty area and securely joining a new piece using adhesive designed specifically for plastic plumbing systems.
- Cut out damaged section.
- Clean edges.
- Apply PVC cement.
- Insert new pipe and hold firmly.
For metal pipes
This section explains the process of replacing damaged metal pipe sections using couplings and proper sealing techniques to ensure a strong, leak-free connection between old and new pipe parts.
- Cut damaged section.
- Use couplings to connect new pipe.
- Tighten using wrench and seal threads.
Also Read:
Step 9: Turn Water Back On and Test
This step ensures the repair has been successful by carefully restoring water flow and checking for any remaining leaks. Testing is essential to confirm sealing effectiveness and to prevent hidden leaks that could cause future damage or pressure loss in the plumbing system.
- Slowly turn on water supply.
- Check repaired area closely.
- Watch for dripping or moisture.
- Tighten or reapply material if needed.
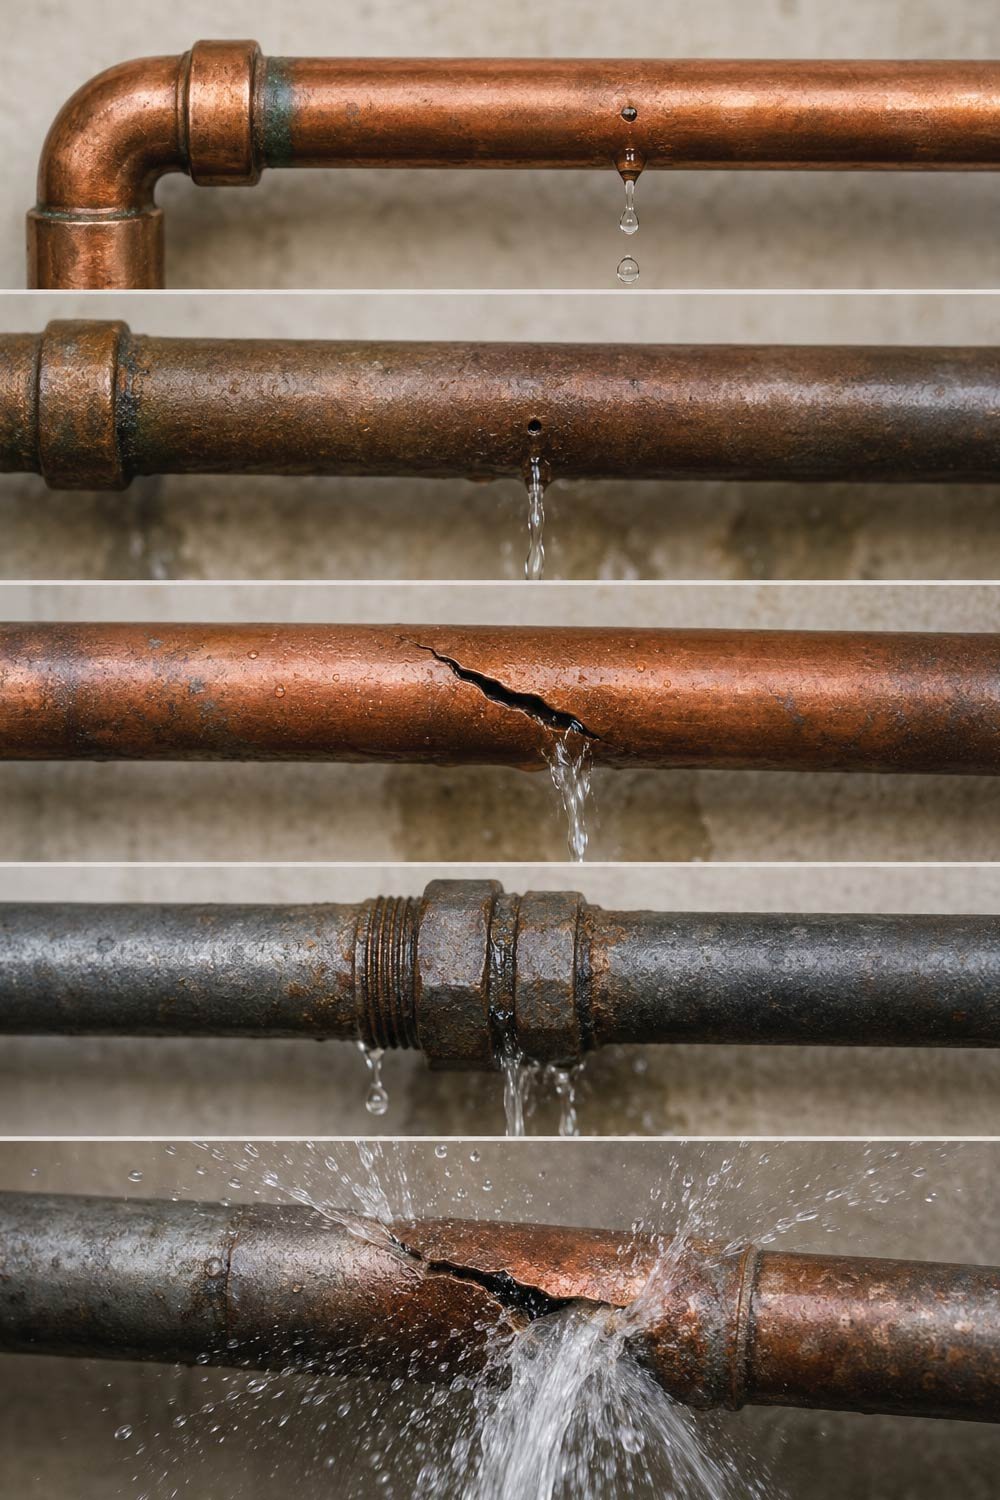
Common Causes of Water Pipe Leaks
This section explains the most frequent reasons behind pipe leaks, helping users understand underlying issues so they can prevent future plumbing problems. Identifying these causes early can reduce repair costs, improve maintenance, and extend the lifespan of household plumbing systems significantly.
- Old or corroded pipes
- High water pressure
- Loose fittings or joints
- Temperature changes (expansion and contraction)
- Poor installation
Mistakes to Avoid
This section highlights the most common errors people make while attempting DIY pipe repairs. Avoiding these mistakes is important because even small oversights can reduce repair effectiveness, cause recurring leaks, or lead to more serious plumbing damage over time. Careful attention at every step ensures safer, longer-lasting results.
1. Not shutting off water properly
This mistake occurs when water flow is not fully stopped before starting repairs, allowing pressure to remain in the system and interfering with sealing materials, which can cause the repair to fail or worsen the leak unexpectedly.
Even small pressure can ruin repairs.
2. Fixing on a wet pipe
Attempting repairs on a wet surface prevents adhesives, tapes, or sealants from bonding correctly, leading to weak sealing and frequent re-leakage, especially in high-pressure plumbing systems where strong adhesion is essential for durability.
Most sealants will fail if the surface is wet.
3. Ignoring small leaks
Small leaks are often underestimated, but they gradually worsen over time, increasing water damage, pipe corrosion, and repair costs, eventually turning into major bursts if not addressed early and properly.
Small leaks often become big bursts.
4. Over-tightening fittings
Applying excessive force when tightening pipe joints can damage threads, crack pipe materials, or weaken seals, resulting in new leaks or complete joint failure instead of solving the original problem effectively.
This can crack pipes or damage joints.
Also Read:
When to Call a Plumber
This section explains situations where professional help is necessary because DIY fixes may not be safe or effective. Calling a plumber at the right time prevents further damage, ensures proper diagnosis, and guarantees long-term repair solutions for complex or high-risk plumbing problems.
You should call a professional if:
- The pipe is fully burst or flooding
- Leak is inside a wall or underground
- Multiple leaks appear in different places
- Temporary fixes keep failing
- Plumbing system is very old
How to Prevent Future Leaks
This section focuses on preventive maintenance practices that help reduce the risk of future pipe leaks. Regular care and early detection can significantly extend plumbing life, minimize repair costs, and ensure a stable and efficient water supply system throughout the home.
Prevention is always easier than repair:
- Check pipes regularly for rust or moisture
- Avoid excessive water pressure
- Insulate pipes in cold weather
- Replace old pipes early
- Avoid chemical damage from harsh cleaners
Final Thoughts
Fixing a water pipe leak is usually not as difficult as it seems. Most minor leaks can be handled with simple tools like tape, epoxy, or clamps. The key is to act quickly before the damage spreads.
Start by stopping the water, drying the pipe, and choosing the right repair method based on the severity of the leak. For small issues, DIY solutions are often enough. For larger or recurring problems, replacing the pipe section or calling a plumber is the safest option.