
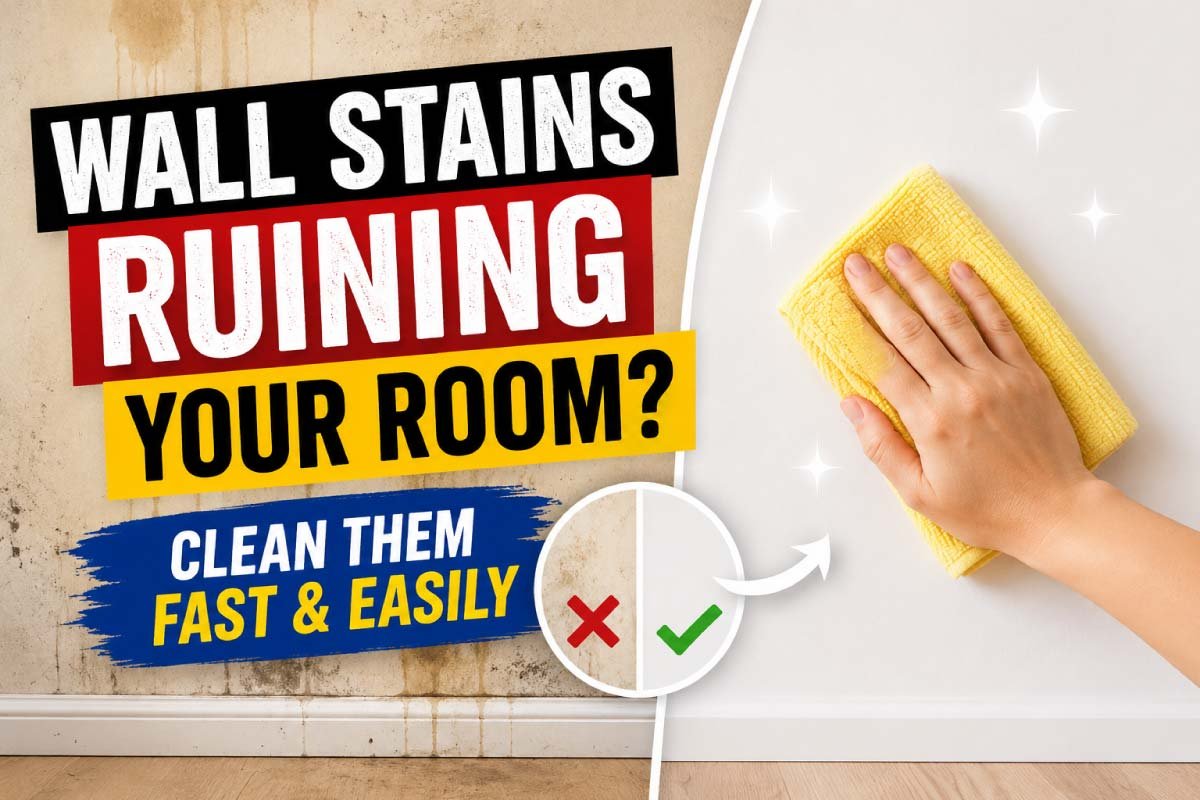
Wall stains can quietly ruin the appearance of an otherwise clean and well-decorated room. Whether it’s fingerprints near light switches, water marks, grease spots in the kitchen, or random scuff marks from furniture, these stains make walls look older and neglected than they really are. The good news is that you don’t need expensive products or professional help to fix them. With the right techniques and a few simple household items, you can restore your walls quickly and effectively.
This guide will walk you through the causes of wall stains, the safest cleaning methods for different wall types, and practical prevention tips to keep your walls looking fresh for longer.
Why Wall Stains Appear in the First Place
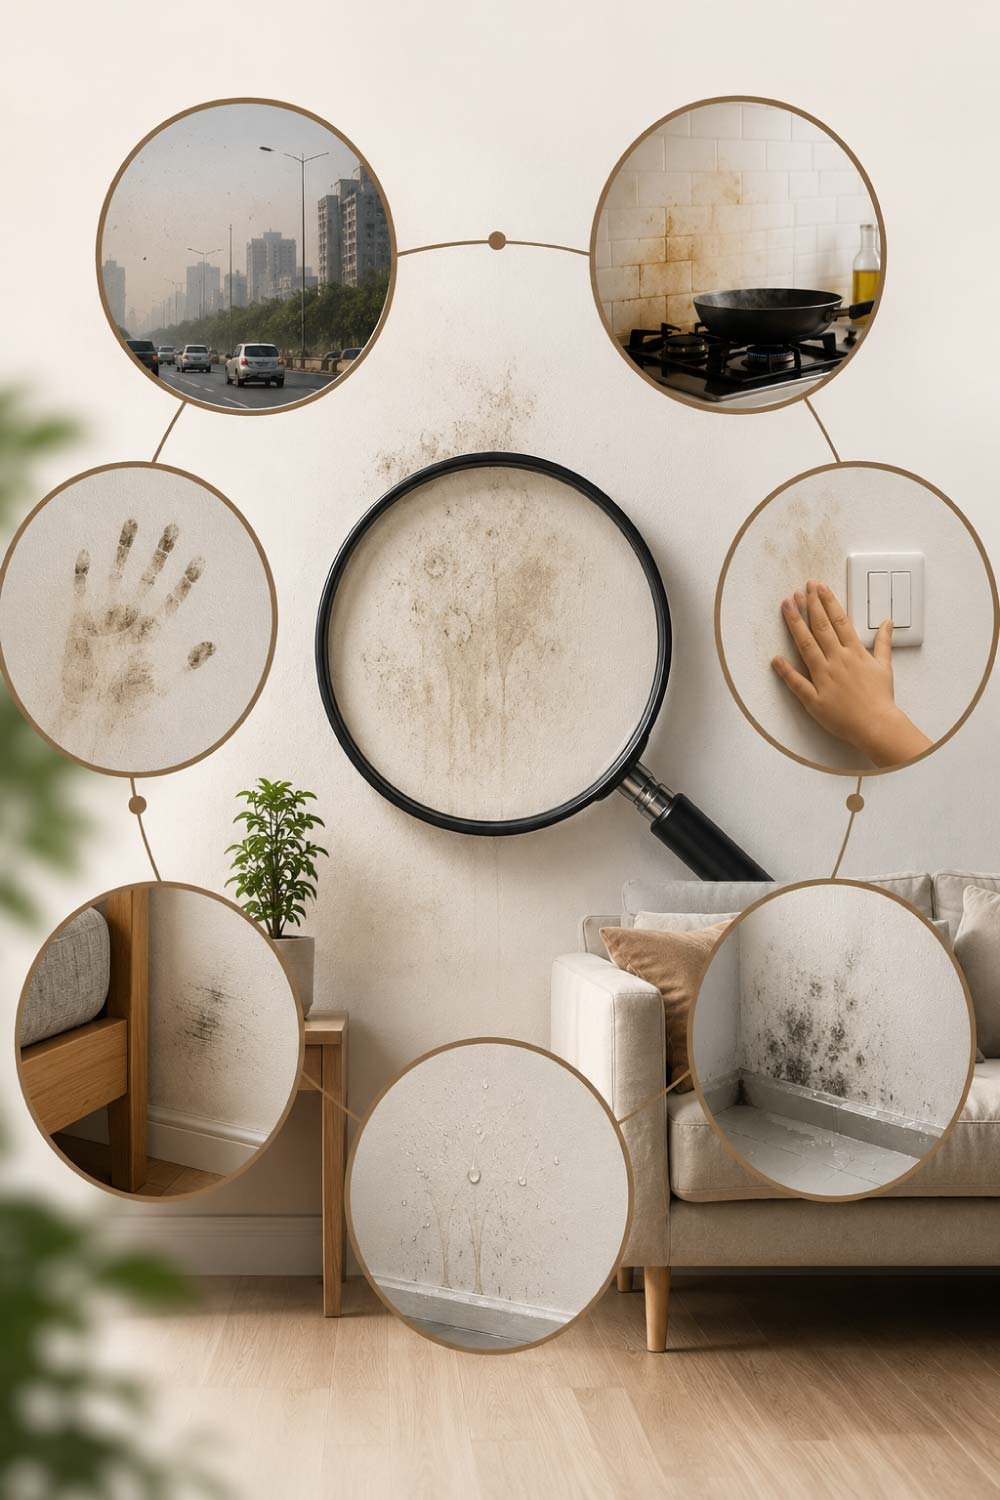
Wall stains don’t just appear suddenly—they build up slowly over time due to daily activities and environmental exposure. Even clean homes face this issue because walls naturally absorb dirt, moisture, and oils. Understanding the real causes helps you clean smarter and prevent future stains more effectively.
Before jumping into cleaning methods, it helps to understand why walls get stained so easily. Paint may look solid and smooth, but most wall surfaces are slightly porous, meaning they absorb dirt and moisture over time.
Some of the most common causes include:
- Dust and pollution buildup: Especially in cities or homes near busy roads
- Grease and oil marks: Common in kitchens where cooking fumes spread
- Fingerprints and handprints: Around switches, doors, and hallways
- Furniture rubbing: Chairs, beds, or tables brushing against walls
- Water splashes or humidity: Bathrooms and damp areas
- Mold or mildew spots: In poorly ventilated rooms
Once you understand the source, it becomes easier to choose the right cleaning method instead of damaging the paint or making the stain worse.
Step 1: Identify Your Wall Type
Before cleaning any stain, it’s important to understand what type of wall surface you’re dealing with. Different paints and finishes react differently to moisture and scrubbing. Choosing the wrong method can damage the paint, cause fading, or even peel the surface, making the problem worse instead of better.
Not all walls are the same, and using the wrong cleaning method can cause fading or peeling.
- Painted Walls (Matte or Flat Finish)
- Most delicate type
- Easily absorbs stains
- Requires gentle cleaning only
- Satin or Semi-Gloss Walls
- More durable
- Can handle mild scrubbing
- Common in kitchens and bathrooms
- Glossy Walls
- Easiest to clean
- Resistant to stains and moisture
- Wallpapered Walls
- Most sensitive
- Requires very light cleaning or dry methods
Knowing your wall type helps you choose safe solutions and avoid permanent damage.
Step 2: Basic Cleaning Method for Light Stains
Light stains are the easiest to remove and usually don’t require harsh chemicals or deep scrubbing. In most cases, simple household cleaning items are enough to restore the wall’s clean look. Acting early on these marks prevents them from settling deeper into the paint surface over time.
For everyday dirt, fingerprints, or light smudges, you don’t need anything complicated.
What you need:
- Warm water
- Mild dish soap
- Soft microfiber cloth or sponge
How to do it:
- Mix a few drops of dish soap in a bucket of warm water.
- Dip the cloth and wring it out so it is damp, not wet.
- Gently wipe the stained area in circular motions.
- Use a clean damp cloth to remove soap residue.
- Dry with a soft towel.
This method works well for most walls and should always be your first step before trying stronger solutions.
Also Read:
Sink Trap Cleaning Guide: How to Clean a P-Trap and Fix Slow Drains
Step 3: Removing Stubborn Grease Stains
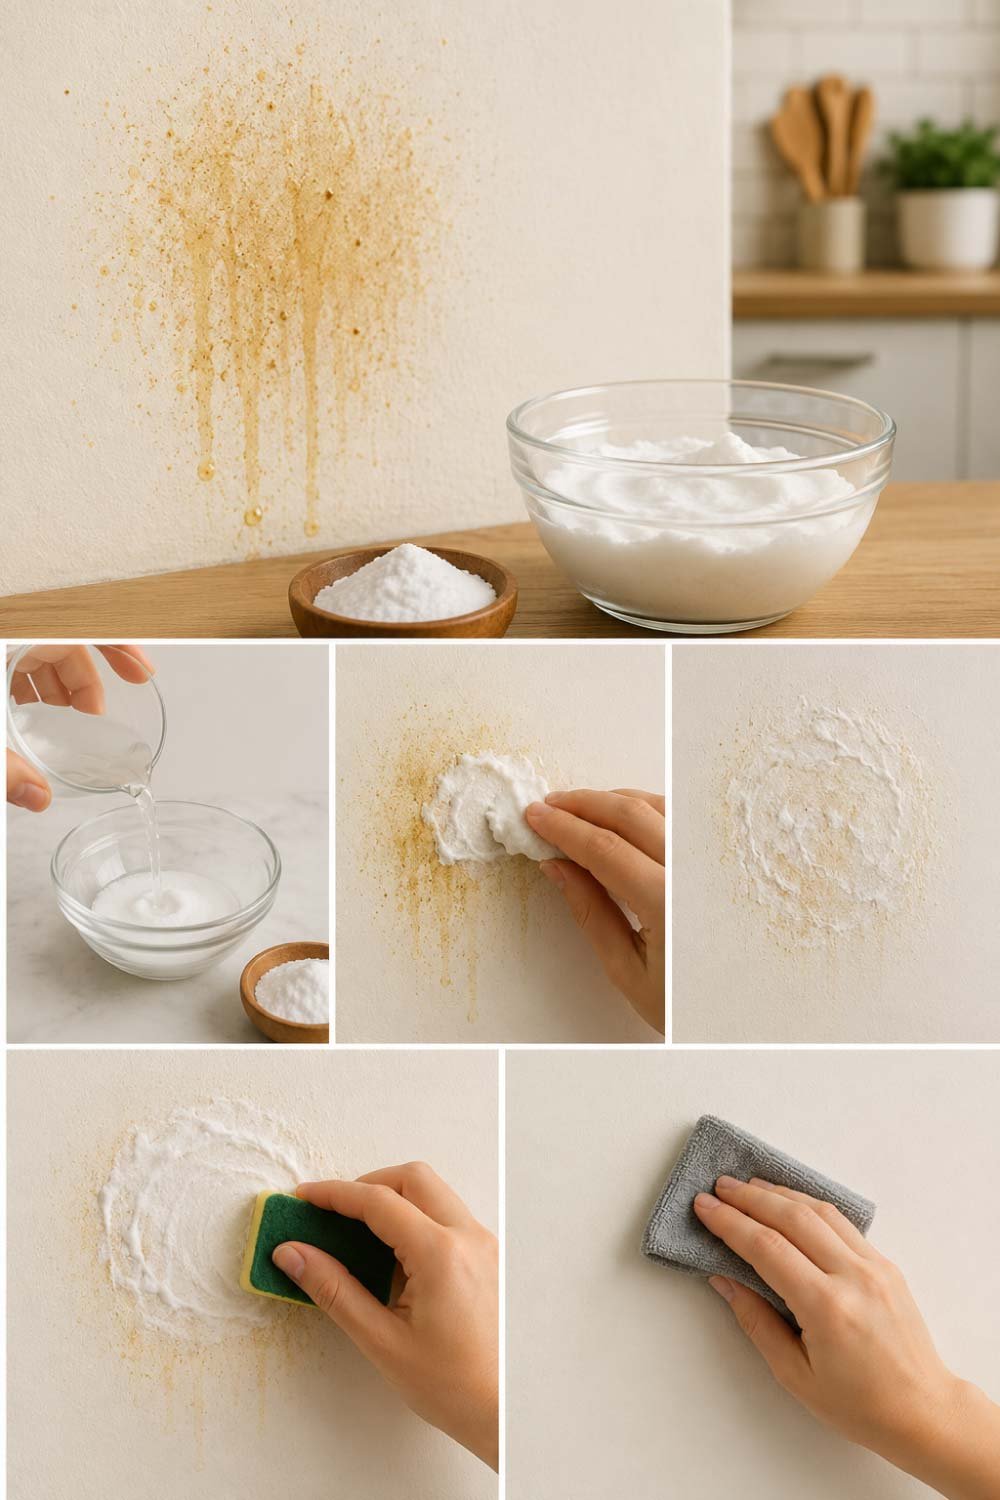
Grease stains are more challenging because oil sticks firmly to painted surfaces, especially in kitchens and dining spaces. However, you don’t need expensive cleaners to handle them. With the right natural solution and a gentle approach, you can break down grease without harming the wall’s finish.
Grease stains are common in kitchens and near dining areas. They can be more stubborn, but still easy to handle.
Best solution: Baking soda paste
Ingredients:
- Baking soda
- Water
Method:
- Mix baking soda with a small amount of water to form a thick paste.
- Apply it directly to the stain.
- Let it sit for 5–10 minutes.
- Gently rub with a soft sponge.
- Wipe clean with a damp cloth.
Baking soda works because it breaks down oil without damaging paint.
Step 4: Cleaning Fingerprints and Scuff Marks
Fingerprints and scuff marks are among the most common wall stains in busy households. They usually appear in high-traffic areas like hallways, doors, and staircases. Luckily, these marks are surface-level and can be removed quickly with a mild cleaning solution that restores the wall’s clean appearance.
Hallways, doors, and staircases often collect fingerprints and shoe scuffs.
Simple vinegar solution:
- 1 part white vinegar
- 1 part water
Steps:
- Mix the solution in a spray bottle.
- Spray lightly on a cloth (not directly on the wall).
- Wipe the marks gently.
- Dry immediately with a clean cloth.
Vinegar cuts through oils from skin and removes dull marks effectively.
Step 5: Removing Water Stains and Damp Marks
Water stains are often stubborn and visually noticeable, usually appearing as uneven yellow or dark patches on walls. They commonly develop near bathrooms, ceilings, or window areas where moisture collects. Addressing them early is important to prevent deeper damage and keep your walls looking clean and fresh.
Water stains often appear as yellowish or dark patches. These are common near windows or bathrooms.
Try this method:
- Mild detergent solution
- Soft sponge
If stains persist:
- Mix baking soda with a few drops of hydrogen peroxide (use carefully on white or light walls only)
Important:
- Always test in a small hidden area first to avoid discoloration.
Also Read:
Emergency Plumbing Fixes: What to Do When Water Problems Strike
Step 6: Tackling Mold and Mildew Spots
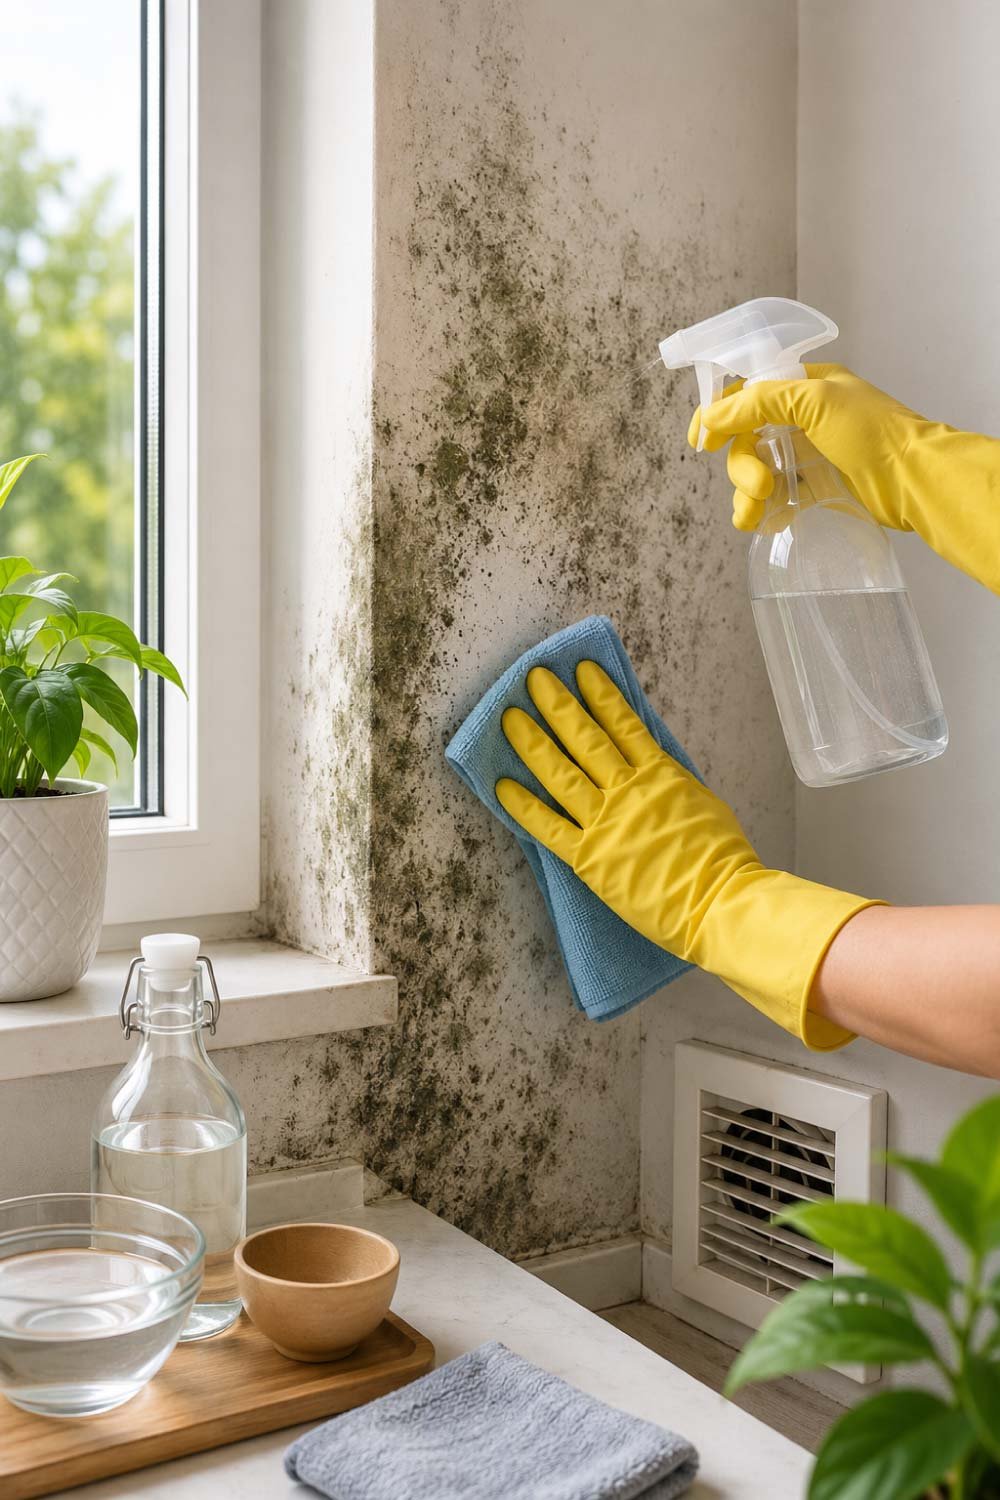
Mold and mildew are more than just stains—they are signs of excess moisture and poor airflow. They can spread quickly if ignored and may affect indoor air quality. That’s why quick and safe cleaning is essential, along with improving ventilation to stop them from returning repeatedly.
Mold is more serious than a normal stain and should be treated quickly.
Safe cleaning mix:
- 1 cup water
- 1 cup white vinegar
Steps:
- Spray lightly on affected area.
- Let it sit for 10–15 minutes.
- Wipe with a soft cloth.
- Dry the area completely.
If mold returns frequently, it indicates a ventilation issue that needs fixing, not just cleaning.
Step 7: Removing Crayon, Ink, or Pencil Marks
Marks from crayons, ink, or pencils are very common in homes with children. While they may look difficult to clean, most of these stains are surface-level and respond well to simple household methods. The key is using the right technique for each type of stain without damaging the paint.
If you have kids at home, this is a common problem.
For crayons:
- Use a hairdryer on low heat to soften wax
- Wipe with a cloth and mild soap solution
For pencil marks:
- A regular pencil eraser often works
- For deeper marks, use a baking soda paste
For ink stains:
- Dab (don’t rub) with rubbing alcohol on a cotton pad
- Wipe clean immediately
Step 8: Dealing with Tough Old Stains
Old stains are more challenging because they have had time to settle deep into the paint layers. These marks often resist basic cleaning methods and require a gradual, layered approach. Patience is important here, as harsh scrubbing can damage the wall instead of improving its appearance.
Some stains sit for months or years and become harder to remove.
Try this layered approach:
- Start with soap and water
- Move to baking soda paste
- Use vinegar solution if needed
- As a last step, lightly sand (only if repainting later)
If nothing works, repainting the affected section may be the best solution.
Also Read:
How to Fix a Slow Draining Sink: Simple DIY Methods That Actually Work
Step 9: Preventing Future Wall Stains
Prevention is always easier than cleaning repeated stains. Once your walls are clean, maintaining them with small daily habits can keep them looking fresh for a long time. Simple changes in home setup and cleaning routine can significantly reduce the chances of stains returning.
Cleaning is important, but prevention saves time and effort in the long run.
Simple prevention tips:
- Use washable paint in high-traffic areas
- Install hooks to reduce hand contact with walls
- Keep furniture slightly away from walls
- Clean walls lightly every 2–3 months
- Improve ventilation to reduce moisture buildup
- Teach children to avoid drawing on walls
A little maintenance goes a long way in keeping your home looking fresh.
Step 10: Natural Cleaning Alternatives (Safe and Cheap)
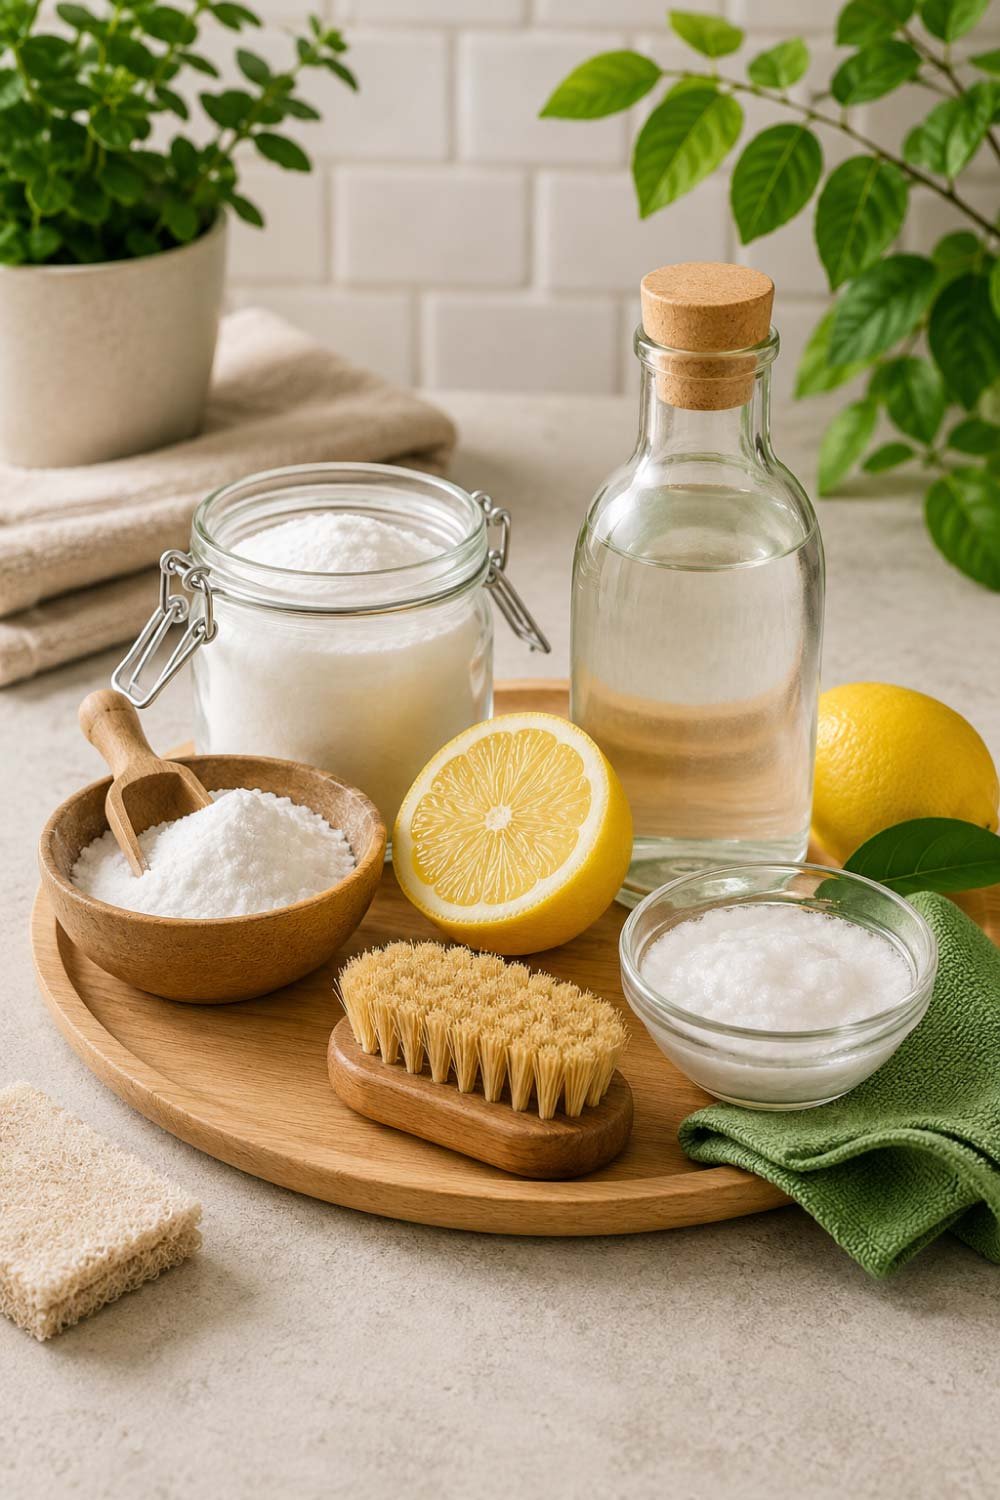
Natural cleaning methods are becoming more popular because they are safe, affordable, and effective for everyday stains. Instead of harsh chemicals, simple kitchen ingredients can often handle dirt and marks while keeping your home environment healthier and free from strong fumes or irritation.
If you prefer chemical-free cleaning, here are some effective natural options:
- Lemon juice: Great for grease and mild stains
- Baking soda: Works as a gentle scrub
- White vinegar: Removes odors and sticky marks
- Salt paste: Good for stubborn patches
These ingredients are safe, affordable, and easy to find in most homes.
Common Mistakes to Avoid
Even simple wall cleaning can go wrong if done without care. Many people unintentionally damage paint or make stains worse by using harsh methods. Knowing what to avoid is just as important as knowing what works, ensuring your walls stay clean without losing their original finish.
Avoid these mistakes:
- Scrubbing too hard and damaging paint
- Using too much water (can cause wall damage)
- Using bleach on colored walls (causes fading)
- Ignoring ventilation after cleaning damp areas
- Not testing cleaning solutions first
A gentle approach is always safer and more effective.
When You Should Consider Repainting
Sometimes stains become too deep or widespread to clean completely. In such cases, repainting is the most practical solution. It not only restores the wall’s appearance but also gives your room a fresh, renewed look, especially when cleaning methods no longer deliver visible improvement.
Sometimes cleaning isn’t enough. You may need repainting if:
- Stains have penetrated deep into the wall
- Paint is peeling or bubbling
- Large mold patches keep returning
- Color has faded unevenly
In such cases, cleaning can only do so much, and fresh paint will restore the room’s appearance.
Final Thoughts
Wall stains may look frustrating, but they are one of the easiest home problems to fix. With basic household items like baking soda, vinegar, and mild soap, you can remove most stains without stress or expense. The key is to act quickly—fresh stains are always easier to clean than old ones.
By adopting simple cleaning habits and preventive care, you can keep your walls looking bright, clean, and welcoming all year round. A fresh wall doesn’t just improve your room—it completely transforms the feeling of your home.
Also Read: