
A dripping faucet is one of the most common plumbing problems in any home. That constant “drip… drip… drip” is not just annoying it also wastes water and can increase your utility bill over time.
In most cases, the cause is a worn-out faucet washer, and replacing it is a quick and inexpensive fix you can do yourself.This guide will walk you through everything: what a faucet washer is, how to replace it, and how to make sure the leak does not return.
What Is a Faucet Washer?
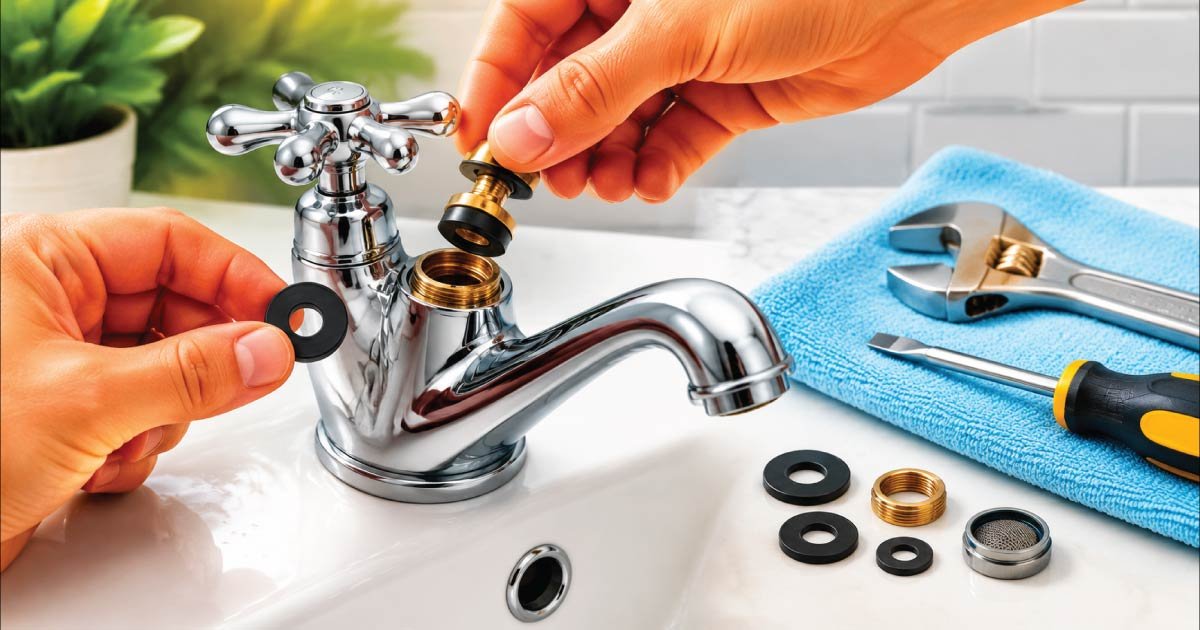
A faucet washer is a small rubber or silicone ring inside the tap mechanism. It presses against a valve seat to stop water flow when the faucet is turned off. With time, friction, pressure, and temperature changes wear it down, reducing sealing ability and leading to household plumbing leaks.
Over time, washers:
- Become hard or brittle
- Get flattened from pressure
- Develop cracks or wear marks
When this happens, water slowly leaks through the gap, causing dripping.
Signs You Need to Replace a Faucet Washer
When a faucet washer becomes worn or damaged, the faucet often shows clear warning signs that indicate a replacement is needed. These symptoms usually develop gradually and become more noticeable over time, helping you identify leaks early before they waste significant water or cause further damage to plumbing fixtures.
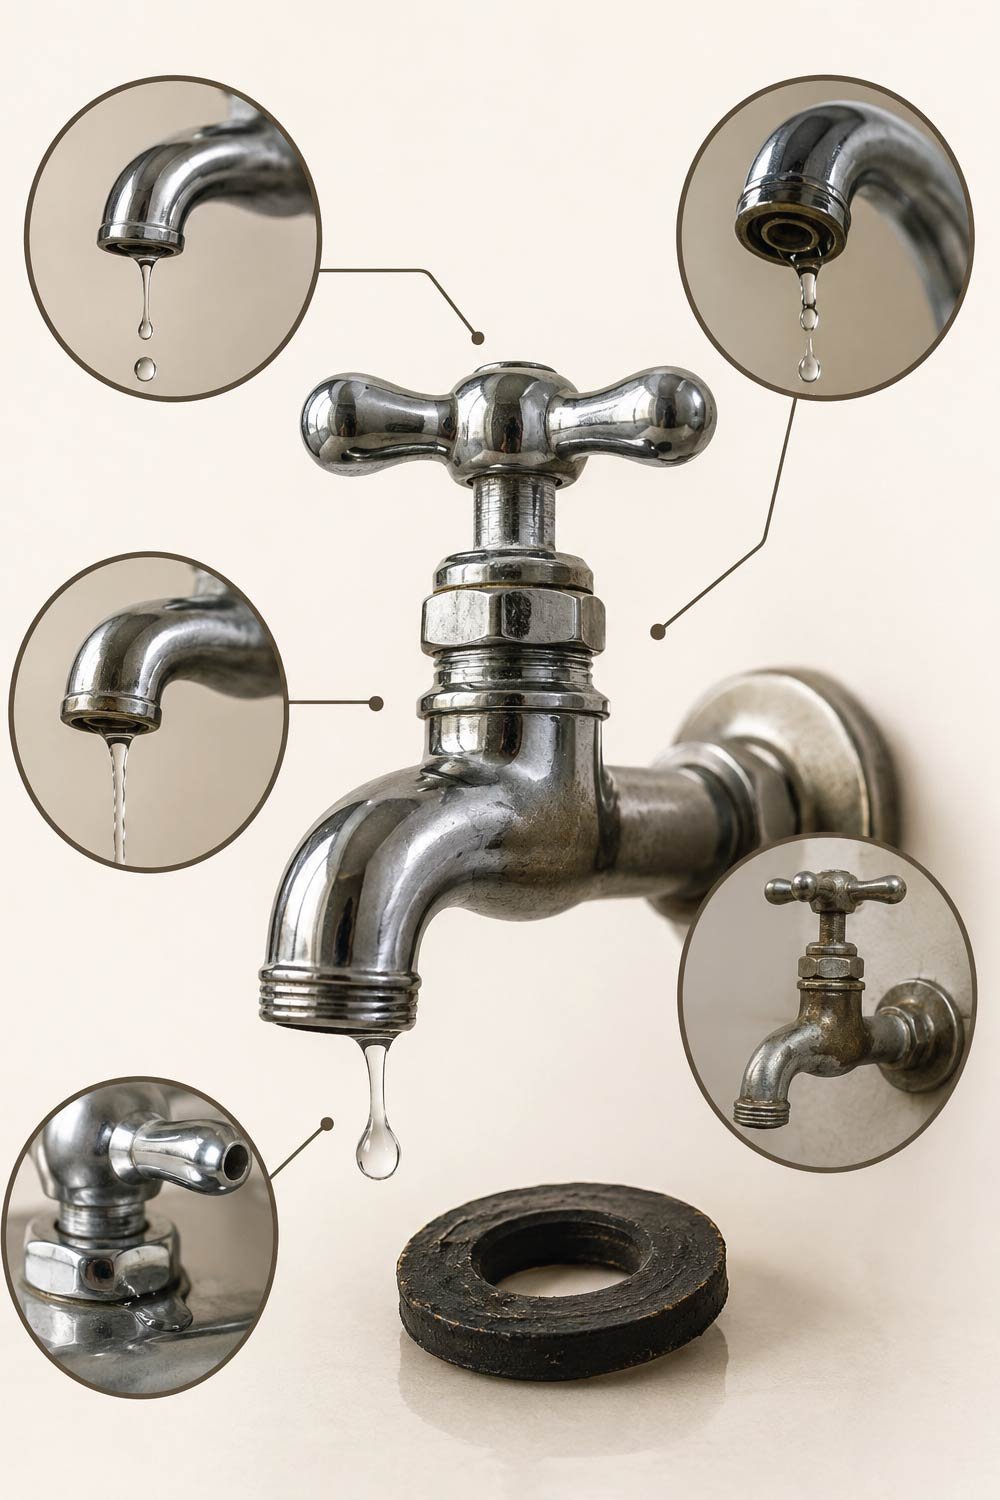
- Faucet keeps dripping even when fully closed
- Drips come from the spout, not the handle
- Water leak increases over time
- You have an older compression-style faucet
If the leak is from the handle base instead, the problem may be an O-ring not the washer.
Tools and Materials You Will Need
Before starting the repair, it is important to gather all necessary tools and materials in advance. Having everything ready ensures the process goes smoothly, reduces interruptions, and helps you complete the faucet washer replacement efficiently without searching for items midway through the repair work itself.
- Adjustable wrench or spanner
- Screwdriver (flat or Phillips)
- Replacement faucet washers
- Cloth or towel
- Bucket or bowl
- Plumber’s tape (optional)
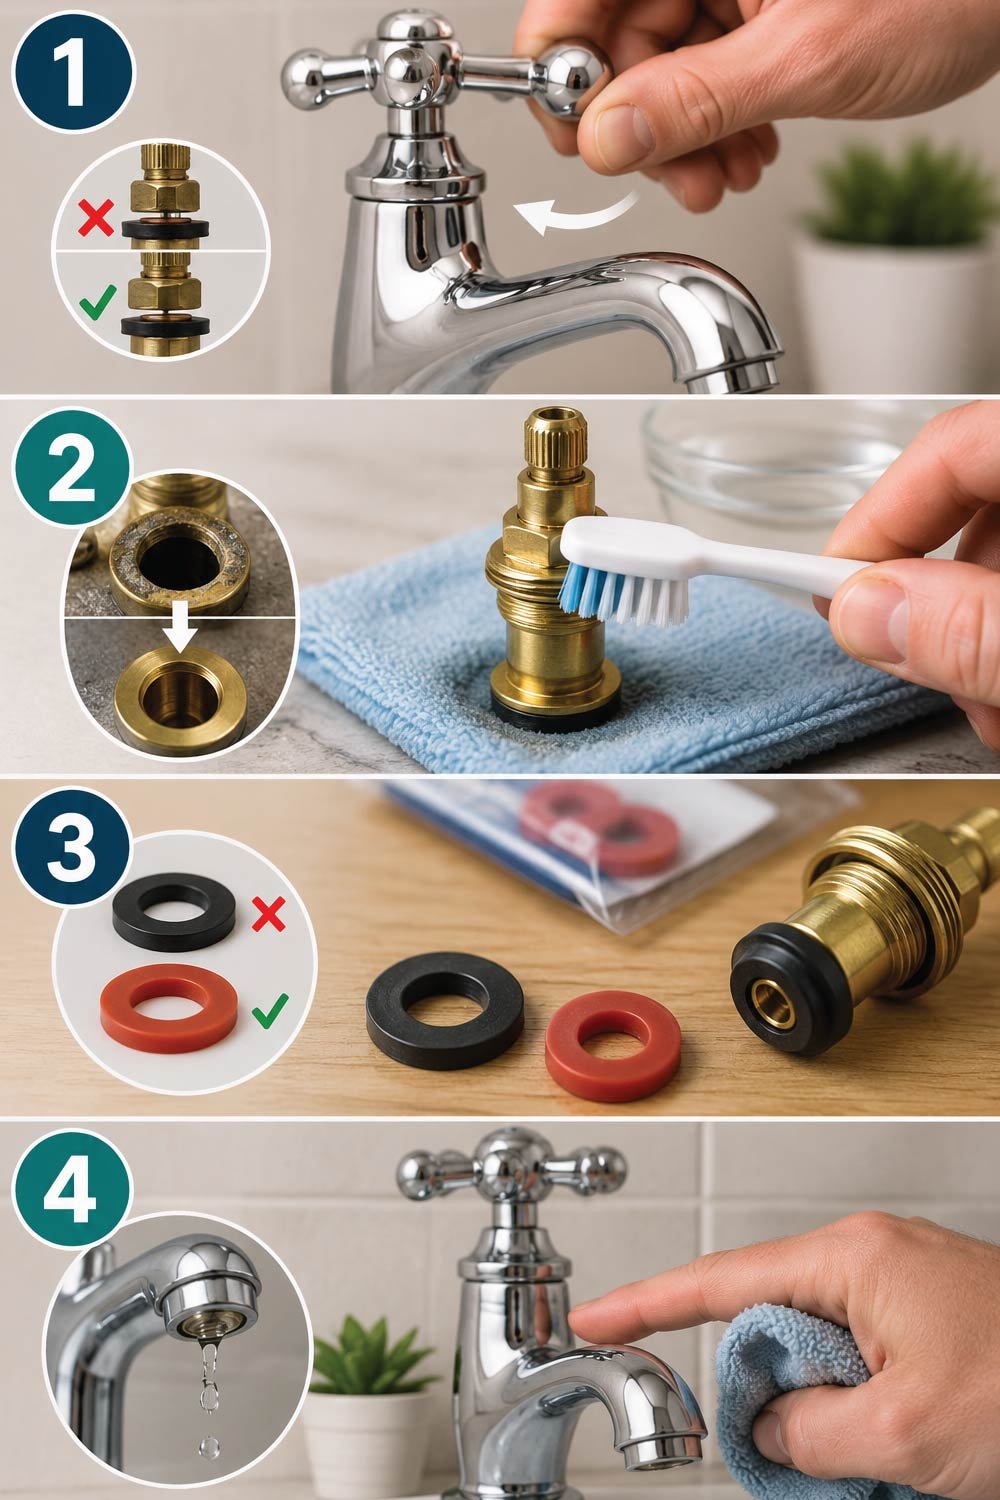
Step 1: Turn Off the Water Supply
This step is the most important safety measure before beginning any faucet repair work. Turning off the water supply prevents sudden water flow, protects you from splashes, and ensures you can safely dismantle the faucet components without creating mess or damaging surrounding plumbing fixtures during the repair process.
- Locate the water shut-off valve under the sink or main supply line
- Turn it clockwise to close it
- Open the faucet to release remaining water pressure
This prevents water from spraying while you work.
Step 2: Plug the Drain
Small screws and washers can easily slip down the sink drain during repair, which may cause inconvenience or delay. Plugging the drain beforehand ensures that all small components remain safely in place, making the repair process more organized, efficient, and stress-free while working on the faucet.
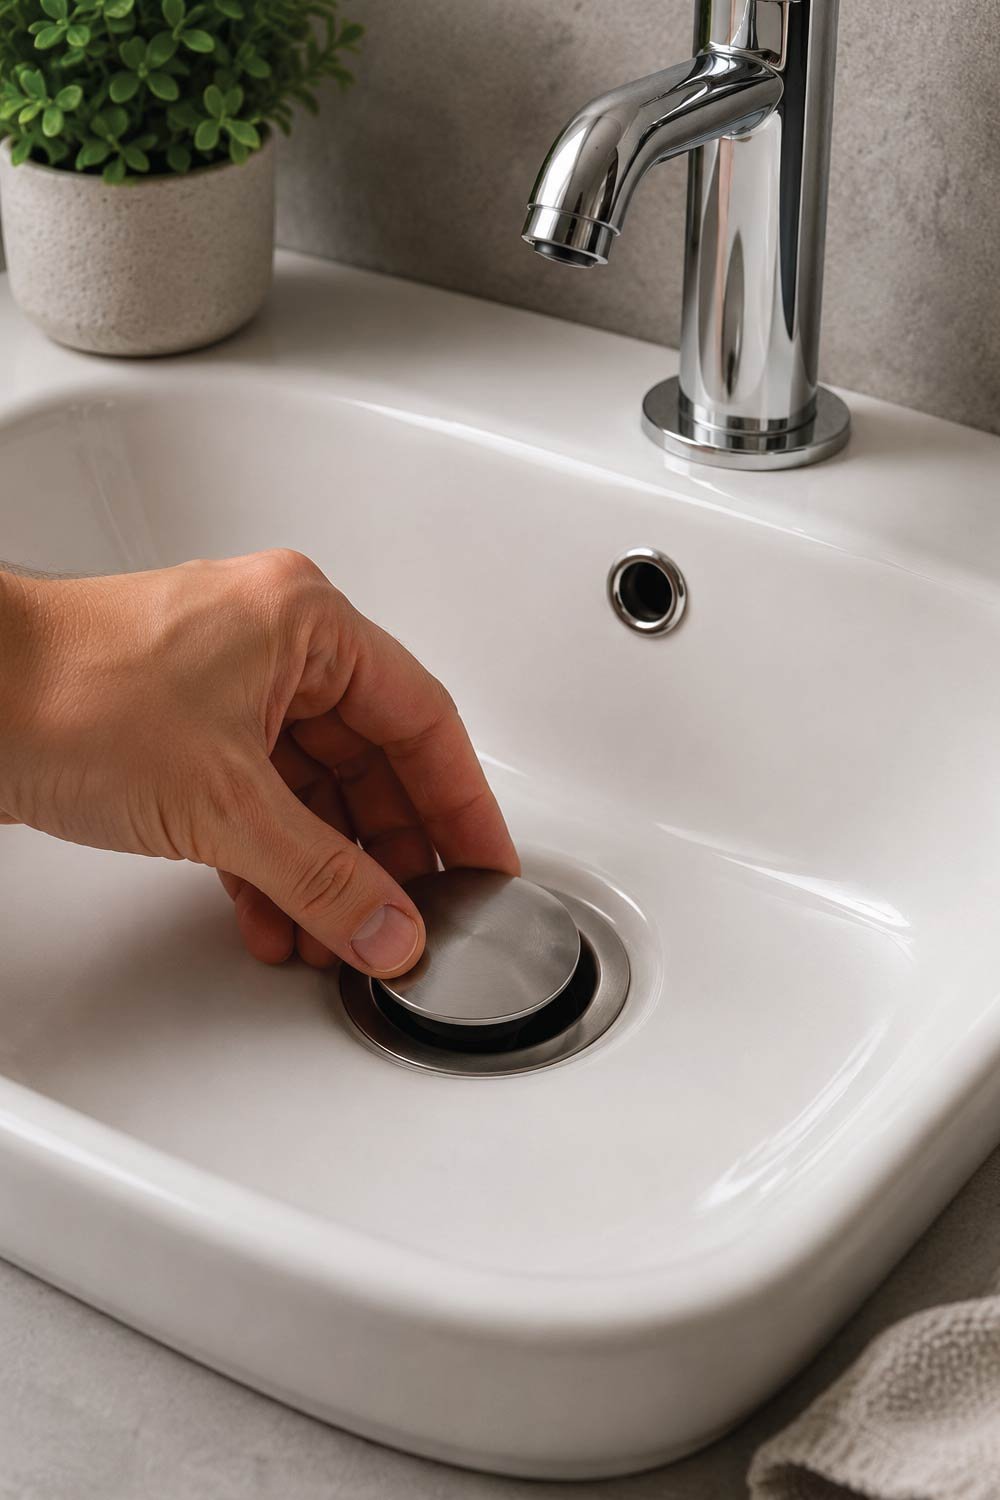
- Place a sink stopper, cloth, or drain cover
This protects screws and washers from being lost
Step 3: Remove the Faucet Handle
To access the internal components of the faucet, the handle must be carefully removed without causing damage. This step requires patience, as screws may be hidden or tight. Proper removal allows you to reach the washer assembly and continue the repair process effectively and safely.
Steps:
- Look for a screw on the handle (often hidden under a cap).
- Remove the screw using a screwdriver.
- Gently pull off the handle.
If it feels stuck, wiggle it carefully don’t force it.
Step 4: Remove the Valve Stem
Inside the faucet assembly, the valve stem (also called a spindle) controls water flow and connects the handle to the internal sealing parts. Removing it carefully is necessary to access the washer underneath. This step requires steady hands to avoid damaging threads or internal components while disassembling the faucet properly.
Steps:
- Use an adjustable wrench to loosen it.
- Turn it counterclockwise.
- Pull it out gently.
This will expose the washer at the bottom.
Step 5: Locate and Inspect the Washer
Once the valve stem is removed, the washer becomes visible at its base, usually attached with a small screw. This tiny rubber piece is crucial for sealing water flow. Careful inspection helps you determine whether it is still functional or has deteriorated and is causing faucet leakage.
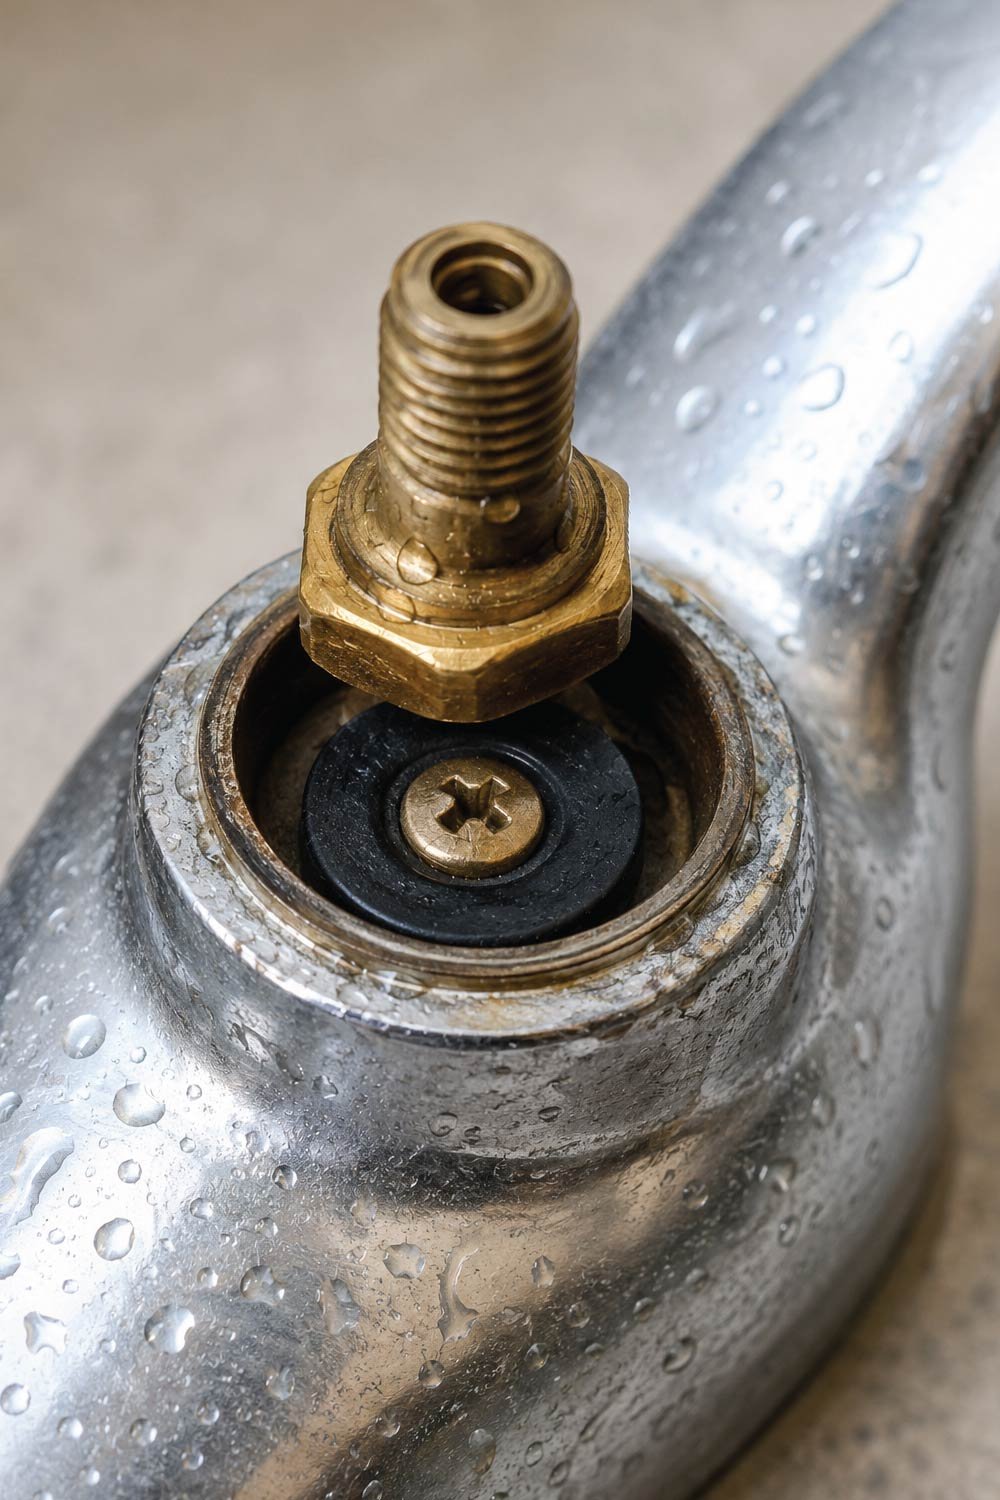
Check for:
- Cracks or splits
- Flattened shape
- Hard or brittle texture
If it looks worn, it needs replacement.
Step 6: Remove the Old Washer
Removing the old washer is a delicate step because the screw holding it is small and easy to strip. Take your time and ensure you do not damage surrounding parts. Cleaning the area afterward is equally important to ensure proper sealing and long-lasting performance of the new washer installation.
Steps:
- Unscrew the small screw holding the washer.
- Remove the old washer carefully.
- Clean the area with a cloth to remove debris.
Sometimes mineral buildup can also affect sealing, so cleaning is important.
Also Read:
Step 7: Install the New Washer
Installing the new washer correctly ensures a tight seal and prevents future dripping. Proper alignment and correct sizing are essential for effective performance. A poorly fitted washer may still cause leaks, so attention to detail during this step is important for restoring full faucet functionality and smooth operation.
Steps:
- Place the new washer in the same position.
- Secure it with the screw.
- Make sure it sits flat and aligned properly.
Tip: Use the same size washer for a proper seal. If unsure, take the old one to a hardware store for matching.
Step 8: Reassemble the Faucet
After replacing the washer, the faucet must be carefully reassembled in reverse order. Each part should fit back smoothly without forcing it. Proper tightening ensures stability while avoiding damage to threads or internal components. This step restores the faucet structure and prepares it for testing water flow again.
- Insert the valve stem back into the faucet body
- Tighten it with a wrench (don’t overtighten)
- Reattach the handle
- Secure the screw and cap
Everything should fit smoothly.
Also Read:
How to Fix a Broken Window Frame? Complete Guide About Broken Window Frame Repair
Step 9: Turn the Water Back On
Restoring the water supply is the final step in the repair process. It allows you to test whether the new washer has properly sealed the faucet. Turn the water on gradually and observe closely for any leaks, ensuring the repair has successfully stopped dripping and restored normal faucet function.

- Slowly open the water supply valve
- Turn the faucet on and off a few times
- Check for leaks or dripping
If done correctly, the dripping should stop completely.
Common Mistakes to Avoid
During faucet washer repair, small errors can lead to bigger problems or repeated leaks. Many issues happen because of rushed work or skipped preparation steps. Being careful and following the correct process helps ensure a successful repair and prevents unnecessary damage to internal faucet components or plumbing connections.
- Forgetting to turn off water supply
- Using the wrong washer size
- Forcing stuck parts
- Ignoring corrosion inside the valve seat
- Not cleaning parts before reassembly
When to Call a Plumber
Sometimes a faucet issue goes beyond a simple washer replacement and requires professional tools or experience. If internal components are badly damaged or the leak persists after proper repair attempts, it is better to seek expert help to avoid further damage and unnecessary water waste.
- Faucet body is heavily corroded
- Valve stem is damaged or stuck
- Leak continues after multiple repairs
- You are unsure about disassembly
A plumber can quickly identify deeper internal problems.
Final Thoughts
Replacing a faucet washer is one of the easiest and most cost-effective home repairs you can do. With just a few basic tools and a cheap washer, you can stop annoying leaks, save water, and extend the life of your faucet.
Most importantly, this repair doesn’t require special skills just patience and careful steps. Once you learn it, you can fix most dripping faucets in under 30 minutes.