
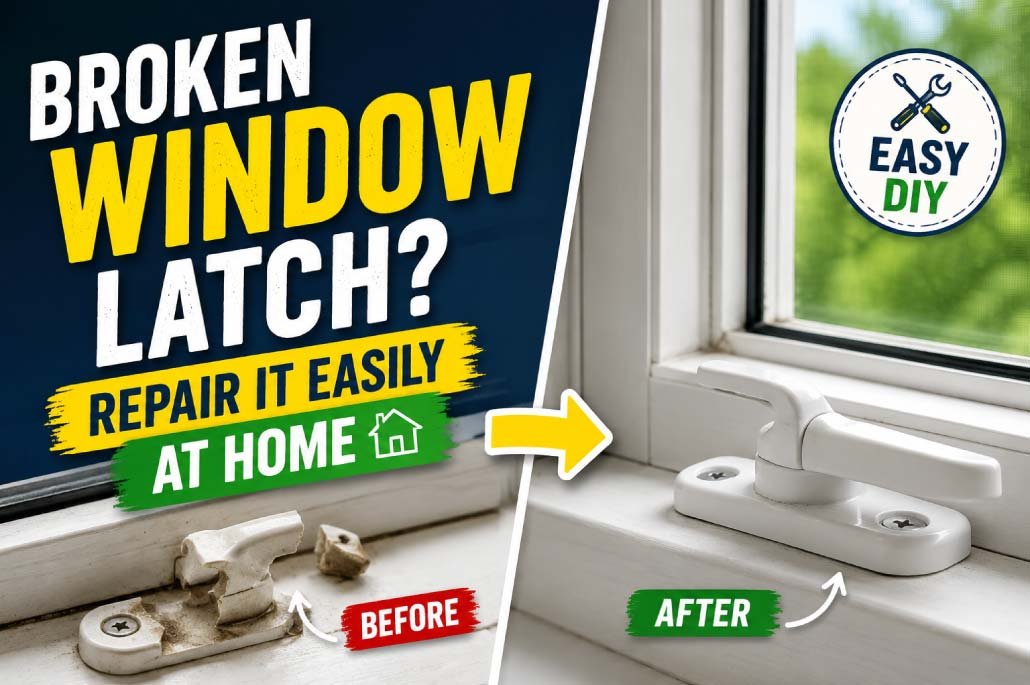
A broken window latch might seem like a small inconvenience, but it can quickly turn into a real headache. A faulty latch means your window may not close properly, won’t lock securely, or may even rattle every time the wind blows. This affects not only comfort but also safety and energy efficiency in your home.
The good news is that you don’t always need a professional to fix it. In many cases, a broken window latch can be repaired at home with simple tools and a bit of patience. This guide walks you through everything you need to know—from identifying the problem to fixing it step by step and preventing future issues.
Table of Contents
ToggleUnderstanding Why Window Latches Break
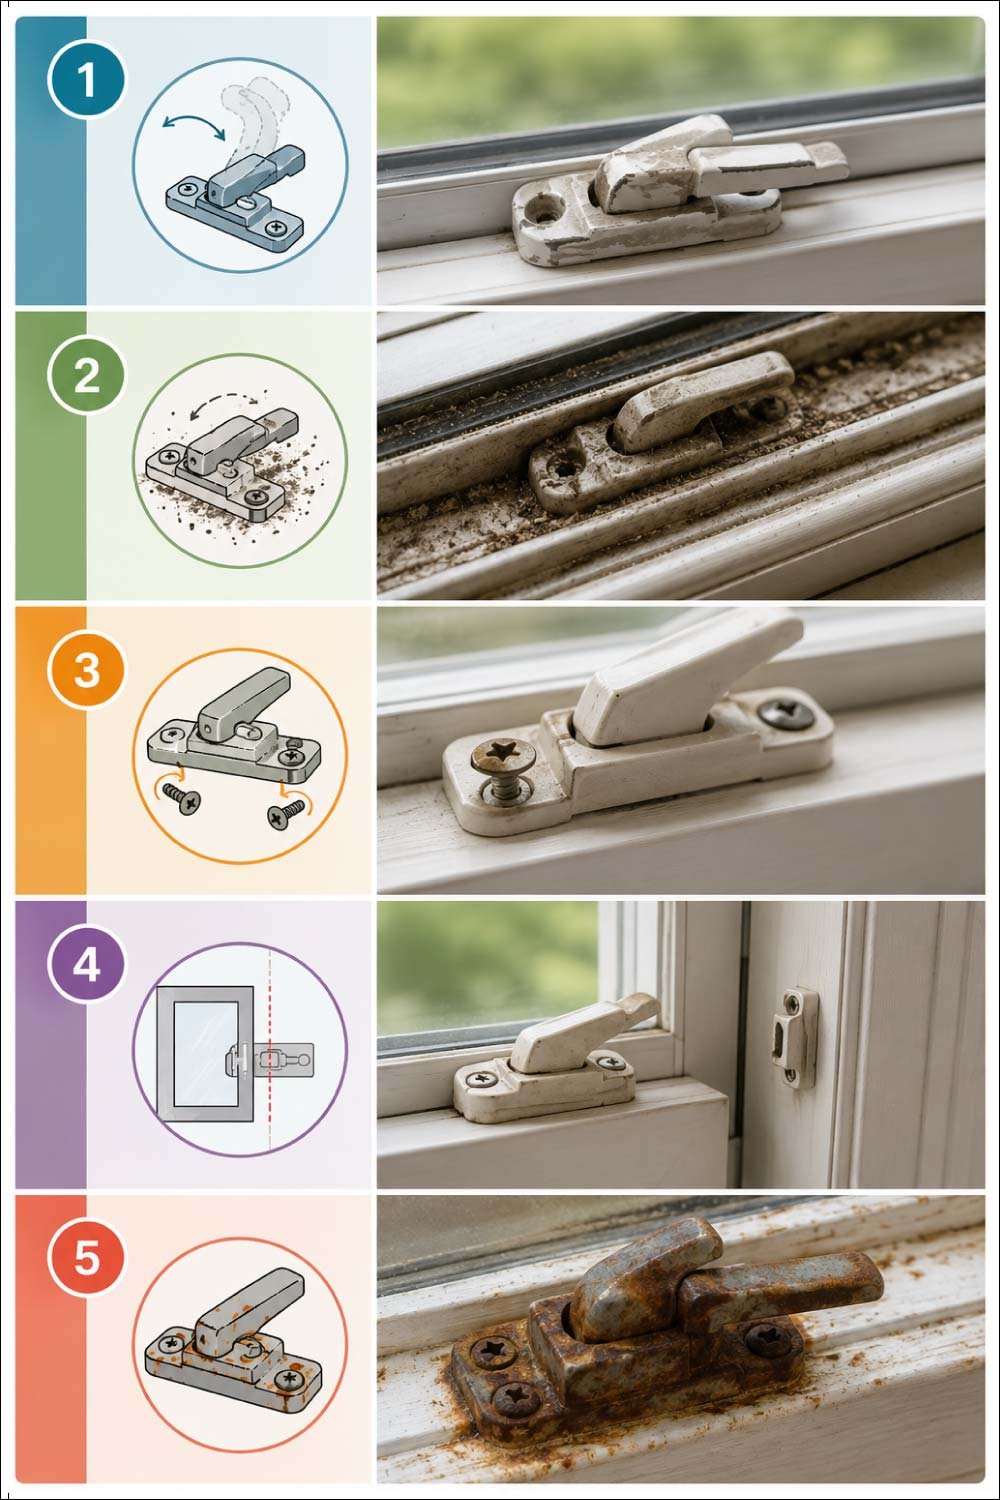
Window latch problems usually don’t appear overnight. They develop slowly due to everyday use and environmental exposure. Before attempting any repair, it’s important to understand the root causes. Identifying the issue correctly helps you choose the right fix and prevents repeated problems in the future.
- Regular use causes gradual wear
- Dirt reduces smooth movement
- Loose screws affect stability
- Frame shifts lead to misalignment
- Moisture causes rust damage
1. Regular Wear and Tear
Over time, every mechanical part experiences natural wear, and window latches are no exception. Daily opening and closing slowly weakens metal or plastic components, making them loose or less responsive. Eventually, this leads to poor grip or complete failure of the latch mechanism.
- Happens due to daily usage
- Parts become loose over time
- Metal fatigue or plastic cracking
- Reduced locking efficiency
2. Dirt and Debris Build-Up
Window latches are exposed to air, dust, and outdoor particles. Over time, this debris collects inside the mechanism, creating friction. As a result, the latch becomes stiff, hard to move, or completely stuck, especially if regular cleaning is not done.
- Dust accumulates inside mechanism
- Increases internal friction
- Causes sticking or stiffness
- Reduces smooth operation
3. Loose Screws
One of the simplest yet most common issues is loose screws. Continuous vibration from opening and closing windows slowly loosens the hardware. This causes the latch to wobble or misalign, preventing it from locking properly or securely holding the window shut.
- Screws loosen over time
- Causes instability in latch
- Leads to poor alignment
- Easily fixable issue
4. Misalignment
Changes in temperature, humidity, or even slight building movement can shift the window frame. When this happens, the latch and strike plate no longer line up correctly, making it difficult or impossible to lock the window smoothly.
- Frame shifts over time
- Latch no longer aligns
- Causes locking difficulty
- Common in older homes
5. Rust or Corrosion
Moisture exposure, especially in humid or rainy conditions, can cause metal latches to rust. This weakens the structure and makes movement rough or completely blocked. Rust also reduces durability and can eventually break the latch mechanism entirely.
- Caused by moisture exposure
- Weakens metal parts
- Restricts smooth movement
- Can lead to breakage
Understanding the cause helps you choose the right fix instead of guessing.
Tools You May Need
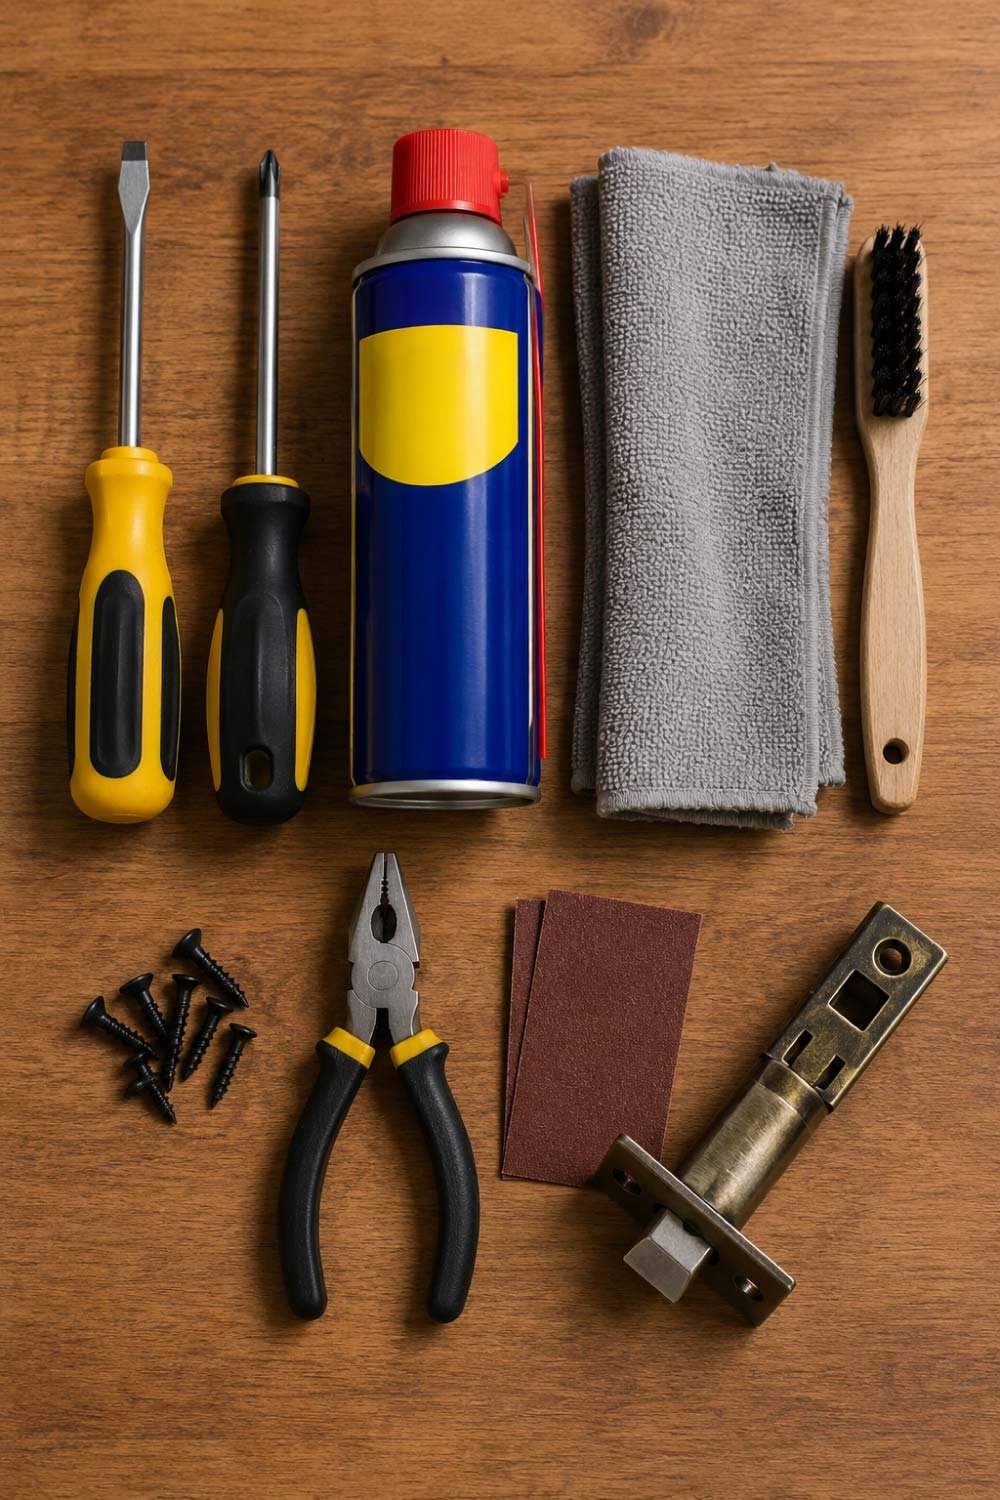
Before starting any repair work, it’s important to gather all necessary tools. Having everything ready in advance saves time and ensures a smoother repair process. Most of these tools are commonly available in households or local hardware stores.
- Screwdriver (flat or Phillips head)
- Lubricant spray (WD-40 or silicone)
- Cleaning cloth or brush
- Replacement screws if needed
- Small pliers for grip work
- Sandpaper for rust removal
- Optional replacement latch
Having everything ready will make the process smoother and faster.
Also Read:
Step-by-Step Guide to Fix a Broken Window Latch
Repairing a broken window latch becomes easy when done step by step. Each stage helps you identify, clean, adjust, or replace faulty parts. Follow these instructions carefully to restore smooth locking and ensure your window works properly again.
Step 1: Inspect the Latch Carefully
Start the repair process by carefully examining the latch. Observing how it behaves when opening and closing helps you understand whether the issue is mechanical damage, misalignment, or simple looseness. This step is important before making any adjustments or repairs.
- Check latch movement closely
- Look for visible damage
- Test locking function
- Identify sticking points
Ask yourself:
- Is the latch loose or wobbly?
- Does it fail to catch the strike plate?
- Is it stuck or hard to move?
- Is anything visibly broken or missing?
This inspection helps determine whether you need a simple adjustment or a full replacement.
Step 2: Tighten Loose Screws
In many cases, the problem is simply loose hardware. Screws that hold the latch or strike plate may loosen over time due to repeated use. Tightening them properly can instantly restore alignment and improve locking performance without any additional repair work.
- Tighten all visible screws
- Check strike plate as well
- Use proper screwdriver size
- Replace damaged screws if needed
If screws keep spinning without tightening, the hole may be stripped (we’ll fix that later).
After tightening, test the window again. Sometimes this alone solves the problem instantly.
Step 3: Clean the Latch Mechanism
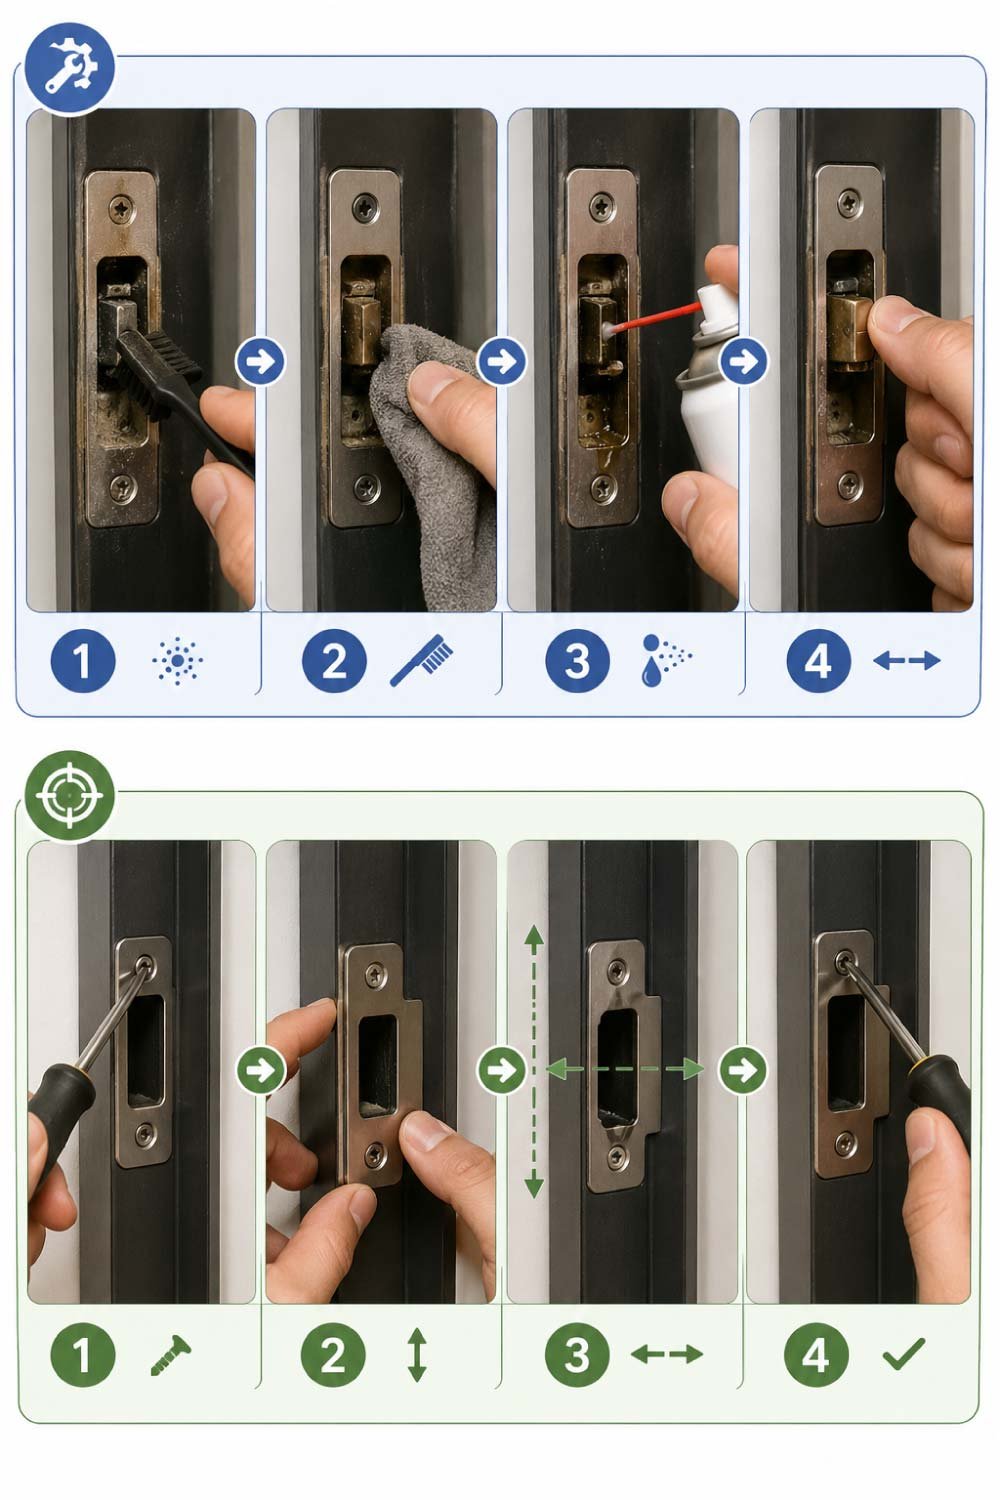
Dust, grime, and old grease can build up inside the latch and affect its movement. Cleaning removes these blockages and restores smooth operation. This step is especially important if the latch feels sticky, stiff, or difficult to operate.
- Remove surface dust first
- Clean with brush or cloth
- Apply light lubricant spray
- Move latch to spread fluid
Avoid overusing lubricant—it can attract more dust if applied excessively.
A clean latch often becomes noticeably smoother right away.
Also Read:
Step 4: Fix Misalignment Issues
Misalignment happens when the latch and strike plate no longer line up correctly. This is common due to frame shifting or loose fittings. Carefully adjusting the position of either part can quickly restore proper locking function.
- Loosen screws slightly
- Adjust position carefully
- Move up, down, or sideways
- Retighten and test
Even a tiny shift can make a big difference. Take your time with this step.
Step 5: Repair Stripped Screw Holes
If screws won’t tighten properly, the wood or frame may be stripped.
Here’s a quick home fix:
- Remove the loose screw.
- Insert wooden toothpicks or small matchsticks into the hole.
- Add a few drops of wood glue.
- Break off excess wood so it’s flush with the surface.
- Reinsert the screw and tighten firmly.
This creates a stronger grip and restores stability to the latch.
For a longer-lasting solution, wooden dowels can also be used.
Step 6: Remove Rust or Corrosion
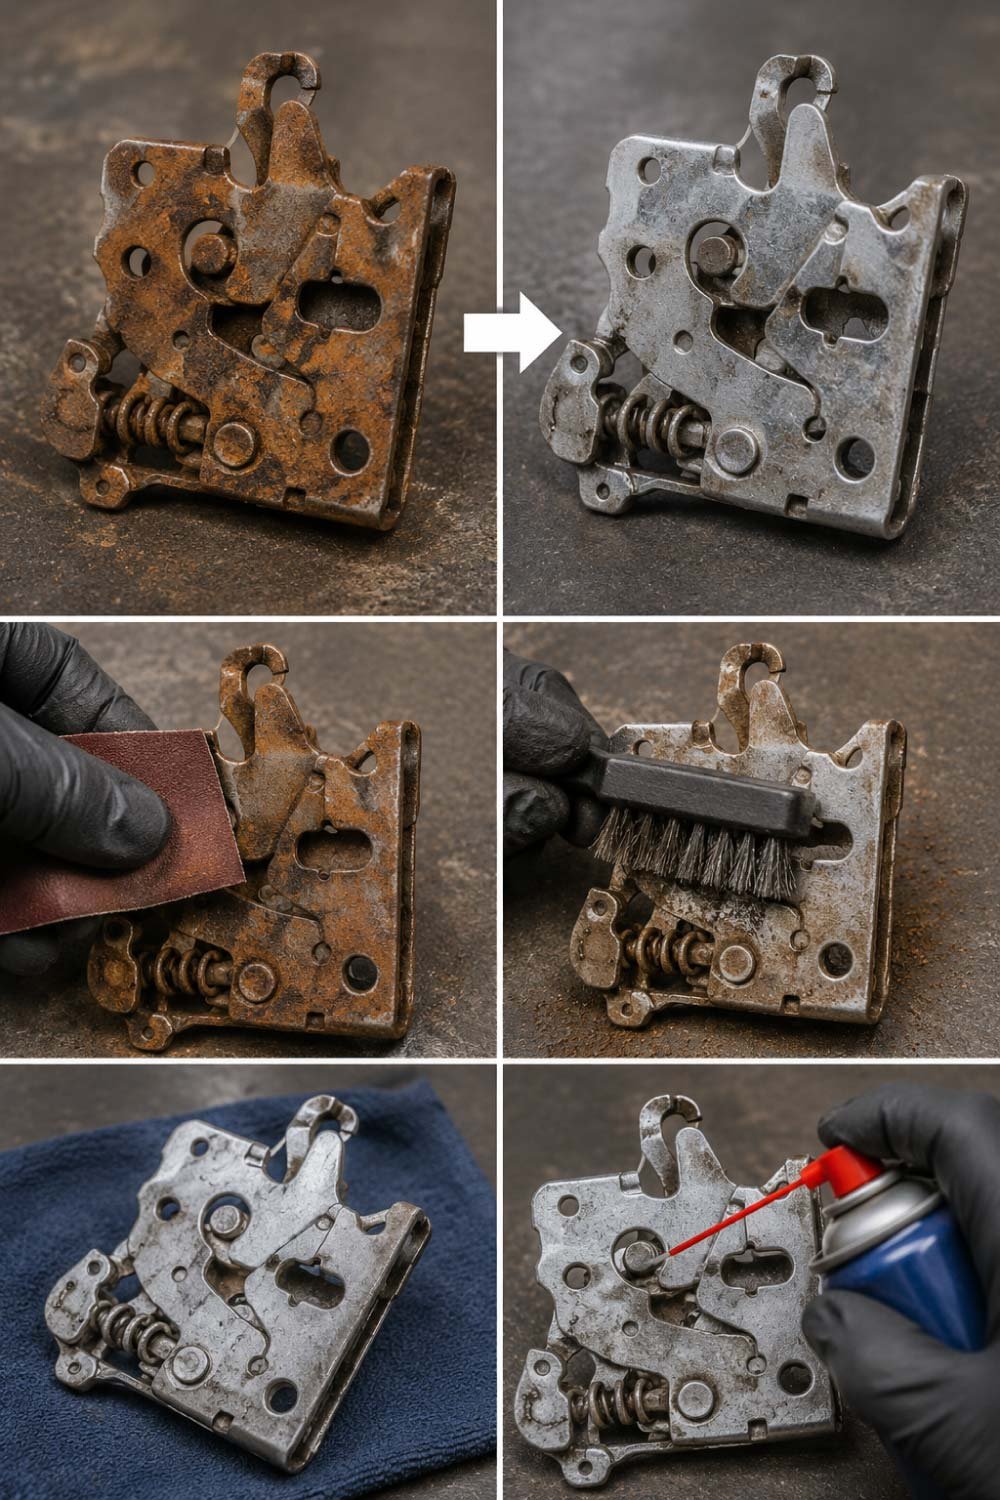
If your latch is rusty, it may still be salvageable.
- Use sandpaper or a wire brush to remove rust.
- Apply lubricant afterward to protect the metal.
- If corrosion is severe, replacement may be necessary.
Rust is often a sign that moisture is getting into the mechanism, so consider checking nearby seals as well.
Also Read:
Step 7: Replace the Latch (If Needed)
Sometimes repair isn’t enough, especially if the latch is cracked or broken.
To replace it:
- Remove the old latch using a screwdriver.
- Take it to a hardware store to find a matching replacement.
- Install the new latch using the same screw holes.
- Adjust alignment as needed.
Modern latches are often more durable, so upgrading can be a good long-term solution.
Common Mistakes to Avoid
While repairing a window latch is simple, a few mistakes can make things worse:
1. Over-tightening screws
This can strip the holes or crack the frame.
2. Using too much lubricant
Excess oil attracts dust and creates buildup.
3. Ignoring alignment issues
Even a perfect latch won’t work if it doesn’t line up properly.
4. Forcing the mechanism
If something is stuck, forcing it can break the latch completely.
Taking a careful, step-by-step approach always works better.
Preventing Future Latch Problems
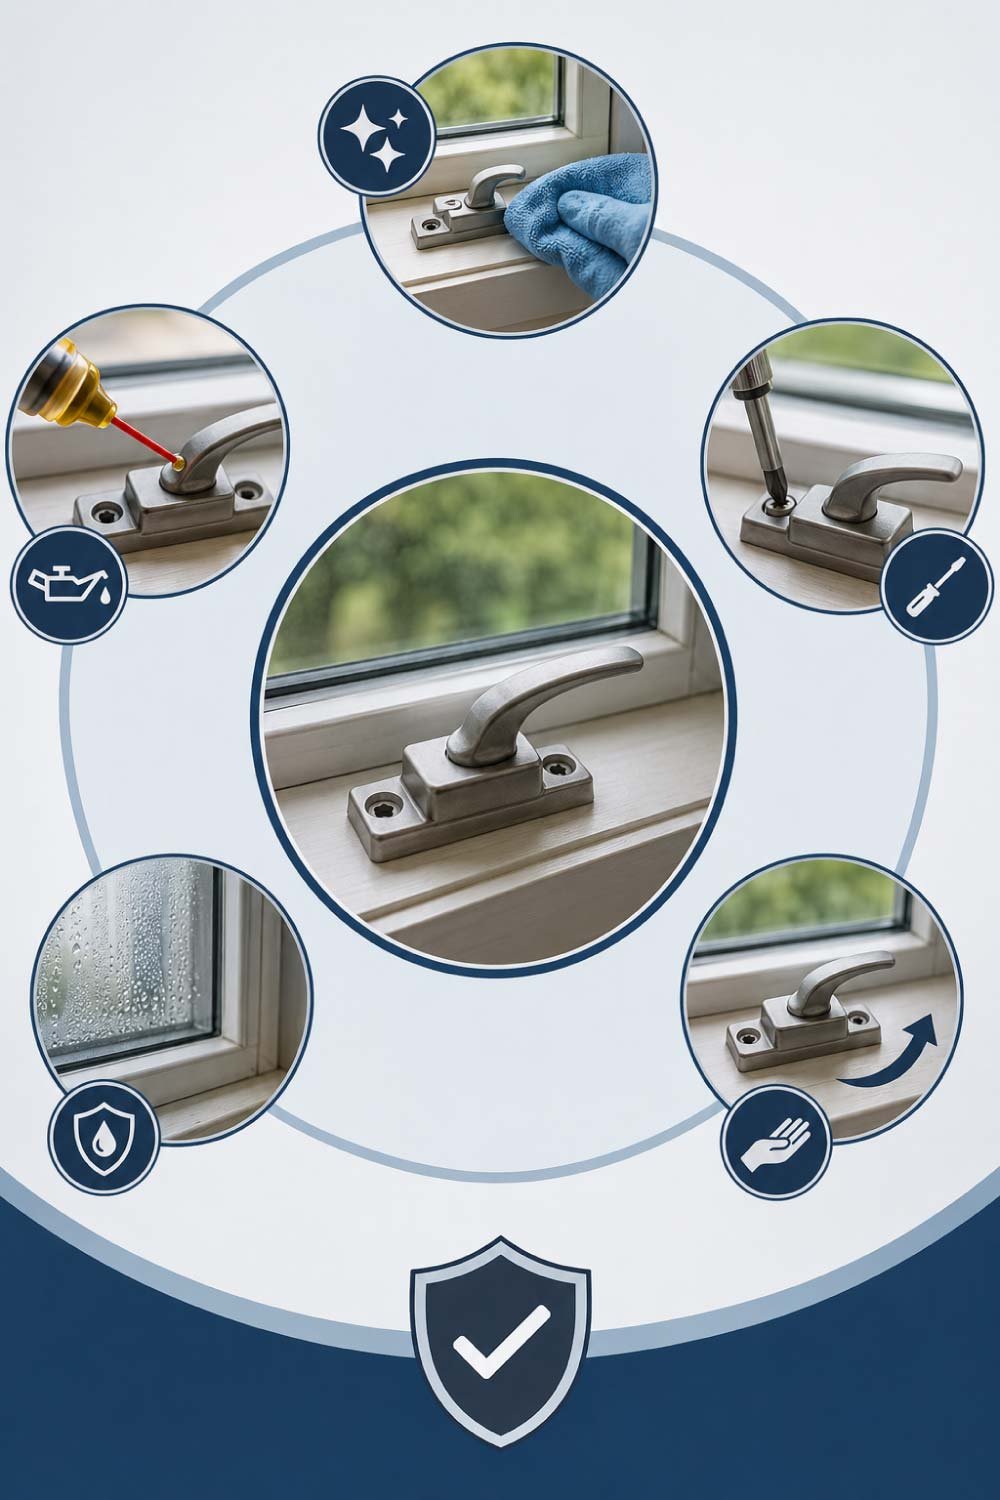
Once your latch is working again, a little maintenance can keep it that way for years.
1. Regular Cleaning
Wipe down the latch every few months to prevent dirt buildup.
2. Light Lubrication
Apply a small amount of lubricant once or twice a year.
3. Check Screws Periodically
Tighten any loose screws before they become a bigger issue.
4. Protect from Moisture
If possible, ensure windows are sealed properly to avoid rust and corrosion.
5. Gentle Use
Avoid slamming windows shut, as this puts stress on the latch.
Preventive care is much easier than repeated repairs.
When to Call a Professional
While most latch issues are DIY-friendly, there are cases where expert help is better:
- The window frame is damaged or warped
- Multiple parts of the mechanism are broken
- The window is difficult to open or close even after repair
- You’re dealing with high-rise or safety-sensitive windows
In these situations, a professional can ensure safe and proper repair.
Final Thoughts
A broken window latch may seem like a small problem, but it affects security, comfort, and energy efficiency in your home. Fortunately, most latch issues are easy to fix with basic tools and a bit of attention.
Whether it’s tightening screws, cleaning the mechanism, fixing alignment, or replacing the latch entirely, these simple steps can restore your window to full working condition.
By understanding the cause of the issue and following a careful repair process, you can save time, money, and avoid unnecessary stress. Even better, regular maintenance will keep your windows working smoothly for years to come.
With just a little effort, that “broken window latch problem” becomes a quick and satisfying DIY fix you can confidently handle at home.