
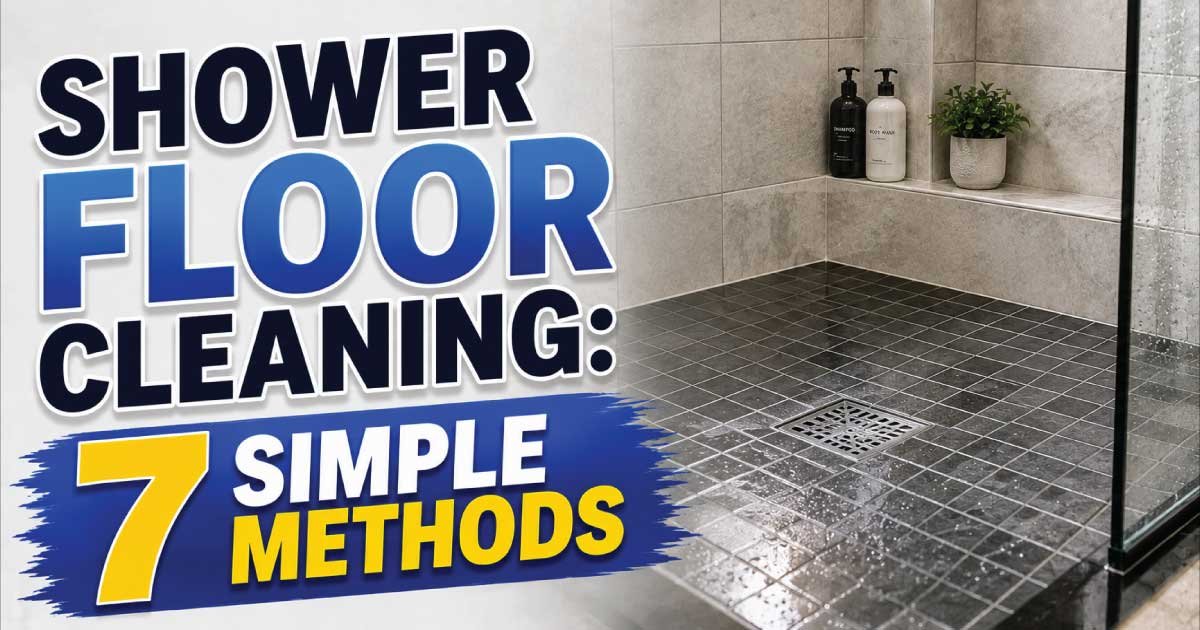
A clean shower floor not only improves the appearance of your bathroom but also helps create a healthier and safer environment. Over time, soap scum, hard water stains, body oils, mold, mildew, and dirt can accumulate on the shower floor, making it slippery and difficult to clean. Without regular maintenance, these deposits can become stubborn, leading to unpleasant odors and potential damage to grout and tiles.
Fortunately, shower floor cleaning doesn’t have to be a time-consuming task. By using the right cleaning methods and maintaining a simple routine, you can keep your shower floor spotless and extend its lifespan. In this guide, you’ll discover 7 simple methods to remove dirt, stains, and grime while keeping your shower floor fresh and hygienic.
Why Regular Shower Floor Cleaning Is Important
Your shower floor is exposed to moisture every day, creating the perfect environment for mold, mildew, and bacteria to grow. Regular cleaning helps prevent buildup and keeps your bathroom looking its best.
Benefits of Cleaning Your Shower Floor Regularly
- Removes soap scum, dirt, and body oils.
- Prevents mold and mildew growth.
- Reduces slippery surfaces for improved safety.
- Keeps grout and tiles in better condition.
- Eliminates unpleasant odors.
- Extends the life of your shower floor.
Consistent maintenance also makes deep cleaning faster and easier.
Method 1: Sweep or Rinse Away Loose Dirt
Before applying any cleaner, remove loose debris from the shower floor.
How to Do It
- Rinse the floor with warm water.
- Remove hair and loose dirt by hand or with a paper towel.
- If needed, use a small broom or brush for textured shower floors.
- Clear the drain of any visible debris.
Starting with a clean surface allows cleaning products to work more effectively.
Method 2: Clean with White Vinegar
White vinegar is an effective natural cleaner for dissolving soap scum and light mineral deposits.
Steps
- Mix equal parts white vinegar and warm water in a spray bottle.
- Spray the solution generously over the shower floor.
- Let it sit for 10–15 minutes.
- Scrub gently with a soft brush or sponge.
- Rinse thoroughly with warm water.
This method works well on ceramic and porcelain shower floors.
Note: Do not use vinegar on natural stone surfaces such as marble, limestone, or travertine because it can damage the finish.
Method 3: Remove Stains with Baking Soda Paste
Baking soda is a gentle abrasive that helps lift soap scum and grime without scratching most surfaces.
DIY Cleaning Paste
| Ingredient | Amount |
|---|---|
| Baking soda | ½ cup |
| Water | 2–3 tablespoons |
Mix until a thick paste forms.
How to Use It
- Spread the paste over stained areas.
- Allow it to sit for 15–20 minutes.
- Scrub with a soft-bristle brush.
- Rinse thoroughly with clean water.
This method is ideal for routine cleaning and light stains.
Method 4: Scrub Grout Lines Thoroughly
Grout often traps dirt, mold, and soap residue, making the shower floor appear dirty even when the tiles are clean.
Best Grout Cleaning Tips
- Use a grout brush or an old toothbrush.
- Apply a baking soda paste to stained grout.
- Scrub in small circular motions.
- Rinse thoroughly after cleaning.
- Allow the grout to dry completely.
Sealing grout periodically can also help reduce future staining.
Method 5: Use a Commercial Shower Cleaner
If natural methods don’t remove stubborn stains, a commercial shower cleaner can help.
Best Uses
- Heavy soap scum
- Hard water stains
- Mold and mildew
- Deep-set grime
Safety Tips
- Read the product label carefully.
- Wear gloves if recommended.
- Keep the bathroom well ventilated.
- Never mix different cleaning products together.
Choose a cleaner that is suitable for your shower floor material.
Method 6: Rinse and Dry the Shower Floor
After cleaning, rinsing and drying are essential steps that many people overlook.
Why It Matters
- Removes leftover cleaning residue.
- Prevents streaks and water spots.
- Reduces moisture that encourages mold growth.
- Leaves the surface looking cleaner and shinier.
Use a microfiber cloth or squeegee to dry the shower floor after rinsing.
Method 7: Prevent Future Buildup
Preventive maintenance keeps your shower floor cleaner for longer and reduces the need for deep scrubbing.
Easy Prevention Tips
- Rinse the shower floor after each use.
- Use a squeegee or towel to remove excess water.
- Run the exhaust fan after showering.
- Clean the shower floor weekly.
- Fix leaks promptly to reduce moisture.
- Keep the drain clear to prevent standing water.
These simple habits help minimize soap scum, mold, and hard water stains.
Common Shower Floor Cleaning Mistakes to Avoid
Avoid these common mistakes to protect your shower floor and achieve better results.
Mistakes to Watch For
- Using steel wool or wire brushes, which can scratch tiles and shower pans.
- Using acidic cleaners on natural stone surfaces.
- Skipping grout cleaning, allowing dirt and mold to accumulate.
- Leaving cleaning residue behind instead of rinsing thoroughly.
- Using excessive water on areas with damaged grout.
- Waiting too long between cleanings, making stains harder to remove.
Cleaning regularly is easier than tackling months of built-up grime.
Natural vs. Commercial Shower Floor Cleaners
Both natural and commercial cleaners have advantages depending on your cleaning needs.
| Feature | Natural Cleaners | Commercial Cleaners |
| Cost | Low | Moderate |
| Eco-friendly | Yes | Varies by product |
| Best for | Routine maintenance | Heavy stains and mildew |
| Odor | Mild | May be stronger |
| Ease of use | Simple DIY | Ready to use |
Natural cleaners like baking soda and vinegar are excellent for routine maintenance, while commercial products are often more effective for stubborn buildup.
Recommended Shower Floor Cleaning Schedule
Following a consistent routine helps keep your shower floor looking its best.
| Cleaning Task | Frequency |
| Rinse shower floor | After each use |
| Remove hair and debris | As needed |
| Clean with mild cleaner | Weekly |
| Scrub grout | Monthly |
| Deep clean shower floor | Every 2–3 months |
Sticking to a schedule prevents dirt from becoming difficult to remove.
Tips for Keeping Your Shower Floor Cleaner Longer
Simple habits can reduce cleaning time and help maintain a fresh bathroom.
Helpful Tips
- Use liquid soap if soap scum is a recurring problem.
- Keep the bathroom well ventilated after every shower.
- Dry the shower floor with a towel or squeegee.
- Wash shower mats regularly to prevent mold and mildew.
- Inspect grout and caulk for signs of wear or damage.
- Address hard water stains early before they become stubborn.
Small maintenance tasks can make a big difference over time.
Frequently Asked Questions
How often should I clean my shower floor?
A light cleaning once a week is sufficient for most households. High-use showers or homes with hard water may benefit from more frequent cleaning.
Can I use vinegar on all shower floors?
No. Vinegar is suitable for many ceramic and porcelain surfaces but should not be used on natural stone, such as marble or travertine, because it can cause etching and damage.
How can I remove mold from my shower floor?
Clean the affected area with a product labeled for mold and mildew or another cleaner suitable for your shower surface. Follow the manufacturer’s instructions, ensure good ventilation, and address excess moisture to help prevent mold from returning.
Conclusion
Proper shower floor cleaning is essential for maintaining a safe, hygienic, and attractive bathroom. By following these 7 simple methods, including using baking soda, white vinegar where appropriate, cleaning grout, and maintaining a regular cleaning schedule, you can remove dirt, soap scum, and stains with minimal effort.
The key to long-lasting results is consistency. A few minutes of routine maintenance each week can prevent stubborn buildup, extend the life of your shower floor, and keep your bathroom looking clean, fresh, and inviting.