
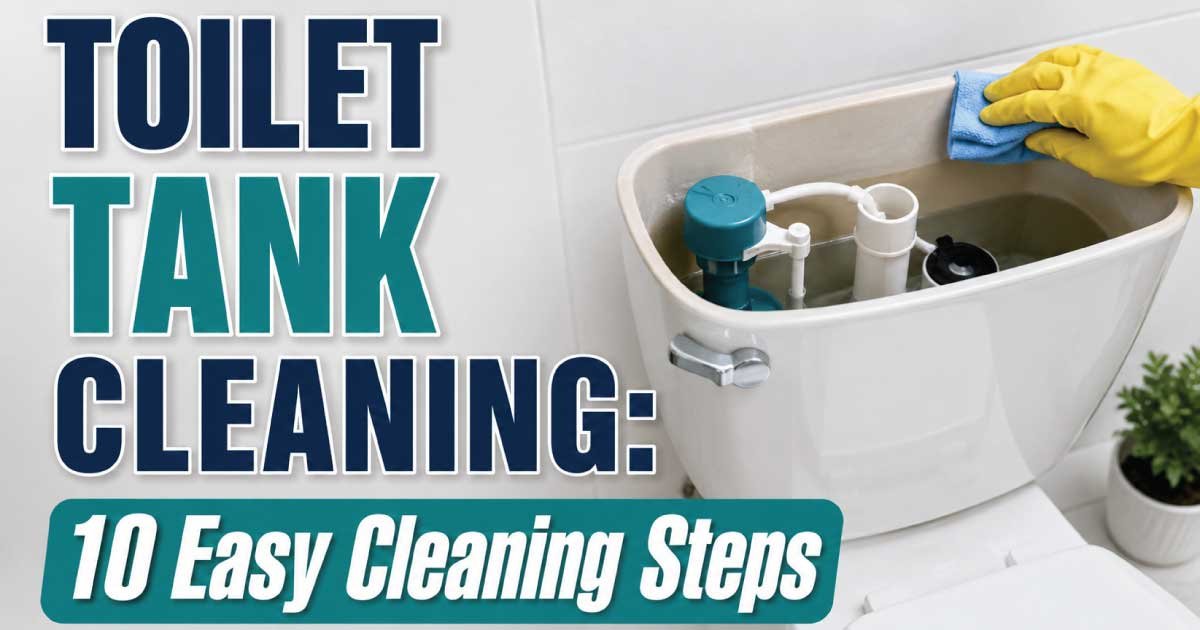
A clean toilet tank is an important part of maintaining a fresh and hygienic bathroom. Many people clean the toilet bowl and seat regularly but forget about the inside of the tank. Over time, minerals, bacteria, rust, mold, and unpleasant odors can build up inside the tank, affecting the toilet’s performance and cleanliness.
Cleaning your toilet tank does not require professional help or expensive products. With a few simple supplies and the right method, you can remove buildup and keep your toilet working efficiently. Regular tank cleaning can also help prevent problems such as slow flushing, stained water, and damaged toilet parts.
The following 10 easy cleaning steps will guide you through the process safely and effectively.
Why Cleaning Your Toilet Tank Is Important
The toilet tank stores the water used for every flush, which means dirt and deposits inside the tank can eventually affect the entire toilet system. A neglected tank may develop:
- Mineral deposits caused by hard water
- Rust stains around metal components
- Mold and mildew growth
- Bacteria buildup
- Unpleasant smells
- Reduced flushing efficiency
Regular cleaning helps extend the life of toilet parts such as the flapper, fill valve, and flush mechanism. It also ensures that cleaner water enters the toilet bowl after every flush.
Supplies You Need Before Cleaning
Before starting, gather all necessary cleaning materials. Having everything ready makes the process faster and easier.
| Cleaning Supply | Purpose |
|---|---|
| Rubber gloves | Protect hands from bacteria and cleaning chemicals |
| White vinegar | Removes mineral deposits and buildup |
| Baking soda | Helps scrub stains and remove odors |
| Toilet brush or soft scrub brush | Cleans tank surfaces |
| Sponge or cloth | Wipes and dries parts |
| Bucket | Holds drained water if needed |
| Mild cleaner | Helps remove stubborn dirt |
Avoid using harsh chemical cleaners that can damage rubber and plastic parts inside the toilet tank.
10 Easy Toilet Tank Cleaning Steps
1. Turn Off the Toilet Water Supply
Start by locating the water shut-off valve near the base of your toilet. Turn the valve clockwise until the water supply stops.
This prevents new water from entering the tank while you clean. It also allows you to empty the tank completely.
2. Flush the Toilet Tank Completely
After turning off the water supply, flush the toilet. The water inside the tank will drain into the bowl.
If some water remains at the bottom of the tank, use a sponge or cloth to soak it up. A mostly empty tank makes cleaning easier and allows you to reach all areas.
3. Inspect the Inside of the Tank
Before applying any cleaner, examine the inside of the tank carefully. Look for:
- Brown or orange rust marks
- White mineral deposits
- Black mold spots
- Dirt around moving parts
Checking the condition of your tank helps you choose the right cleaning method. Light buildup may only need vinegar, while heavy stains may require more scrubbing.
4. Clean With White Vinegar
White vinegar is a natural cleaning solution that works well for removing mineral buildup. Pour enough vinegar into the empty tank to cover stained areas.
Allow the vinegar to sit for about 30 minutes. For heavy deposits, you can leave it for several hours.
The vinegar helps break down calcium and mineral deposits without damaging most toilet components.
5. Scrub the Tank Surfaces
After allowing the vinegar to work, use a soft brush or sponge to scrub the inside walls of the tank.
Focus on areas where dirt commonly collects, including:
- Corners of the tank
- Around the water line
- Near the flush valve
- Around metal components
Avoid using rough scrubbers because they can scratch the porcelain or damage plastic parts.
6. Clean the Toilet Tank Components
The inside parts of your toilet tank also need attention. Carefully clean around:
- The flapper valve
- The fill valve
- The overflow tube
- The flush handle connection
Use a soft cloth to remove dirt. Do not force or bend any parts because damaged components may cause leaks or flushing problems.
7. Use Baking Soda for Extra Cleaning
For additional freshness and stain removal, sprinkle baking soda inside the tank after scrubbing.
Baking soda can help:
- Neutralize odors
- Remove remaining stains
- Provide gentle scrubbing power
Mixing baking soda with a small amount of water creates a mild cleaning paste that works well on stubborn spots.
8. Rinse the Tank Thoroughly
Once cleaning is complete, turn the water supply valve back on and allow the tank to fill.
Flush the toilet several times to remove leftover vinegar, dirt, and cleaning residue. Make sure the water appears clear before finishing.
A proper rinse prevents cleaning products from affecting toilet parts or entering future flushes.
9. Check for Problems After Cleaning
After the tank is clean, inspect the toilet’s performance. Check whether:
- The tank fills properly
- The toilet flushes normally
- There are no leaks
- The handle works smoothly
If you notice constant running water or unusual sounds, a toilet component may need repair or replacement.
10. Create a Regular Cleaning Routine
Cleaning your toilet tank once or twice a year is usually enough for most households. Homes with hard water may require more frequent cleaning because mineral deposits build up faster.
A simple maintenance schedule can prevent major buildup and keep your toilet operating properly.
Tips for Keeping Your Toilet Tank Cleaner Longer
Following good maintenance habits can reduce the need for deep cleaning.
- Avoid dropping cleaning tablets into the tank unless they are safe for your toilet model.
- Check for leaks regularly.
- Keep the bathroom well ventilated to reduce mold growth.
- Clean the toilet exterior and bowl regularly.
- Use filtered water if mineral buildup is a frequent problem.
Common Mistakes to Avoid When Cleaning a Toilet Tank
Many homeowners accidentally damage toilet parts by using incorrect cleaning methods. Avoid these mistakes:
- Using bleach and vinegar together, as this creates harmful fumes.
- Using abrasive tools that scratch surfaces.
- Leaving strong chemicals inside the tank for too long.
- Ignoring small leaks or damaged parts.
- Forgetting to rinse the tank after cleaning.
Gentle cleaning methods are usually safer and more effective than aggressive products.
How Often Should You Clean a Toilet Tank?
The ideal cleaning frequency depends on water quality and toilet usage.
| Situation | Recommended Cleaning Frequency |
| Average household use | Every 6–12 months |
| Hard water area | Every 3–6 months |
| Visible stains or odors | Clean immediately |
| Rental or shared bathrooms | More frequent inspections |
Regular cleaning keeps your toilet healthier and reduces the chance of expensive repairs.
Benefits of a Clean Toilet Tank
A properly maintained toilet tank provides several advantages:
- Better flushing performance
- Reduced odors
- Longer-lasting toilet components
- Fewer mineral deposits
- Improved bathroom hygiene
- Lower chance of plumbing problems
A clean tank is a small part of bathroom maintenance but can make a noticeable difference in comfort and cleanliness.
Final Thoughts on Toilet Tank Cleaning
Cleaning your toilet tank is a simple task that can improve your bathroom’s hygiene and help your toilet work better. By following these 10 easy steps, you can remove buildup, protect important toilet parts, and maintain a cleaner home.
Using gentle products like white vinegar and baking soda, along with regular maintenance, keeps your toilet tank fresh without relying on harsh chemicals. A few minutes of care every few months can prevent bigger problems and keep your toilet in excellent condition.