
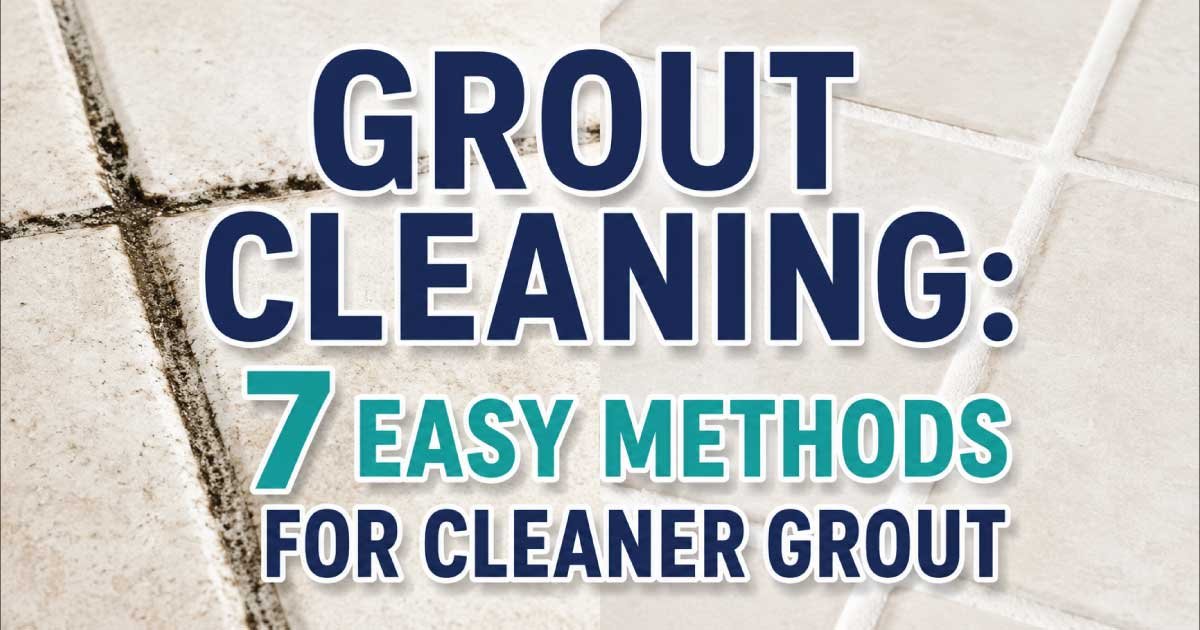
Grout may seem like a small part of your bathroom or kitchen, but it has a big impact on the overall appearance of your space. Over time, grout absorbs dirt, soap scum, grease, mold, and mildew, causing once-bright tile lines to become stained and discolored. Fortunately, you don’t need expensive cleaning services or harsh chemicals to restore grout to its original look.
With the right techniques and a little effort, you can remove stubborn stains and keep grout looking fresh for years. In this guide, you’ll learn seven easy grout cleaning methods, the best tools to use, common mistakes to avoid, and maintenance tips to prevent future buildup.
Why Grout Gets Dirty
Grout is naturally porous, meaning it easily absorbs moisture, dirt, oils, and cleaning residue. In areas like bathrooms and kitchens, constant exposure to water and humidity makes grout especially vulnerable to discoloration and mold growth.
Common causes of dirty grout include:
- Soap scum buildup
- Hard water deposits
- Mold and mildew
- Dirt tracked in from shoes
- Grease splatters in kitchens
- Poor ventilation
- Infrequent cleaning
Regular maintenance prevents stains from becoming permanent and extends the life of your tiled surfaces.
Supplies You’ll Need
Before you begin, gather the necessary cleaning supplies.
| Cleaning Supply | Purpose |
|---|---|
| Baking soda | Removes stains and deodorizes |
| White vinegar | Dissolves mineral deposits |
| Hydrogen peroxide | Brightens stained grout |
| Dish soap | Cuts through grease |
| Warm water | Rinsing surfaces |
| Spray bottle | Applies cleaning solutions |
| Old toothbrush or grout brush | Scrubs grout lines |
| Microfiber cloth | Wipes away residue |
| Rubber gloves | Protects hands |
Having the right tools makes grout cleaning quicker and more effective.
Method 1: Clean Grout with Baking Soda Paste
Baking soda is one of the safest and most effective natural cleaners for grout.
How to Use It
- Mix baking soda with a small amount of water until it forms a thick paste.
- Apply the paste directly onto the grout lines.
- Let it sit for 10–15 minutes.
- Scrub gently with a toothbrush or grout brush.
- Rinse with warm water and wipe dry.
Benefits
- Non-toxic
- Affordable
- Safe for most tile surfaces
- Helps remove stains and odors
This method works well for regular maintenance and lightly stained grout.
Method 2: Use White Vinegar for Soap Scum and Hard Water Stains
White vinegar effectively dissolves mineral deposits and soap residue that collect in grout lines.
Steps
- Fill a spray bottle with equal parts white vinegar and water.
- Spray directly onto the grout.
- Let it sit for 10 minutes.
- Scrub with a grout brush.
- Rinse thoroughly with clean water.
Best For
- Bathroom grout
- Shower walls
- Tile backsplashes
Note: Avoid using vinegar on natural stone surfaces such as marble, limestone, or travertine, as the acid can damage them.
Method 3: Brighten Grout with Hydrogen Peroxide
Hydrogen peroxide is excellent for lifting stubborn stains and whitening discolored grout.
Instructions
- Apply hydrogen peroxide directly to stained grout.
- Allow it to sit for 10–15 minutes.
- Scrub gently with a soft brush.
- Rinse thoroughly with warm water.
Advantages
- Removes deep stains
- Helps eliminate mold spots
- Brightens dingy grout
- Leaves minimal residue
For tougher stains, combine hydrogen peroxide with baking soda to create a thicker cleaning paste.
Method 4: Remove Greasy Grout with Dish Soap
Kitchen grout often becomes dirty from grease and food splatters.
Cleaning Solution
Mix:
- 2 cups warm water
- 1 teaspoon dish soap
How to Clean
- Dip a brush into the solution.
- Scrub the grout thoroughly.
- Wipe clean using a damp microfiber cloth.
- Dry the surface completely.
This gentle method is ideal for everyday kitchen maintenance.
Method 5: Use Steam for Deep Cleaning
Steam cleaning is an excellent chemical-free option for heavily soiled grout.
How It Works
A steam cleaner loosens:
- Embedded dirt
- Mold
- Soap residue
- Grease
After steaming, scrub lightly with a grout brush and wipe away the loosened debris.
Benefits
- No harsh chemicals
- Sanitizes surfaces
- Reaches deep into grout pores
- Safe for many sealed tile surfaces
Always check that your tiles and grout are suitable for steam cleaning before use.
Method 6: Tackle Mold and Mildew Carefully
Bathrooms with poor ventilation often develop mold and mildew along grout lines.
Steps
- Apply a mold-removing cleaner approved for tile and grout, following the product instructions.
- Allow it to sit for the recommended time.
- Scrub gently with a grout brush.
- Rinse thoroughly.
- Dry the area completely.
Prevention Tips
- Run the exhaust fan after showers.
- Keep shower doors open to improve airflow.
- Wipe down wet surfaces regularly.
- Repair leaks promptly.
Preventing excess moisture is the best defense against recurring mold.
Method 7: Seal Your Grout After Cleaning
Once grout is clean and completely dry, applying a grout sealer helps protect it from future stains.
Why Seal Grout?
A quality grout sealer:
- Repels moisture
- Reduces staining
- Prevents dirt buildup
- Makes routine cleaning easier
- Extends grout lifespan
Most grout should be resealed every 1–2 years, depending on the product used and the amount of wear the area receives.
Grout Cleaning Schedule
Cleaning grout regularly prevents deep stains from developing.
| Task | Recommended Frequency |
|---|---|
| Light grout cleaning | Weekly |
| Deep grout scrubbing | Monthly |
| Mold inspection | Monthly |
| Steam cleaning | Every 3–6 months |
| Apply grout sealer | Every 1–2 years |
A simple schedule keeps grout looking clean without requiring major restoration.
Tips to Keep Grout Cleaner Longer
Good maintenance habits can significantly reduce the amount of deep cleaning needed.
Helpful Tips
- Wipe shower walls after every use.
- Clean spills immediately in kitchens.
- Use bath mats to reduce tracked-in dirt.
- Improve ventilation by running an exhaust fan.
- Sweep and mop tile floors regularly.
- Avoid allowing soap scum to build up.
- Dry tiled surfaces after cleaning.
Consistent care prevents grime from settling into the grout.
Common Grout Cleaning Mistakes
Avoid these mistakes to protect your grout and tile.
- Using metal brushes that scratch grout
- Scrubbing too aggressively, which can erode grout
- Skipping the rinse step after cleaning
- Leaving grout wet for long periods
- Using acidic cleaners on natural stone tile
- Forgetting to reseal grout after deep cleaning
- Allowing mold to spread before treating it
Gentle, consistent cleaning is much more effective than occasional aggressive scrubbing.
Natural vs. Commercial Grout Cleaners
Both natural and commercial products have their advantages.
| Natural Cleaners | Commercial Cleaners |
|---|---|
| Eco-friendly | Often faster on heavy stains |
| Budget-friendly | Designed for stubborn grime |
| Safe for routine cleaning | May include disinfectants |
| Readily available | Convenient for deep cleaning |
| Ideal for light to moderate stains | Better for severe discoloration |
Choose the option that best suits the condition of your grout and always follow the manufacturer’s instructions for commercial products.
When to Replace Instead of Clean
Sometimes grout is too damaged to restore through cleaning alone.
Signs that replacement may be necessary include:
- Large cracks in the grout
- Missing sections
- Persistent mold that returns quickly
- Crumbling or loose grout
- Water leaking behind tiles
Replacing damaged grout helps protect the underlying surface from moisture damage and extends the life of your tile installation.
Conclusion
Keeping grout clean doesn’t have to be difficult or time-consuming. By using simple methods like baking soda paste, white vinegar, hydrogen peroxide, dish soap, steam cleaning, proper mold treatment, and grout sealing, you can restore stained grout and maintain a fresh, polished appearance. Regular maintenance not only improves the look of your bathroom or kitchen but also helps prevent mold, mildew, and long-term damage.
With a consistent cleaning routine and the right techniques, your grout can stay bright, durable, and easy to maintain for years to come. A little effort on a regular basis goes a long way toward preserving the beauty and cleanliness of your tiled surfaces.