
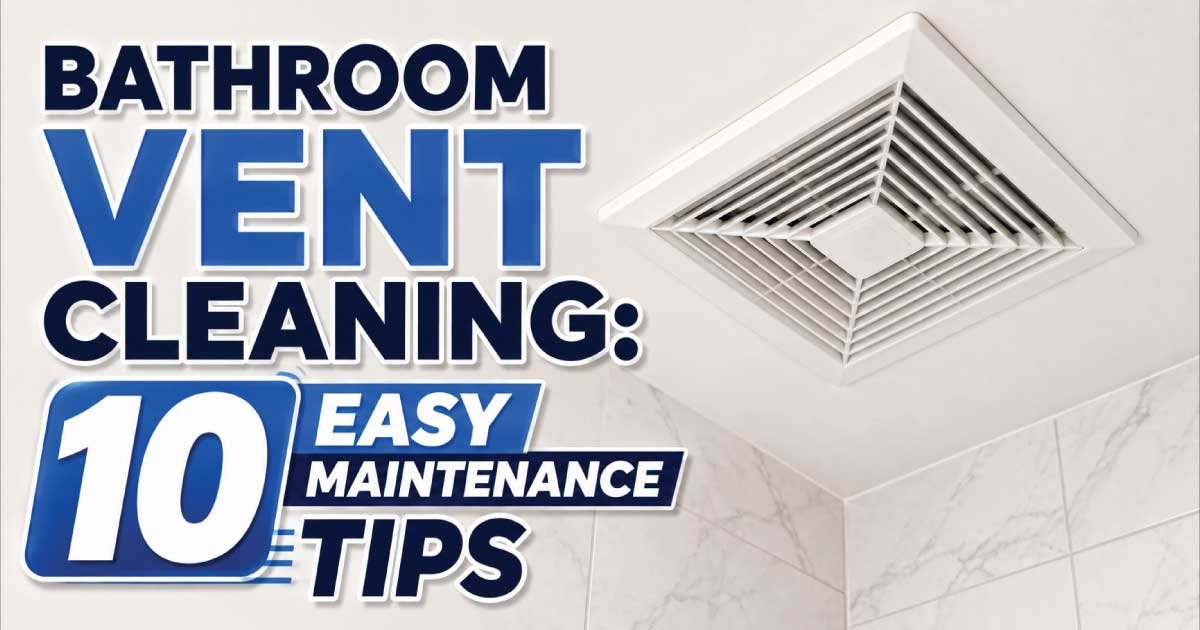
A bathroom exhaust fan is one of the most important yet overlooked fixtures in your home. Its primary job is to remove moisture, odors, and airborne contaminants, helping to prevent mold growth, mildew, peeling paint, and poor indoor air quality. However, like any household appliance, a bathroom vent requires regular cleaning and maintenance to perform efficiently.
Over time, dust, lint, pet hair, and debris accumulate inside the vent cover, fan blades, and motor housing. This buildup reduces airflow, forces the fan to work harder, increases energy consumption, and can even become a fire hazard. Fortunately, keeping your bathroom vent clean doesn’t require specialized tools or professional expertise.
In this guide, you’ll learn 10 easy bathroom vent cleaning tips that will help improve airflow, extend the life of your exhaust fan, and keep your bathroom fresh and moisture-free.
Table of Contents
ToggleWhy Bathroom Vent Cleaning Is Important
Bathroom exhaust fans operate in one of the most humid environments in your home. Every shower or bath produces moisture that can quickly accumulate if the fan isn’t working properly.
Regular cleaning offers several benefits:
- Improves ventilation by restoring proper airflow.
- Prevents mold and mildew caused by excess humidity.
- Reduces unpleasant bathroom odors.
- Extends the fan’s lifespan by reducing strain on the motor.
- Lowers energy consumption by allowing the fan to run efficiently.
- Improves indoor air quality by removing dust and allergens.
- Reduces noise caused by dirt buildup on moving parts.
Cleaning your bathroom vent just a few times a year can prevent costly repairs and improve your home’s overall comfort.
1. Turn Off the Power Before Cleaning
Safety should always come first when cleaning any electrical fixture.
Before removing the vent cover or touching the fan:
- Switch off the bathroom fan.
- Turn off the circuit breaker supplying power to the fan.
- Wait a few minutes to ensure the motor has completely stopped.
- Use a sturdy step ladder if the vent is mounted on the ceiling.
Never clean the fan while electricity is flowing to the unit.
2. Remove and Wash the Vent Cover
The vent cover collects dust, lint, and moisture faster than any other part of the exhaust fan.
How to Clean the Cover
- Carefully pull the cover downward.
- Pinch the metal spring clips to remove it.
- Soak the cover in warm water mixed with mild dish soap.
- Scrub with a soft brush or sponge.
- Rinse thoroughly.
- Allow it to dry completely before reinstalling.
Cleaning Supplies You’ll Need
| Item | Purpose |
|---|---|
| Warm water | Loosens dirt and grime |
| Mild dish soap | Removes grease and dust |
| Soft brush | Cleans vents without damage |
| Microfiber cloth | Dries the cover |
| Small bucket | Soaking solution |
A clean vent cover immediately improves airflow and enhances the appearance of your bathroom.
3. Vacuum Dust Inside the Fan Housing
Once the cover is removed, you’ll likely notice dust coating the fan housing.
Use a vacuum cleaner with a brush attachment to remove:
- Dust
- Hair
- Cobwebs
- Lint
- Loose debris
Avoid forcing the vacuum nozzle into delicate components. Gentle suction is usually enough to remove accumulated dirt.
Vacuuming every few months prevents excessive buildup that can reduce the fan’s efficiency.
4. Clean the Fan Blades Carefully
Dirty fan blades cannot move air efficiently and often become noisy.
Cleaning Steps
- Use a soft microfiber cloth.
- Slightly dampen the cloth with mild cleaner.
- Wipe each blade gently.
- Remove stubborn grime with a soft toothbrush.
- Dry the blades before restoring power.
Avoid bending the blades, as even slight warping can affect the fan’s balance and performance.
5. Inspect the Fan Motor
While cleaning, take a few moments to inspect the motor for signs of wear.
Look for the Following
- Excessive dust around the motor
- Burning odors
- Loose wiring
- Rust or corrosion
- Unusual vibrations
- Oil leakage
If you notice electrical damage or unusual noises after cleaning, it’s best to consult a qualified electrician or replace the fan if necessary.
6. Check the Exhaust Duct for Blockages
A clean fan won’t perform well if the duct leading outside is clogged.
Common Causes of Blockages
- Bird nests
- Insect activity
- Dust buildup
- Insulation debris
- Leaves near the exterior vent
Signs of a Blocked Vent
| Problem | Possible Cause |
|---|---|
| Weak airflow | Clogged duct |
| Bathroom stays humid | Restricted ventilation |
| Fan runs loudly | Airflow obstruction |
| Persistent odors | Vent not exhausting properly |
| Condensation on mirrors | Moisture trapped indoors |
If the duct is difficult to access or appears heavily blocked, professional cleaning may be the safest option.
7. Wipe Down the Fan Housing
The fan housing also collects grease, dust, and moisture over time.
Use a damp microfiber cloth to clean:
- Interior housing
- Fan frame
- Mounting brackets
- Visible electrical casing (avoid soaking)
Never spray cleaner directly into the motor or electrical components.
Keeping the housing clean reduces dust circulation throughout the bathroom.
8. Test the Fan’s Airflow
After cleaning and reassembling the vent, test its performance.
Simple Airflow Test
Hold a single sheet of toilet paper against the vent while the fan is running.
If the paper sticks to the vent, the fan is producing adequate suction.
If the paper falls away:
- Recheck for remaining dust.
- Inspect the duct for blockages.
- Ensure the vent cover is installed correctly.
- Consider replacing an older or underpowered fan.
This quick test helps confirm that your maintenance has improved the fan’s performance.
9. Keep the Exterior Vent Clean
The outdoor vent cap is just as important as the indoor fan.
Inspect it every few months and remove:
- Leaves
- Dirt
- Spider webs
- Bird nests
- Snow or ice during winter
Make sure the vent flap opens and closes freely so moist air can escape without allowing pests to enter.
Cleaning both ends of the ventilation system ensures maximum airflow.
10. Establish a Regular Cleaning Schedule
The easiest way to prevent ventilation problems is by cleaning your bathroom vent on a consistent schedule.
Recommended Maintenance Timeline
| Task | Frequency |
|---|---|
| Dust vent cover | Monthly |
| Wash vent cover | Every 3 months |
| Vacuum fan housing | Every 3–6 months |
| Clean fan blades | Every 6 months |
| Inspect motor | Every 6 months |
| Check exhaust duct | Annually |
| Inspect exterior vent | Twice a year |
Sticking to this schedule keeps your fan operating efficiently and reduces the likelihood of expensive repairs.
Signs Your Bathroom Vent Needs Cleaning
Your bathroom fan often provides warning signs when maintenance is overdue.
Watch for these indicators:
- The fan sounds louder than usual.
- Airflow feels weak.
- The bathroom stays humid long after a shower.
- Mirrors remain fogged for extended periods.
- Dust is visible on the vent cover.
- Musty odors linger despite cleaning.
- The fan vibrates excessively during operation.
Addressing these issues early can prevent bigger problems later.
Common Bathroom Vent Cleaning Mistakes
Avoid these mistakes to protect your fan and ensure effective cleaning:
- Forgetting to turn off the power before cleaning.
- Using harsh chemical cleaners that can damage plastic components.
- Spraying liquids directly into the motor.
- Ignoring the exhaust duct while cleaning only the cover.
- Bending or damaging the fan blades.
- Skipping regular maintenance until airflow becomes severely restricted.
- Reinstalling the vent cover before it’s completely dry.
Taking a careful approach helps extend the life of your exhaust fan.
Tools You’ll Need
Having the right tools makes the cleaning process quicker and safer.
| Tool | Purpose |
|---|---|
| Vacuum with brush attachment | Removes loose dust and debris |
| Microfiber cloth | Wipes surfaces without scratching |
| Soft brush or old toothbrush | Cleans tight spaces |
| Mild dish soap | Removes grease and grime |
| Warm water | Soaks the vent cover |
| Step ladder | Safely reaches ceiling-mounted fans |
| Protective gloves | Keeps hands clean during maintenance |
Most homeowners already have these supplies on hand, making vent cleaning a simple DIY task.
Benefits of Regular Bathroom Vent Maintenance
Routine maintenance provides long-term advantages beyond just a cleaner fan.
Key Benefits
- Improves air circulation throughout the bathroom.
- Reduces humidity, helping prevent mold and mildew.
- Eliminates lingering odors more effectively.
- Extends the fan’s lifespan by reducing motor strain.
- Lowers energy costs through improved efficiency.
- Creates a quieter bathroom by reducing dust-related noise.
- Supports healthier indoor air quality by minimizing allergens and airborne particles.
A well-maintained bathroom vent contributes to a cleaner, healthier, and more comfortable home.
Conclusion
Bathroom vent cleaning is a simple maintenance task that delivers significant benefits. By removing dust, cleaning the vent cover and fan blades, inspecting the motor, checking the exhaust duct, and following a regular maintenance schedule, you can improve airflow, reduce humidity, eliminate odors, and extend the life of your exhaust fan.
These 10 easy maintenance tips require only basic household tools and a little time but can prevent costly repairs and improve the overall comfort of your bathroom. Make bathroom vent cleaning part of your regular home maintenance routine, and you’ll enjoy a fresher, healthier, and better-ventilated space year-round.