
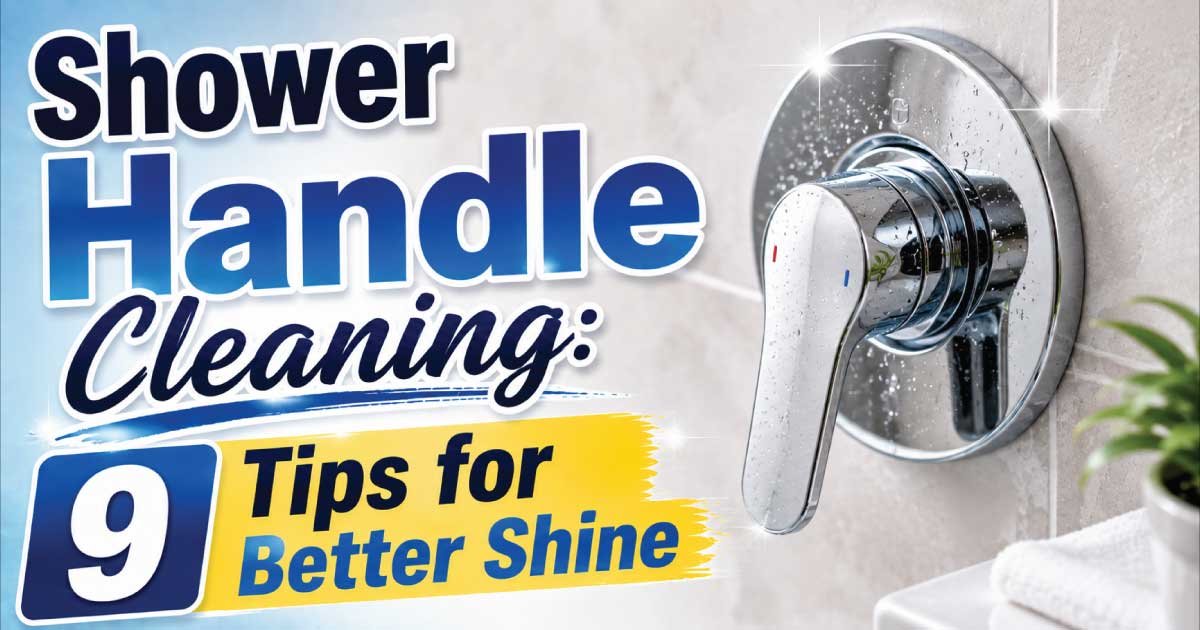
Shower handles are among the most frequently touched fixtures in any bathroom, yet they are often overlooked during routine cleaning. Over time, soap residue, hard water minerals, fingerprints, body oils, and moisture can leave handles looking dull, stained, or even corroded. If left untreated, buildup can become difficult to remove and may shorten the lifespan of the fixture.
The good news is that restoring the shine of shower handles doesn’t require expensive products or professional cleaning. With the right methods and regular maintenance, you can keep chrome, stainless steel, brushed nickel, and other finishes looking polished and spotless. In this guide, you’ll discover nine simple yet effective tips to clean shower handles and maintain their shine for years to come.
Why Shower Handles Lose Their Shine
Shower handles are exposed to moisture multiple times each day, making them prone to mineral deposits, soap scum, and water spots. In areas with hard water, calcium and lime buildup can quickly dull even high-quality fixtures. Daily contact with hands also leaves behind oils and fingerprints that reduce their polished appearance.
Common causes of dull shower handles include:
- Hard water mineral deposits
- Soap scum buildup
- Fingerprints and body oils
- Mold around the handle base
- Moisture left to dry naturally
- Infrequent cleaning
Understanding these causes makes it easier to choose the right cleaning method while protecting the finish.
| Common Issue | Cause | Best Solution |
|---|---|---|
| Water spots | Hard water | Vinegar solution |
| Soap scum | Soap residue | Mild dish soap |
| Fingerprints | Skin oils | Microfiber polishing |
| Mineral buildup | Calcium deposits | Vinegar soak |
| Mold around base | Excess moisture | Mold cleaner and drying |
1. Start with Warm Water and Mild Soap
Before using stronger cleaning solutions, remove loose dirt and everyday grime with warm water and a gentle dish soap.
Follow these steps:
- Fill a bowl with warm water.
- Add a few drops of mild dish soap.
- Dip a soft microfiber cloth into the solution.
- Wipe the entire handle thoroughly.
- Rinse with clean water.
- Dry immediately with a clean towel.
This simple cleaning routine is often enough for regular weekly maintenance.
2. Remove Hard Water Stains with White Vinegar
Hard water stains are one of the most common reasons shower handles lose their shine. White vinegar naturally dissolves mineral deposits without requiring aggressive scrubbing.
To clean mineral buildup:
- Mix equal parts white vinegar and warm water.
- Soak a soft cloth in the solution.
- Wrap the cloth around the handle for 15–20 minutes.
- Gently scrub with a soft sponge.
- Rinse thoroughly.
- Dry with a microfiber cloth.
Avoid leaving vinegar on delicate finishes for extended periods, and do not use it on fixtures if the manufacturer advises against acidic cleaners.
3. Use Baking Soda for Stubborn Grime
If soap scum or mineral deposits remain after cleaning, baking soda provides gentle scrubbing power without scratching most finishes.
Here’s how:
- Mix baking soda with a small amount of water to form a paste.
- Apply the paste to stained areas.
- Let it sit for 10 minutes.
- Scrub gently with a soft cloth or sponge.
- Rinse thoroughly.
- Dry completely.
Never use steel wool or harsh scouring pads, as they can permanently damage the finish.
4. Polish with a Microfiber Cloth
One of the easiest ways to restore shine is by polishing the handle after cleaning. Microfiber cloths remove water spots, fingerprints, and streaks without leaving lint behind.
Benefits of microfiber polishing include:
- Creates a streak-free finish
- Removes fingerprints
- Prevents water spots
- Enhances natural shine
- Safe for most finishes
Regular polishing helps keep shower handles looking like new.
5. Clean Around the Handle Base
The area where the handle meets the shower wall often collects hidden dirt, soap residue, and mold. Ignoring this spot can make an otherwise clean fixture appear dirty.
To clean the base:
- Spray a bathroom-safe cleaner around the edge.
- Use an old toothbrush to reach tight spaces.
- Wipe away loosened dirt with a damp cloth.
- Dry the area thoroughly.
Cleaning this area regularly also helps prevent mold growth.
6. Avoid Harsh Chemical Cleaners
Many bathroom cleaners contain strong chemicals that may damage protective coatings on shower handles, especially those with brushed, matte, or specialty finishes.
Avoid using:
- Bleach on delicate finishes
- Abrasive powders
- Steel wool
- Wire brushes
- Strong acidic cleaners unless approved by the manufacturer
Instead, choose non-abrasive products specifically designed for bathroom fixtures.
7. Dry the Handles After Every Shower
One of the simplest ways to maintain shine is to prevent water from drying naturally on the surface.
After each shower:
- Wipe the handles with a dry microfiber cloth.
- Remove excess water droplets.
- Dry surrounding trim as well.
This habit greatly reduces mineral deposits and water spots, especially in homes with hard water.
8. Inspect for Rust or Corrosion
Older shower handles may develop rust or corrosion if the protective finish becomes damaged. Catching these issues early can prevent permanent deterioration.
Look for signs such as:
- Orange or brown spots
- Peeling finish
- Rough patches
- Discoloration
- Flaking metal
If corrosion appears severe, replacing the damaged fixture may be more practical than repeated cleaning.
9. Establish a Regular Cleaning Routine
Consistent maintenance keeps shower handles shiny while preventing stubborn buildup that requires deep cleaning.
A simple routine includes:
- Wiping handles after daily use.
- Cleaning with mild soap once a week.
- Removing mineral deposits monthly.
- Polishing with microfiber after every cleaning.
- Inspecting for mold or corrosion regularly.
Small maintenance tasks take only a few minutes but greatly extend the life and appearance of your bathroom fixtures.
Essential Supplies for Cleaning Shower Handles
Using the proper tools helps protect the finish while making cleaning easier.
| Cleaning Supply | Purpose |
| Mild dish soap | Everyday cleaning |
| White vinegar | Removes mineral deposits |
| Baking soda | Gentle stain removal |
| Microfiber cloth | Drying and polishing |
| Soft sponge | Safe scrubbing |
| Old toothbrush | Cleaning tight spaces |
| Spray bottle | Applying cleaning solution |
| Rubber gloves | Protecting hands |
Keeping these supplies readily available makes routine maintenance quick and effective.
Maintenance Tips for Long-Lasting Shine
Preventive care is the key to keeping shower handles looking polished.
Follow these maintenance tips:
- Wipe away water after every shower.
- Clean soap residue before it hardens.
- Improve bathroom ventilation to reduce moisture.
- Polish fixtures regularly.
- Fix dripping faucets that leave mineral deposits.
- Inspect handles for loose fittings during cleaning.
- Replace worn caulk around fixtures if needed.
- Deep clean bathroom fixtures every month.
These simple habits reduce buildup and preserve the original finish.
Common Mistakes to Avoid
Avoiding common cleaning mistakes helps prevent unnecessary damage to shower handles.
Some mistakes include:
- Using abrasive scrubbers on finished metal.
- Leaving vinegar on surfaces for too long.
- Mixing bleach with vinegar or ammonia.
- Ignoring hard water stains until they become severe.
- Allowing moisture to remain on the handles after cleaning.
- Using sharp tools to scrape away buildup.
Gentle, consistent cleaning is much more effective than aggressive scrubbing.
Conclusion
Keeping shower handles clean and shiny is easier than many homeowners realize. By using mild soap, white vinegar, baking soda, microfiber cloths, and regular maintenance, you can remove soap scum, hard water stains, and fingerprints while protecting the fixture’s finish. Cleaning around the handle base, drying surfaces after each shower, and avoiding harsh chemicals further extend the life and appearance of your bathroom hardware. With these nine simple tips, your shower handles can remain polished, hygienic, and attractive, adding a fresh, well-maintained look to your entire bathroom.