
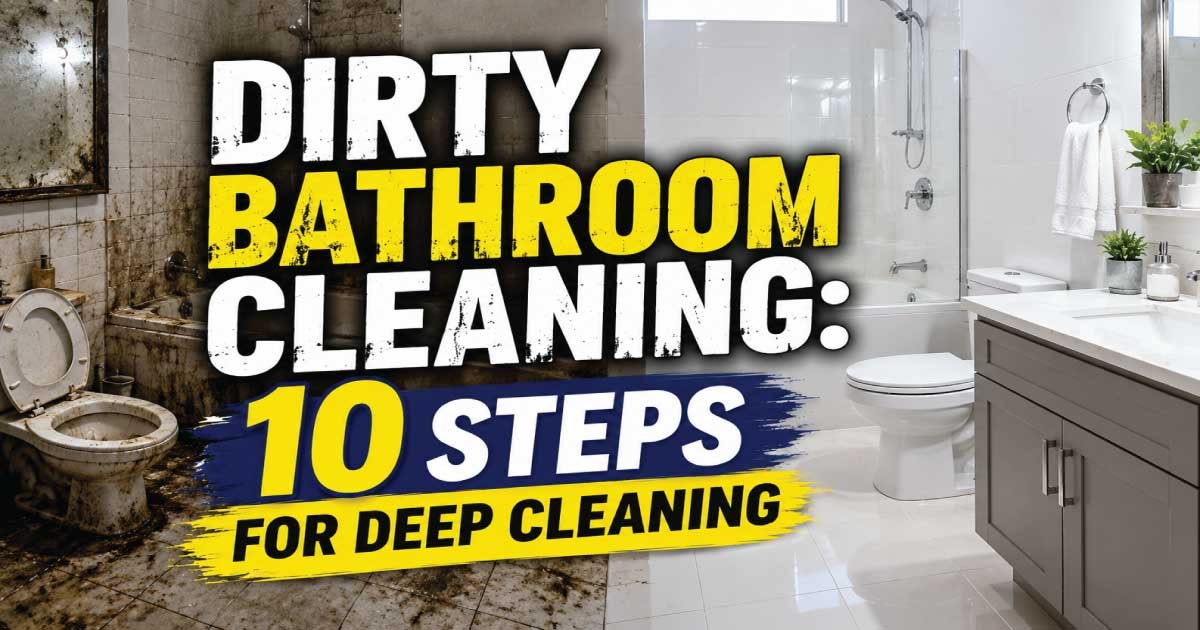
A dirty bathroom can quickly become an unpleasant space due to soap scum, hard water stains, mold, mildew, grime, and bacteria. Because bathrooms are exposed to constant moisture and daily use, dirt and germs can build up faster than in other areas of the home. Fortunately, a thorough deep cleaning routine can restore your bathroom to a fresh, hygienic, and inviting condition.
Deep cleaning goes beyond your regular weekly maintenance by targeting hidden dirt, stubborn stains, and overlooked areas. Whether you’re cleaning after weeks of neglect or preparing your home for guests, following a structured approach ensures every surface receives the attention it needs.
This guide outlines 10 essential steps for deep cleaning a dirty bathroom efficiently and effectively.
Why Deep Cleaning a Dirty Bathroom Is Important
A deep-cleaned bathroom not only looks better but also supports a healthier living environment. Dirt, moisture, and bacteria can accumulate in corners, grout lines, drains, and high-touch surfaces if they are not cleaned regularly.
Benefits of deep cleaning include:
- Removing bacteria and germs from frequently touched surfaces.
- Eliminating unpleasant odors.
- Preventing mold and mildew growth.
- Restoring the appearance of tiles and fixtures.
- Extending the lifespan of bathroom surfaces and fittings.
- Creating a cleaner and more comfortable space.
Deep cleaning every few weeks or at least once a month helps prevent stubborn buildup that requires extra effort to remove.
10 Essential Steps for Deep Cleaning a Dirty Bathroom
| Step | Cleaning Task | Primary Benefit |
|---|---|---|
| 1 | Remove clutter | Creates an organized workspace |
| 2 | Dust and sweep | Removes loose dirt and debris |
| 3 | Apply cleaning products | Loosens stains and buildup |
| 4 | Deep clean the toilet | Eliminates bacteria and odors |
| 5 | Scrub the shower and bathtub | Removes soap scum and grime |
| 6 | Clean the sink and vanity | Restores shine and cleanliness |
| 7 | Wash mirrors and glass | Produces a streak-free finish |
| 8 | Clean the floor | Removes dirt and germs |
| 9 | Sanitize high-touch surfaces | Reduces the spread of bacteria |
| 10 | Dry and ventilate the bathroom | Prevents moisture buildup |
1. Remove Clutter Before You Start
The first step in deep cleaning is clearing the bathroom of unnecessary items. Removing personal belongings gives you better access to every surface and prevents cleaning products from coming into contact with toiletries.
Begin by removing:
- Towels and bath mats.
- Toiletries and cosmetics.
- Trash bins.
- Decorative items.
- Cleaning supplies that are already stored in the bathroom.
Place washable items aside so they can be cleaned separately after the bathroom has been sanitized.
2. Dust and Sweep All Surfaces
Dust often collects on light fixtures, shelves, vents, and baseboards before settling onto other surfaces. Sweeping or vacuuming the floor removes hair and loose debris before wet cleaning begins.
Focus on:
- Ceiling corners.
- Exhaust fan covers.
- Window sills.
- Shelves and cabinets.
- Floor corners.
- Behind the toilet.
Removing loose dirt first prevents it from turning into muddy residue during the cleaning process.
3. Apply Bathroom Cleaning Products
Instead of cleaning one area at a time immediately, apply suitable bathroom cleaners to the surfaces that need the most attention. Allowing products to sit for several minutes helps loosen soap scum, hard water stains, and grime.
Apply cleaner to:
- Toilet bowl.
- Shower walls.
- Bathtub.
- Sink basin.
- Tile grout.
- Faucets.
While the cleaning products work, you can begin cleaning other areas, making the process more efficient.
4. Deep Clean the Toilet
The toilet is one of the most important fixtures to sanitize thoroughly during a deep clean.
Clean each area carefully:
- Inside the toilet bowl.
- Under the rim.
- Toilet seat.
- Lid.
- Flush handle.
- Exterior surfaces.
- Base of the toilet.
Use a toilet brush for the bowl and a disinfecting cloth for the exterior. Be sure to reach hidden areas around the hinges and behind the toilet where dust and bacteria can collect.
5. Scrub the Shower and Bathtub
Showers and bathtubs often develop soap scum, shampoo residue, mineral deposits, and mildew over time. Deep scrubbing restores their appearance and prevents long-term staining.
Pay attention to:
- Shower walls.
- Bathtub surfaces.
- Tile grout.
- Shower doors.
- Shower tracks.
- Faucet fixtures.
Use a soft brush or non-abrasive sponge to remove buildup without damaging the finish. Rinse thoroughly to remove any remaining cleaning solution.
6. Clean the Sink and Vanity
The bathroom sink is used multiple times every day, making it a common location for toothpaste residue, soap buildup, and water spots.
Clean these areas:
- Sink basin.
- Faucet handles.
- Drain opening.
- Countertop.
- Vanity cabinet exterior.
- Drawer handles.
After cleaning, dry chrome fixtures with a microfiber cloth to restore their shine and reduce water spots.
7. Wash Mirrors and Glass Surfaces
Mirrors and glass shower doors can easily become covered with fingerprints, toothpaste splashes, and water marks.
For streak-free results:
- Spray glass cleaner onto a microfiber cloth.
- Wipe from top to bottom.
- Polish dry with a clean cloth.
- Clean mirror edges carefully.
If your bathroom has glass shower doors, removing soap residue regularly helps maintain their clarity and prevents stubborn buildup.
8. Mop and Sanitize the Bathroom Floor
The floor often collects dust, hair, moisture, and cleaning residue. Cleaning it last ensures that dirt from higher surfaces has already been removed.
A complete floor cleaning should include:
- Sweeping or vacuuming.
- Cleaning around the toilet base.
- Mopping all tile surfaces.
- Reaching behind fixtures.
- Drying the floor after mopping.
Do not overlook corners where dirt and moisture frequently accumulate.
9. Sanitize High-Touch Surfaces
Many bathroom surfaces are touched several times each day and should be disinfected during every deep cleaning session.
These include:
- Door handles.
- Light switches.
- Faucet handles.
- Toilet flush handle.
- Cabinet knobs.
- Shower controls.
Sanitizing these surfaces helps reduce the spread of germs throughout your household.
10. Dry the Bathroom and Improve Ventilation
Once all surfaces have been cleaned, drying the bathroom is an important final step. Removing excess moisture reduces the chance of mold and mildew developing after cleaning.
To improve ventilation:
- Open windows if possible.
- Turn on the exhaust fan.
- Dry countertops and fixtures.
- Leave the shower curtain or door open to air dry.
- Hang towels so they can dry completely.
Proper ventilation keeps your bathroom fresher between cleaning sessions.
Recommended Deep Cleaning Schedule
Following a consistent schedule helps prevent heavy dirt buildup and reduces the amount of time needed for future cleaning.
| Frequency | Recommended Tasks |
| Daily | Wipe the sink, rinse the shower, and remove standing water |
| Weekly | Clean the toilet, mirrors, countertops, and bathroom floor |
| Monthly | Deep clean grout, drains, shower doors, and cabinets |
| Every 3–6 Months | Wash shower curtains, inspect caulking, and clean exhaust fans |
Common Deep Cleaning Mistakes to Avoid
Even during a thorough cleaning session, certain mistakes can reduce effectiveness or damage bathroom surfaces.
Avoid these common errors:
- Skipping ventilation while using cleaning products.
- Using abrasive tools on delicate fixtures.
- Mixing different cleaning chemicals.
- Forgetting hidden areas behind the toilet or under the sink.
- Allowing water to remain on freshly cleaned surfaces.
- Using dirty sponges or cloths that spread bacteria.
Taking a careful and organized approach produces better cleaning results and helps protect bathroom finishes.
Tips to Keep Your Bathroom Cleaner for Longer
After deep cleaning, a few simple habits can help maintain your bathroom between major cleaning sessions.
- Wipe down shower walls after every use.
- Dry countertops and faucets to prevent water spots.
- Empty the trash regularly.
- Wash towels and bath mats weekly.
- Keep bathroom supplies organized.
- Address spills and stains immediately.
- Run the exhaust fan during and after showers.
These small daily habits significantly reduce dirt buildup and make future cleaning much easier.
Final Thoughts
Deep cleaning a dirty bathroom may seem like a challenging task, but breaking the process into manageable steps makes it far more efficient. By removing clutter, cleaning every surface thoroughly, disinfecting high-touch areas, and controlling moisture, you can restore your bathroom to a clean and hygienic condition.
Following these 10 deep cleaning steps regularly not only improves the appearance of your bathroom but also promotes a healthier home environment. With consistent maintenance and a well-planned cleaning routine, your bathroom will remain fresh, sanitary, and ready for everyday use.