
A broken window latch might seem like a small inconvenience, but it can quickly turn into a bigger issue. Whether it’s compromising your home’s security, letting in drafts, or simply making your window difficult to use, a faulty latch is something worth fixing promptly. The good news is that in most cases, repairing or replacing a window latch is a straightforward DIY task that requires minimal tools and expertise.
In this guide, we’ll walk you through everything you need to know about fixing a broken window latch—from identifying the problem to completing the repair like a pro.
Why Window Latches Matter
Window latches are essential components that contribute to both the security and efficiency of your home. They ensure windows stay firmly closed, protect against external elements, and enhance safety. A properly working latch also improves insulation and prevents unnecessary energy loss.
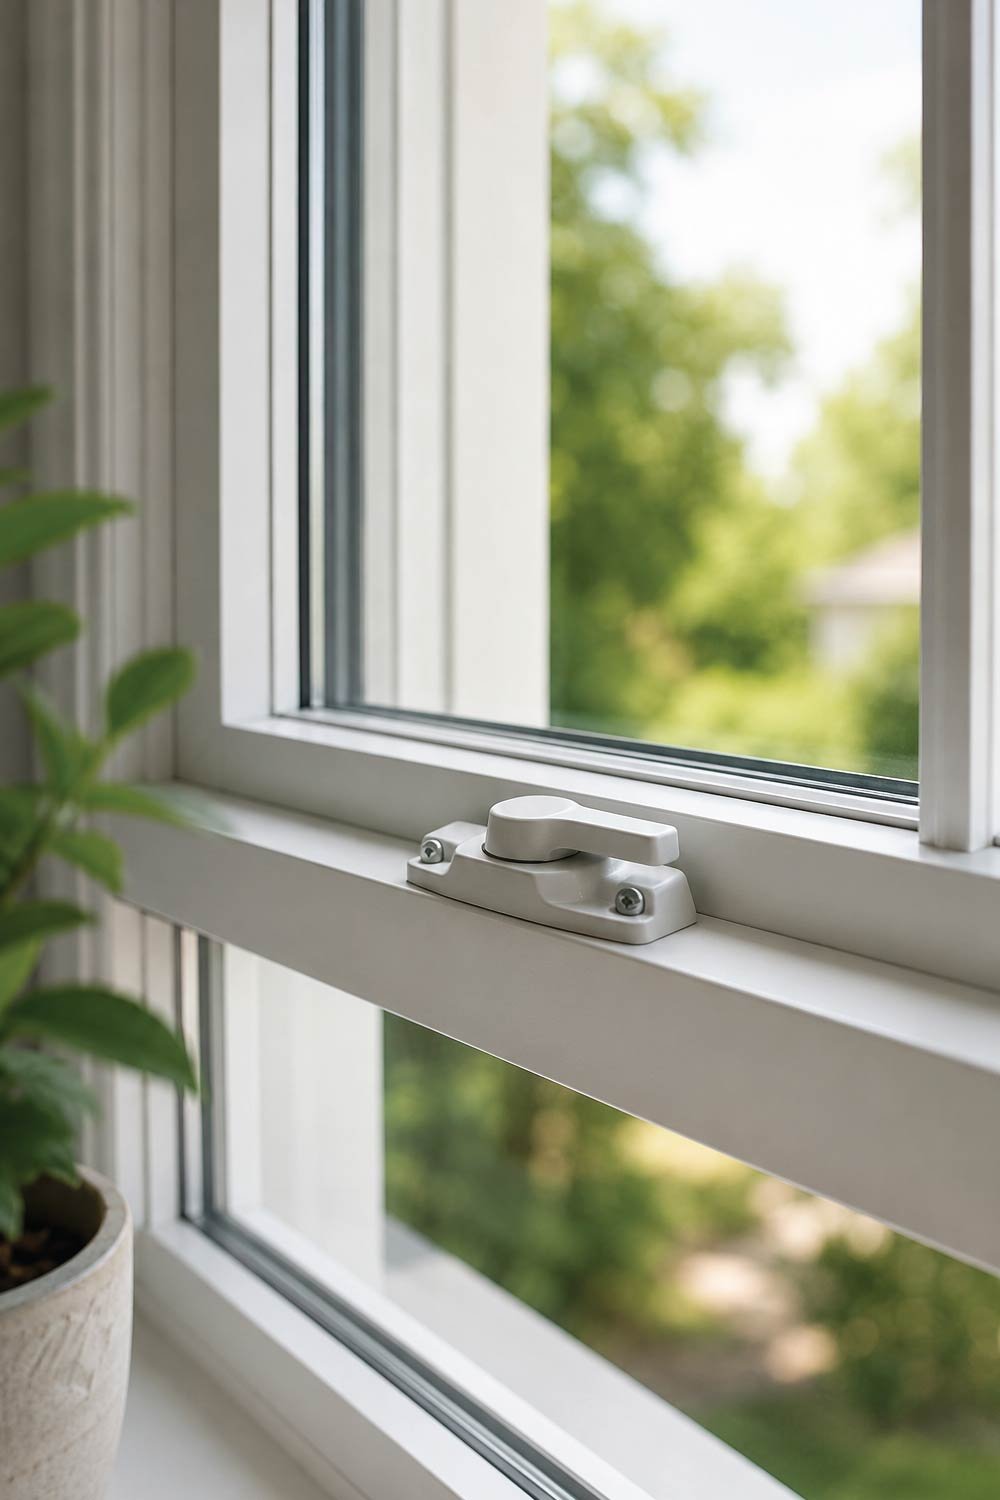
Window latches play a crucial role in both functionality and safety. They keep windows securely closed, help maintain indoor temperature, and prevent unauthorized access. A damaged latch can lead to several issues, including:
- Reduced home security
- Air leaks and increased energy bills
- Difficulty opening or closing the window
- Noise from loose window panels
Understanding the importance of a properly functioning latch is the first step toward maintaining your windows effectively.
Common Types of Window Latches
Different types of window latches are designed for specific window styles, and knowing which one you have helps determine the correct repair method. Each latch type operates slightly differently, but all serve the same purpose of securing the window effectively.
Before jumping into repairs, it’s helpful to know what type of latch you’re dealing with. Different windows use different locking mechanisms, including:
- Sliding window latches – Often found on horizontal sliding windows
- Casement window locks – Typically use a crank and latch system
- Double-hung window latches – Located where the two sashes meet
- Awning window locks – Usually mounted at the bottom
Each type may require slightly different repair steps, but the general process remains similar.
Signs Your Window Latch Is Broken
Recognizing the early signs of a faulty window latch can help you address the issue before it worsens. Many problems start small but can quickly impact security and usability if left unattended.

Not every latch problem is obvious. Here are some common signs that your window latch needs attention:
- The latch won’t close or lock properly
- The window pops open even after locking
- The latch feels loose or wobbly
- Visible rust, cracks, or missing parts
- Difficulty aligning the latch with its catch
If you notice any of these issues, it’s time to investigate further.
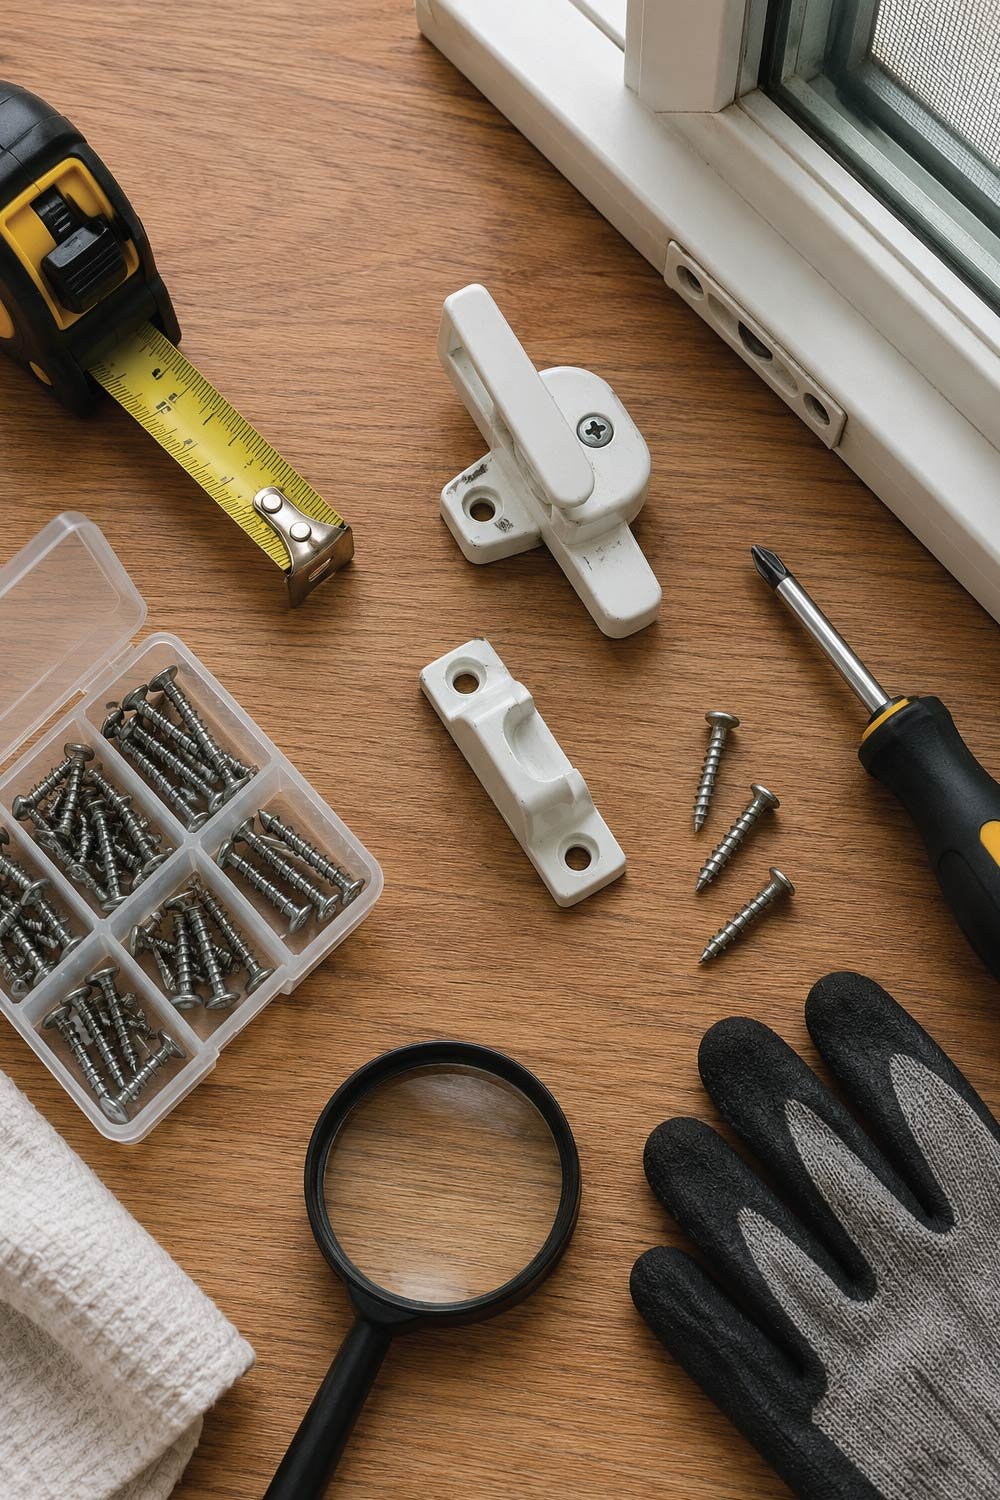
Tools and Materials You’ll Need
Having the right tools ready before starting the repair ensures a smooth and efficient process. Most window latch fixes require only basic equipment, making it a simple DIY task for homeowners.
Most window latch repairs require only basic tools. Gather the following before you start:
- Screwdriver (flathead or Phillips, depending on screws)
- Replacement latch (if needed)
- Measuring tape
- Cleaning cloth
- Lubricant (like WD-40 or silicone spray)
- Drill (optional, for new holes)
Having everything ready will make the process smoother and faster.
Step-by-Step Guide to Fixing a Broken Window Latch
Repairing a broken window latch becomes easier when you follow a clear, step-by-step approach. Identifying the exact issue first allows you to apply the right fix, whether it’s tightening, cleaning, adjusting, or replacing the latch.
Step 1: Inspect the Damage
Carefully examining the latch helps determine the root cause of the problem. This step is important because it guides whether a simple repair will work or if a full replacement is needed.
Start by examining the latch closely. Determine whether it’s:
- Loose due to worn screws
- Misaligned with the catch
- Rusted or stuck
- Completely broken
This will help you decide whether to repair or replace it.
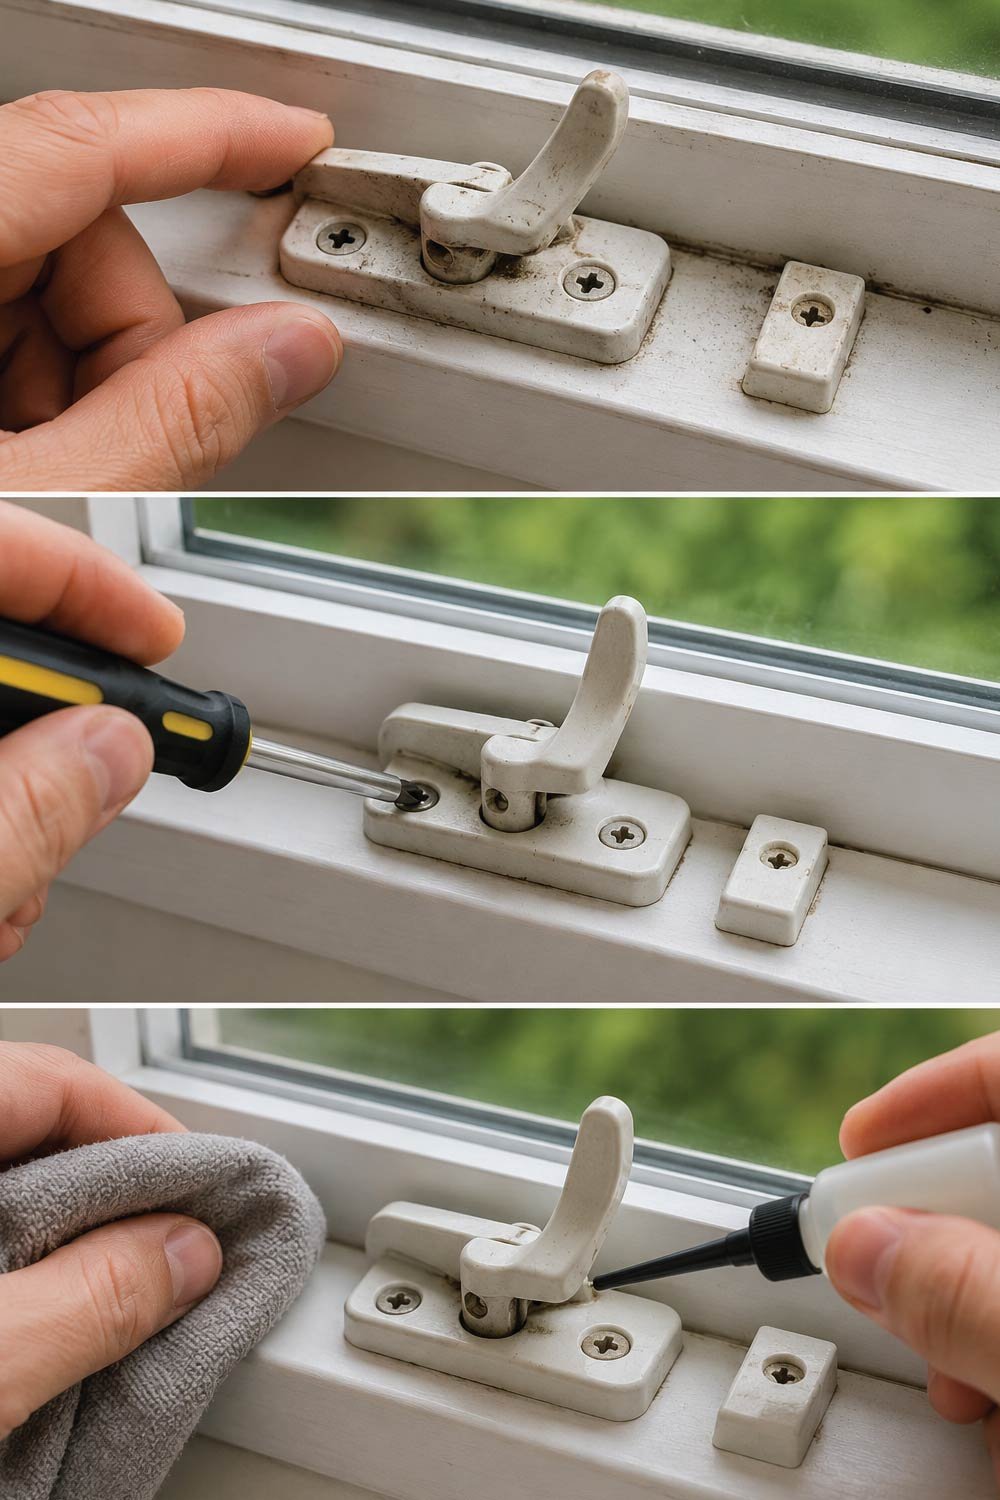
Step 2: Tighten Loose Screws
Loose screws are one of the most common and easiest issues to fix. Securing them properly can restore the latch’s stability and improve its functionality immediately.
Sometimes the simplest fix is the correct one. If the latch feels loose:
- Use a screwdriver to tighten all screws
- Check if the latch aligns properly after tightening
- Test the window by opening and closing it
If tightening solves the problem, you’re done!
Step 3: Clean and Lubricate the Latch
Dirt buildup and lack of lubrication can cause the latch to become stiff or stuck over time. Cleaning and lubricating it can significantly improve its movement and overall performance.
If the latch is stiff or stuck:
- Wipe away dirt and debris with a cloth
- Apply a small amount of lubricant
- Move the latch back and forth to loosen it
This often restores smooth operation, especially for older metal latches.
Step 4: Adjust Misalignment
Misalignment between the latch and its catch can prevent proper locking. A small adjustment can make a big difference in ensuring the latch functions correctly and securely.
If the latch doesn’t line up with the catch:
- Loosen the screws slightly
- Reposition the latch or catch
- Tighten the screws again
- Test the alignment
Even a small adjustment can make a big difference.
Step 5: Replace the Latch
When a window latch is too damaged to repair, replacing it becomes the most reliable solution. A new latch restores proper functionality, improves security, and ensures smooth operation. Choosing the correct size and style is important for a seamless fit and long-term performance.
If the latch is cracked, rusted beyond repair, or missing parts, replacement is the best option.
To replace a window latch:
- Remove the old latch by unscrewing it
- Take it with you to a hardware store to find a matching replacement
- Position the new latch in the same spot
- Screw it into place securely
- Test for proper function
Make sure the new latch matches the size and style of the old one for a proper fit.
Step 6: Fill Old Screw Holes (If Necessary)
Over time, screw holes can become loose or worn out, making it difficult for the latch to stay securely in place. Reinforcing these holes helps create a strong base for reinstallation and ensures the latch remains firmly attached.
If the screws no longer hold firmly:
Steps to fix:
- Remove the latch
- Fill the holes with wood filler or matchsticks and glue
- Let it dry completely
- Drill new pilot holes
- Reinstall the latch
This ensures a secure and long-lasting repair.
Tips for a Successful Repair
Final Thoughts
Fixing a broken window latch is a simple yet impactful home improvement task. With just a few tools and a bit of patience, you can restore your window’s functionality, improve security, and even save on energy costs.Whether you’re tightening screws, adjusting alignment, or installing a new latch, the process is manageable for most homeowners. And once you’ve done it, you’ll have the confidence to tackle similar small repairs around your home.
Don’t let a small issue like a broken latch turn into a bigger problem—take action today and enjoy the comfort and peace of mind that comes with a properly functioning window.